ESP32 Arduino Tutorial: Interact with SSD1306 OLED display
Introduction
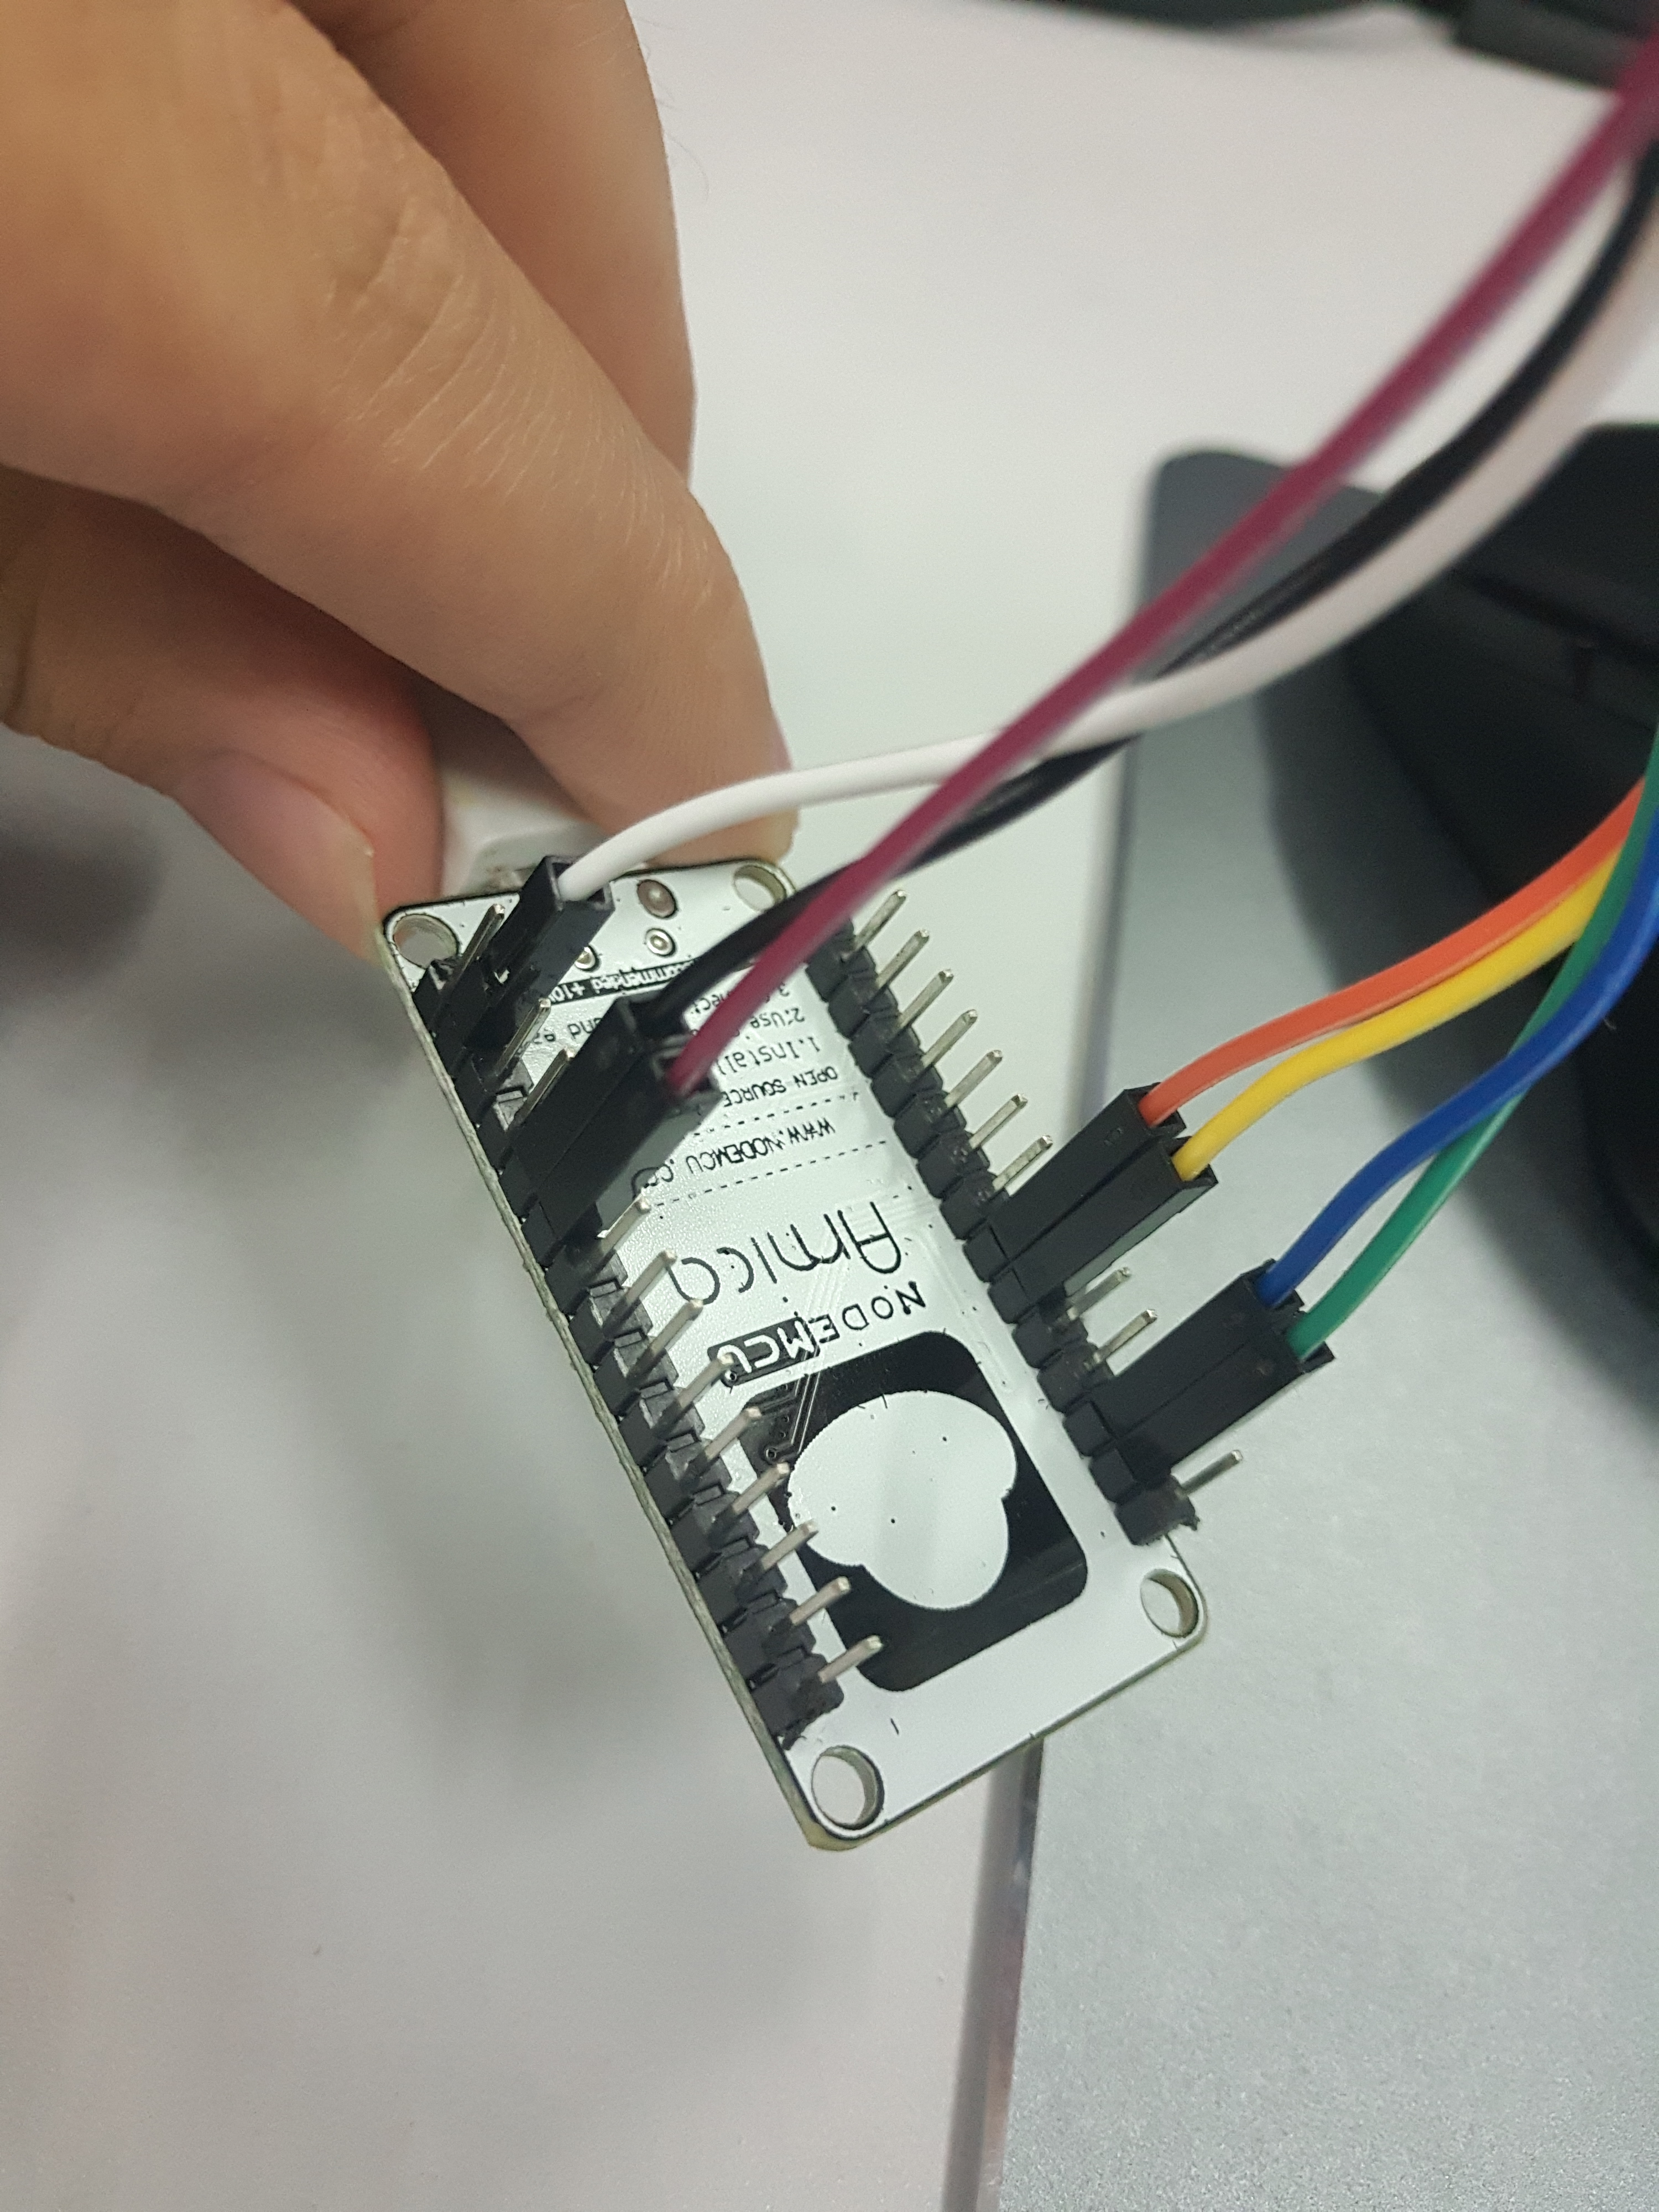
Theesp32 tutorialAims to explain how to use the Arduino coreESP32The development board is connected toSSD1306 OLEDDisplay and print the "Hello World" message. This tutorial uses the OLED version of Elecrow. The ESP32 board model used is NodeMCU.
In order to facilitate the interaction with the display, we need to install a library that supports the above display model and can be used on the ESP32 development board. You can view the library in Figure 1 below and install it through the Arduino IDE library manager.
You can view the library's GitHub page here, which details the APIs that can interact with the display.

Figure 1-Install the OLED library.
This tutorial uses the OLED version of Elecrow. It can also be used as a part of this startup kit, the ESP32 board used is NodeMCU.
Electrical diagram
ESP32 will interact with SSD1306 display through I2C. Therefore, in addition to the power supply, we only need two wires between the devices.
The electrical diagram is shown in Figure 2 below. We use ESP32 pins 21 and 22 as I2C SDA and SCL respectively.
Since the operating voltage of the SSD1306 is 3.3 V, we can use the 3.3 V power pin that most ESP32 boards have to power the display.
Please note that depending on your development board model, the pin marked name or number may not match the ESP32 microcontroller name or number. Before continuing the actual wiring, you should check the pin mapping relationship of the circuit board and confirm it.

Figure 2-Electrical diagram between ESP32 and SSD1306 OLED display.
Code
The code for this tutorial is very simple, because the library we just installed has a very easy-to-use API.
First, we need to include the Wire.h library, which is required for I2C communication with OLED displays. We also need to add the SSD1306.h library, we will use it to interact with the device.
#include <wire.h>

#include "SSD1306.h"
Next, we need to declare the SSD1306 class object, which will provide the functions needed for drawing in the display. We will call this object to display.
The class constructor receives the I2C address of the device as the first parameter, that is, 0x3c. For the second and third parameters, the constructor receives the number of SDA and SCL pins, respectively. In our example, we use pins 21 and 22 of ESP32 as shown in the schematic diagram.
SSD1306 display(0x3c, 21, 22);
Now, in the setup function, we will initialize the display by calling the init method of the display object. This method does not receive any parameters and returns void.
display.init();
Next we can start drawing on the display. For this simple example, we will draw a very simple "Hello World" message. To do this, we can call the drawString method of the display object.
This method receives x and y coordinates as the first and second parameters, where the string will be drawn on the display, and as the third parameter, it receives the string with actual content.
display.drawString(0, 0, "Hello World");
Finally, in order to send the content to the display for effective drawing, we need to call the display method on the object. This method does not receive any parameters.
display.display();
Since we are not going to change the display content, we may leave an empty Arduino loop function. Once the connection is successful, the string we just drew will remain on the display. The final source code is shown below.
#include <Wire.h>

#include "SSD1306.h"


SSD1306  display(0x3c, 21, 22);


void setup() {


  display.init();

  display.drawString(0, 0, "Hello World");

  display.display();

}


void loop() {}
Code test
If you need to test the code, after completing the wiring specified in the diagram in Figure 1, you only need to compile it and upload it to the ESP32 development board using the Arduino IDE.
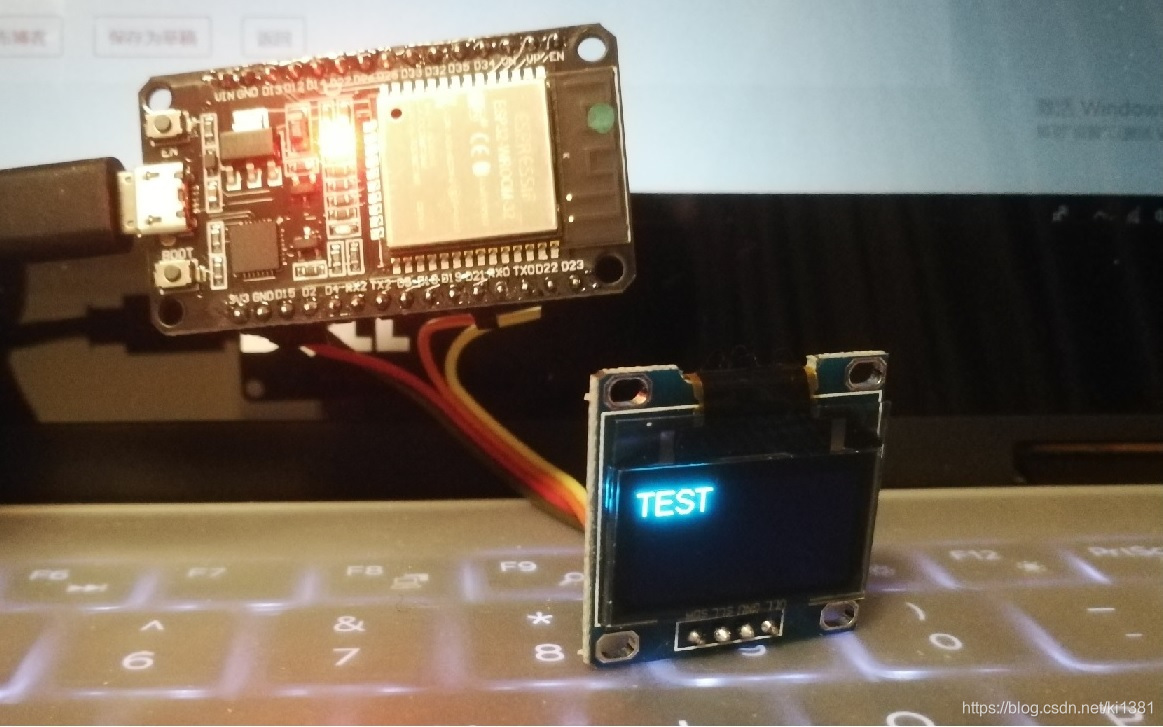
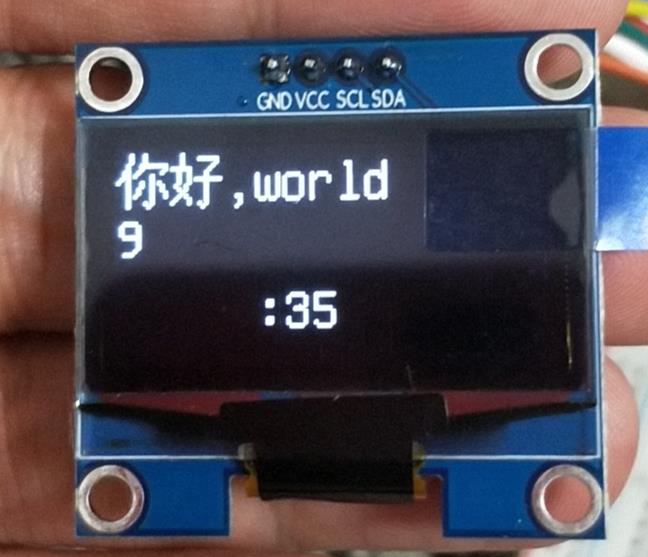
After executing the program, a "Hello World" message will appear on the display, as shown in Figure 3.

Note: The author of this article is Nuno Santos, an amiable electronic and computer engineer who lives in Lisbon, Portugal.
He has written more than 200 useful tutorials and projects about ESP32 and ESP8266. It involves arduino, micropython, Picoweb, Espruino, Bluetooth, RFID, IDF, etc. It is very extensive, and it is not an exaggeration to say that it is the most comprehensive.
Essence tutorial:
ESP32 MicroPython Tutorial: Getting Started with uPyCraft IDE
ESP32 MicroPython Tutorial: Parsing JSON
ESP32 MicroPython Tutorial: MicroPython Support
ESP32 MicroPython Tutorial: Connect to Wi-Fi Network
ESP32 / ESP8266 MicroPython Tutorial: Automatically connect to WiFi
ESP32 / ESP8266 MicroPython Tutorial: Run scripts from the file system
ESP32 / ESP8266 MicroPython Tutorial: HTTP GET Request
ESP32 Arduino Tutorial: Arduino IDE software for building ESP32 compilation environment
ESP32 Arduino Tutorial: FreeRTOS Queue Performance Test
ESP32 RFID Tutorial: Print MFRC522 firmware version
ESP32 Picoweb tutorial: HTTP method to get the request
……
There are more tutorials:ESP32 tutorial Collection
English version:ESP32 tutorialCollection
Intelligent Recommendation
esp8266+oled (ssd1306) driver and display
0x00 OLED change resistance Remove the resistor R3 and solder it to the R1 position; short both ends of R8 with tin, dc and cs pins are grounded; the res pin is controlled by an io to complete the res...
OLED (SSD1306) module display overview
Out Disadvantages of OLED Modules Advantages: small size, high resolution, low pressure 3.3V can work, support multiple interface modes, the module provides a total of four interfaces including: 6800,...

【Micropython ESP32】 SSD1306 0.96 "OLED+Network Clock
【Micropython ESP32】 SSD1306 0.96 "OLED+Network Clock This example is based onThonnyPlatform development. Display effect Display part usessd 1306 0.96 "OLED screen to display time. Wiring des...
The RTC clock of the ESP32 Development Board, using 0.91 -inch OLED display (SSD1306), Micropython
I started a development board for ESP32, which is mainly cheap. The four houses and five entry is about no money. Haha, with a 0.91 -inch OLED, you can see the content of the program output immediatel...

WIN7+ESP32 + MicroPython Minimal White is the simplest and most feasible graphical tutorial (Part 2, 0.96 OLED LCD SSD1306.)
Good After the previous article, we can already light an LED light. But this is the interpreter running one sentence at a time, so how does the script work? Here is the recommended sharing site for th...
More Recommendation
Arduino: ESP32 WIFI Get web content and display it on OLED
It is a very practical application scenario for ESP32 to access the Web Server to specify a web page through the network and display the content on the display. Resting at home today, I have a raspber...
ESP32 serial port transmission data and OLED display based on Arduino
Beginner ESP32 Hardware OLED screen ESP32 One USB to TTL The background is to transmit the data on the ESP32. After receiving the data, the corresponding countdown according to the data The overall id...
The 1.3-inch OLED display is connected to the Arduino incorrectly and the SSD1306 is used incorrectly, which causes the problem of white edges.
This is actually a very simple question. The oled displays on the market are available in 0.96 and 1.3 inch versions. Of course, there are also differences between SPI and I2C wiring. The driver chip ...
Play with ESP32 + Arduino (7) Ticker timing library, base64 conversion, OTA, SSD1306 display QRcode
1. Ticker timing library Ticker is ESP32's own library Note: It is not recommended to use the Ticker callback function to block IO operations (network, serial port, file); you can set a flag in the Ti...
<Fool -style tutorial > ESP8266 temperature and humidity meter+lighting technology display+SSD1306 0.96 inch OLED display
At the beginning of the picture! Intersection Intersection The original intention of production: temperature monitoring of the mechanical hard disk The display effect can be modified on demand (see th...