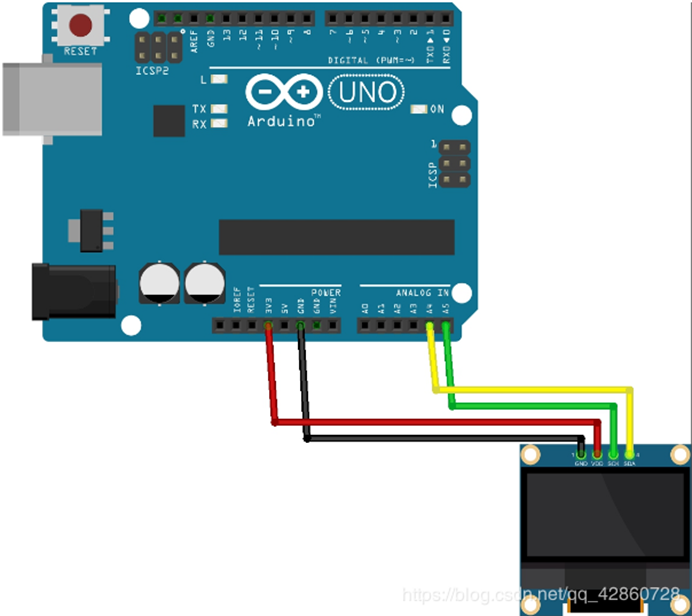
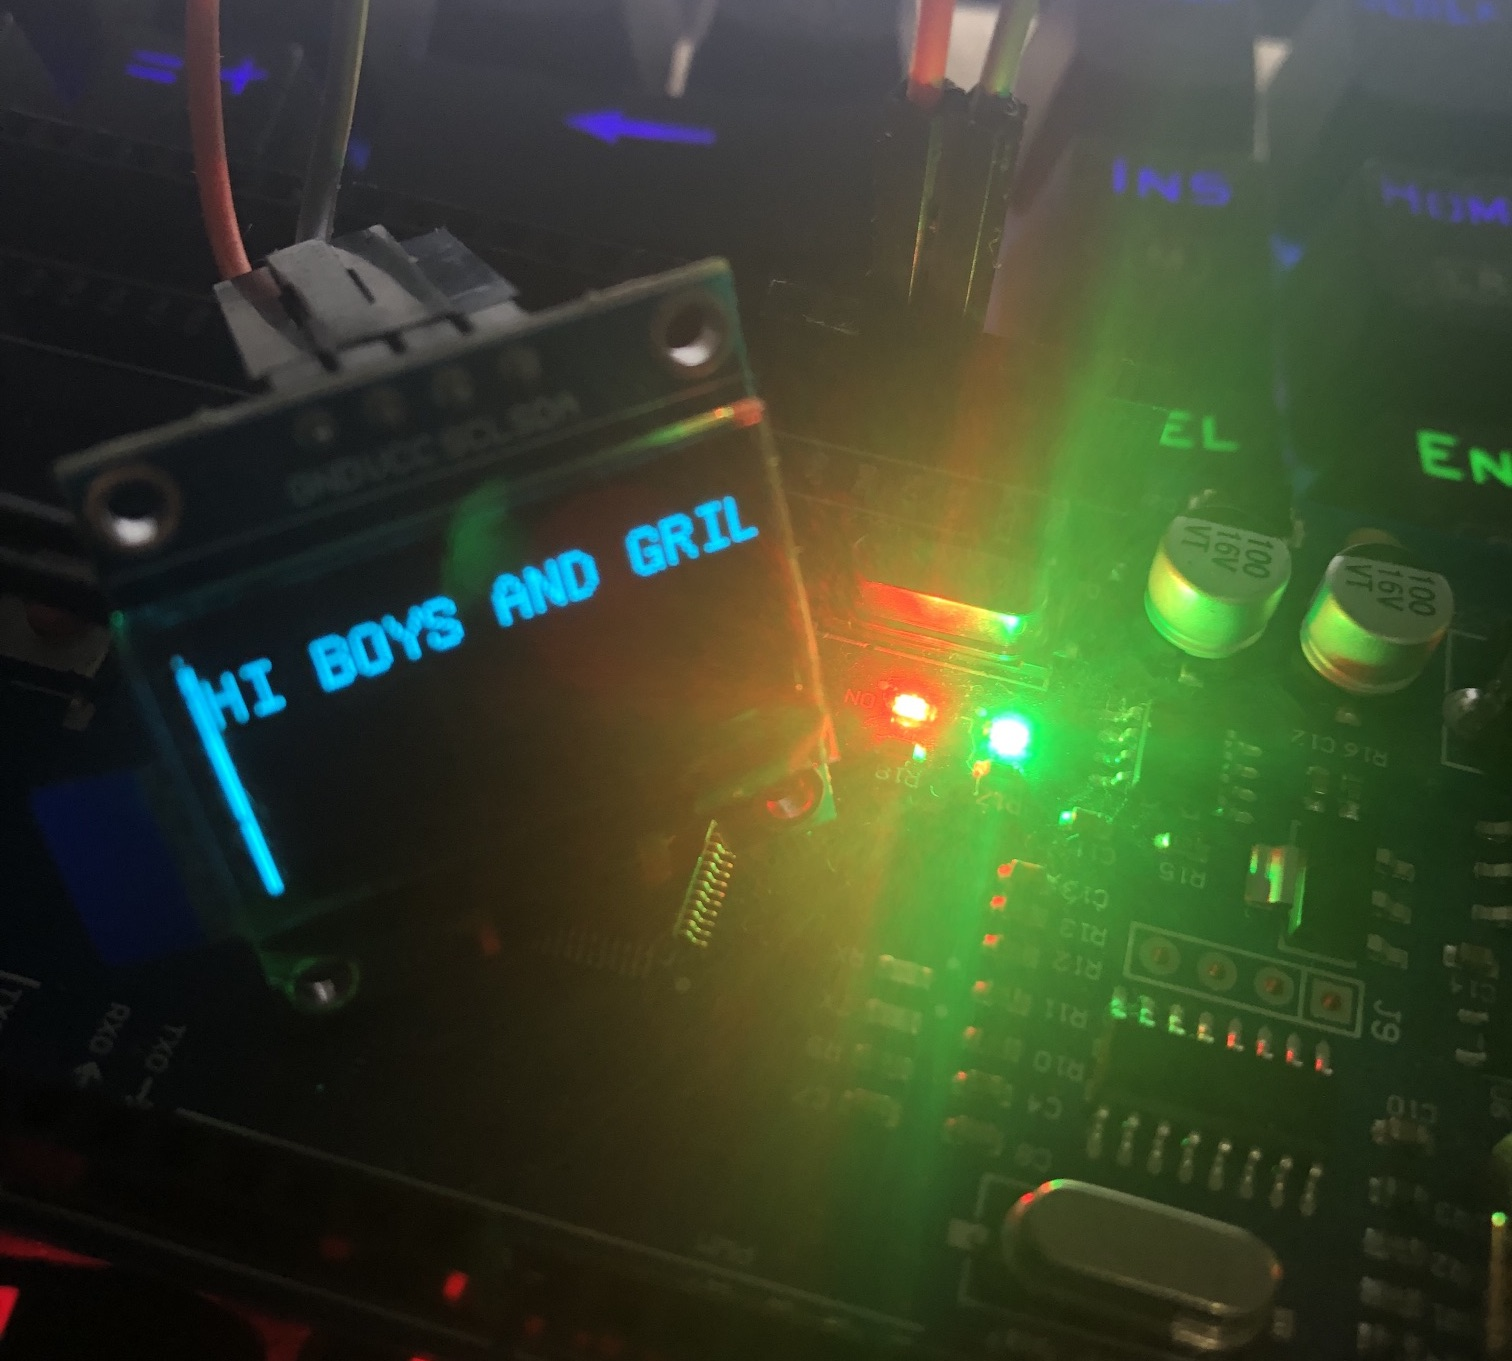
Arduino + SSD1306 OLED Display DEMO program
tags: arduino esp8266 OLED display
Arduino + SSD1306 OLED Displays DEMO program
- The screen used is 1.3 inch OLED screen
- Development board is Nodemcu
- Development environment is Arduino IDE
code
/**
 * The MIT License (MIT)
 *
 * Copyright (c) 2018 by ThingPulse, Daniel Eichhorn
 * Copyright (c) 2018 by Fabrice Weinberg
 *
 * Permission is hereby granted, free of charge, to any person obtaining a copy
 * of this software and associated documentation files (the "Software"), to deal
 * in the Software without restriction, including without limitation the rights
 * to use, copy, modify, merge, publish, distribute, sublicense, and/or sell
 * copies of the Software, and to permit persons to whom the Software is
 * furnished to do so, subject to the following conditions:
 *
 * The above copyright notice and this permission notice shall be included in all
 * copies or substantial portions of the Software.
 *
 * THE SOFTWARE IS PROVIDED "AS IS", WITHOUT WARRANTY OF ANY KIND, EXPRESS OR
 * IMPLIED, INCLUDING BUT NOT LIMITED TO THE WARRANTIES OF MERCHANTABILITY,
 * FITNESS FOR A PARTICULAR PURPOSE AND NONINFRINGEMENT. IN NO EVENT SHALL THE
 * AUTHORS OR COPYRIGHT HOLDERS BE LIABLE FOR ANY CLAIM, DAMAGES OR OTHER
 * LIABILITY, WHETHER IN AN ACTION OF CONTRACT, TORT OR OTHERWISE, ARISING FROM,
 * OUT OF OR IN CONNECTION WITH THE SOFTWARE OR THE USE OR OTHER DEALINGS IN THE
 * SOFTWARE.
 *
 * ThingPulse invests considerable time and money to develop these open source libraries.
 * Please support us by buying our products (and not the clones) from
 * https://thingpulse.com
 *
 */

// Include the correct display library

// For a connection via I2C using the Arduino Wire include:
#include <Wire.h>               // Only needed for Arduino 1.6.5 and earlier
//#include "SSD1306Wire.h"        // legacy: #include "SSD1306.h"
 #include "SH1106Wire.h"   // legacy: #include "SH1106.h"
// # include "ssd1306wire.h" //0.96 inch with this


// Optionally include custom images
#include "images.h"
#if defined(ESP8266)    // OLED pin definition
const int SDA_PIN = D2; / / Correspond to NodeMCU D5 or D1, Wemosd1mini D2
const int SCL_PIN = D1; // Corresponding NodeMCU D6 or D2, Wemosd1mini D5
#else
const int SDA_PIN = D1; / / Corresponding NodeMCU connected D5 or D1
const int SCL = D2;     // Corresponding NodeMCU connected D6 or D2
#endif

const int I2C_DISPLAY_ADDRESS = 0x3c;                      // i2c address default

SH1106Wire display(I2C_DISPLAY_ADDRESS, SDA_PIN, SCL_PIN); // 1.3 inch with this
// SSD1306Wire Display (i2c_display_address, sda_pin, scl_pin); // 0.96 inch with this
#define DEMO_DURATION 3000

typedef void (*Demo)(void);

int demoMode = 0;
int counter = 1;

void setup() {
  Serial.begin(115200);
  Serial.println();
  Serial.println();


  // Initialising the UI will init the display too.
  display.init();

 // display.flipScreenVertically();
  display.setFont(ArialMT_Plain_10);

}

void drawFontFaceDemo() {
    // Font Demo1
    // create more fonts at http://oleddisplay.squix.ch/
    display.setTextAlignment(TEXT_ALIGN_LEFT);
    display.setFont(ArialMT_Plain_10);
    display.drawString(0, 0, "Hello world");
    display.setFont(ArialMT_Plain_16);
    display.drawString(0, 10, "Hello world");
    display.setFont(ArialMT_Plain_24);
    display.drawString(0, 26, "Hello world");
}

void drawTextFlowDemo() {
    display.setFont(ArialMT_Plain_10);
    display.setTextAlignment(TEXT_ALIGN_LEFT);
    display.drawStringMaxWidth(0, 0, 128,
      "Lorem ipsum\n dolor sit amet, consetetur sadipscing elitr, sed diam nonumy eirmod tempor invidunt ut labore." );
}

void drawTextAlignmentDemo() {
    // Text alignment demo
  display.setFont(ArialMT_Plain_10);

  // The coordinates define the left starting point of the text
  display.setTextAlignment(TEXT_ALIGN_LEFT);
  display.drawString(0, 10, "Left aligned (0,10)");

  // The coordinates define the center of the text
  display.setTextAlignment(TEXT_ALIGN_CENTER);
  display.drawString(64, 22, "Center aligned (64,22)");

  // The coordinates define the right end of the text
  display.setTextAlignment(TEXT_ALIGN_RIGHT);
  display.drawString(128, 33, "Right aligned (128,33)");
}

void drawRectDemo() {
      // Draw a pixel at given position
    for (int i = 0; i < 10; i++) {
      display.setPixel(i, i);
      display.setPixel(10 - i, i);
    }
    display.drawRect(12, 12, 20, 20);

    // Fill the rectangle
    display.fillRect(14, 14, 17, 17);

    // Draw a line horizontally
    display.drawHorizontalLine(0, 40, 20);

    // Draw a line horizontally
    display.drawVerticalLine(40, 0, 20);
}

void drawCircleDemo() {
  for (int i=1; i < 8; i++) {
    display.setColor(WHITE);
    display.drawCircle(32, 32, i*3);
    if (i % 2 == 0) {
      display.setColor(BLACK);
    }
    display.fillCircle(96, 32, 32 - i* 3);
  }
}

void drawProgressBarDemo() {
  int progress = (counter / 5) % 100;
  // draw the progress bar
  display.drawProgressBar(0, 32, 120, 10, progress);

  // draw the percentage as String
  display.setTextAlignment(TEXT_ALIGN_CENTER);
  display.drawString(64, 15, String(progress) + "%");
}

void drawImageDemo() {
    // see http://blog.squix.org/2015/05/esp8266-nodemcu-how-to-create-xbm.html
    // on how to create xbm files
    display.drawXbm(34, 14, WiFi_Logo_width, WiFi_Logo_height, WiFi_Logo_bits);
}

Demo demos[] = {drawFontFaceDemo, drawTextFlowDemo, drawTextAlignmentDemo, drawRectDemo, drawCircleDemo, drawProgressBarDemo, drawImageDemo};
int demoLength = (sizeof(demos) / sizeof(Demo));
long timeSinceLastModeSwitch = 0;

void loop() {
  // clear the display
  display.clear();
  // draw the current demo method
  demos[demoMode]();

  display.setTextAlignment(TEXT_ALIGN_RIGHT);
  display.drawString(64, 0, String(millis()));
  // write the buffer to the display
  display.display();

  if (millis() - timeSinceLastModeSwitch > DEMO_DURATION) {
    demoMode = (demoMode + 1)  % demoLength;
    timeSinceLastModeSwitch = millis();
  }
  counter++;
  delay(10);
}
Intelligent Recommendation
esp notes (7) to drive the display of OLED (SSD1306)
The development environment of this article: MCU model: ESP8266 IDE environment: Arduino IDE 1.8.9 1.27 inch full color OELD module The content of this article: esp8266 uses u8g2 graphics library to d...
TPYBoard v102 connected to OLED SSD1306 to display Chinese
1. Preparation 1. oled ssd1306 can connect to v102, and it displays English correctly. If you have any questions, please refer to the previous article: 2. Download the code from the official website &...
micropython esp8266+ssd1306(OLED) display Chinese (example)
1.Adafruit_SSD1306 OLED display library useAdafruit_SSD1306:https://github.com/adafruit/Adafruit_SSD1306 Connection example: Examples of library usage: 2. Display Chinese Code reference:https://github...

dm3730 platform oled display clock-ssd1306 driver
Please indicate the source for reprinting: http://blog.csdn.net/bhj1119/article/details/73330863 Recently, an oled display was added to the dm3730 platform to display the time. Although the function i...
[K210 + micropython] Drive SSD1306 OLED Display (I2C)
[K210 + micropython] driver SSD1306 display Article catalog [K210 + micropython] driver SSD1306 display Related knowledge preparation First, I2C and SPI Second, SSD1306 OLED display Third, SSD1306 dri...
More Recommendation
arduino+oled display word
The OLED display has four pins, namely: SDA (data line) SCK (clock line) VDD (3.3V) GND On the UNO development board I2C interface, SDA corresponds to D4, SCK corresponds to D5 I2C interface on MEGA25...
arduino realizes oled display
arduino realizes oled display What we use here is a 4-pin oled module controlled by the SH1106 chip Let’s introduce the u8glib library used in it drawStr display string print output drawPixe poi...
Arduino OLED display
Arduino OLED display. The use of OLED is the OLED of the 0.96-inch IIC interface of Jinyi Chen. The procedure is as follows: display effect:...
Introduction to OLED Test Driven by Arduino Nano (3) (SSD1306 Dashboard Design)
Originally introduced how to design a dashboard through SSD1306 on Nano For basic settings of SSD1306, please refer to the link below Introduction to Arduino Nano driving OLED test (1) (soft IIC and h...
Play with ESP32 + Arduino (25) SSD1306 library to drive OLED
This time we used the following libraries: Compared with the U8G2 library, this library has a lot less functions, and the relative RAM and ROM occupancy is also less. The drawing progress bar is very ...