ESP32 Arduino Driver 0.91 "OLED
tags: Arduino&ESP32 IoT ESP32 IIC I2C Arduino
Article catalog
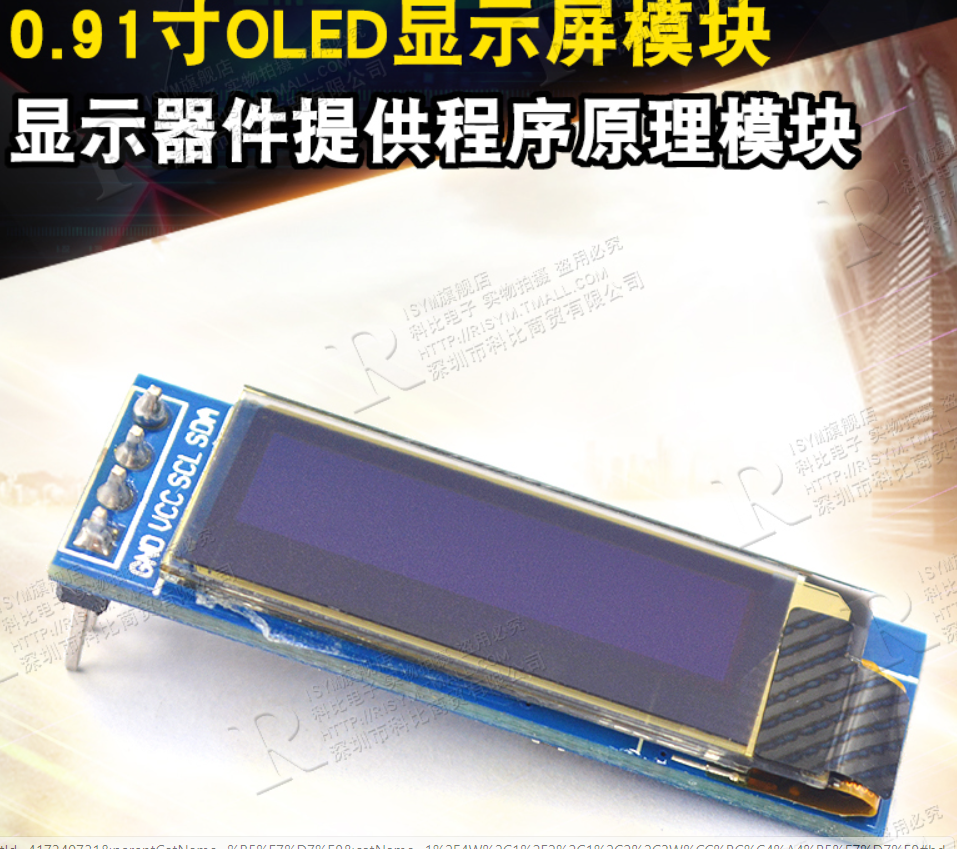
0.91 "OLED"
I2C pin definition
With I2C communication, it is inevitably involved in the definition of the pin, and the pin of the ESP32 used by I2C is reflected in the program. The specific pins of the ESP32 can be set for I2C communication using the setPins () or begin () function in Wire.h.
    //call setPins() first, so that begin() can be called without arguments from libraries
    bool setPins(int sda, int scl);

    bool begin(int sda=-1, int scl=-1, uint32_t frequency=0); // returns true, if successful init of i2c bus
      // calling will attemp to recover hung bus
The specific implementation of the setPins () and begin () functions can be seen in Wire.cpp:
bool TwoWire::setPins(int sdaPin, int sclPin)
{
    if(i2c) {
        log_e("can not set pins if begin was already called");
        return false;
    }
    sda = sdaPin;
    scl = sclPin;
    return true;
}

bool TwoWire::begin(int sdaPin, int sclPin, uint32_t frequency)
{
    if(sdaPin < 0) { // default param passed
        if(num == 0) {
            if(sda==-1) {
                sdaPin = SDA;    //use Default Pin
            } else {
                sdaPin = sda;    // reuse prior pin
            }
        } else {
            if(sda==-1) {
                log_e("no Default SDA Pin for Second Peripheral");
                return false; //no Default pin for Second Peripheral
            } else {
                sdaPin = sda;    // reuse prior pin
            }
        }
    }

    if(sclPin < 0) { // default param passed
        if(num == 0) {
            if(scl == -1) {
                sclPin = SCL;    // use Default pin
            } else {
                sclPin = scl;    // reuse prior pin
            }
        } else {
            if(scl == -1) {
                log_e("no Default SCL Pin for Second Peripheral");
                return false; //no Default pin for Second Peripheral
            } else {
                sclPin = scl;    // reuse prior pin
            }
        }
    }

    sda = sdaPin;
    scl = sclPin;
    i2c = i2cInit(num, sdaPin, sclPin, frequency);
    if(!i2c) {
        return false;
    }

    flush();
    return true;

}
Arduino program
// Author: Nick
// Date:22 Sep,2021
// This library is free software; you can redistribute it and/or
// modify it under the terms of the GNU Lesser General Public
// License as published by the Free Software Foundation; either
// version 2.1 of the License, or (at your option) any later version.
//
// This library is distributed in the hope that it will be useful,
// but WITHOUT ANY WARRANTY; without even the implied warranty of
// MERCHANTABILITY or FITNESS FOR A PARTICULAR PURPOSE. See the GNU
// Lesser General Public License for more details.
//
// You should have received a copy of the GNU Lesser General Public
// License along with this library; if not, write to the Free Software
// Foundation, Inc., 51 Franklin St, Fifth Floor, Boston, MA 02110-1301 USA
// ESP32 Arduino Driver 0.91 "OLED
//NODEMCU-32 V1.2
//Arduino V1.8.16
// Reference link:
// Non-SDA and SCL pin settings: http://www.taichi-maker.com/homepage/reference-index/display-reference-index/ARDUINO-OLED-APPLICATION/
// SDA and SCL are defined in ware.begin (): https://blog.csdn.net/qq_42805977/Article/details/107765966
#include <Wire.h>
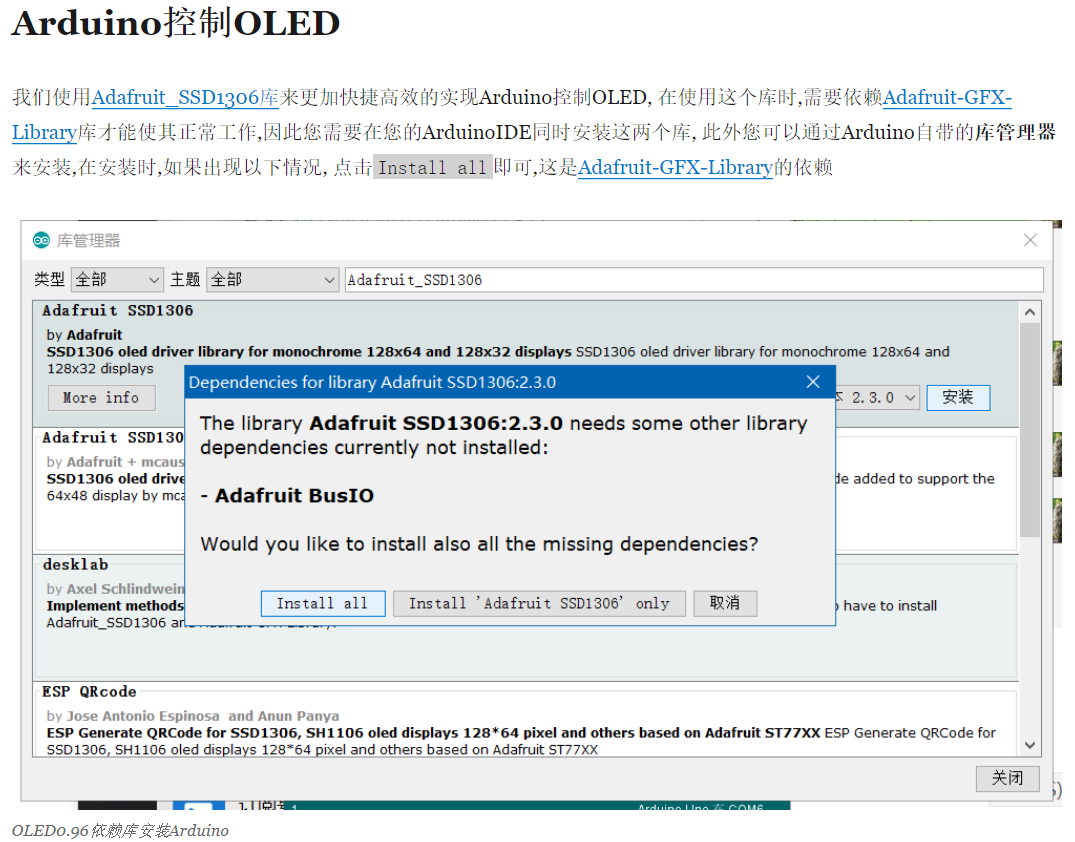
// introduce the library required to drive OLED0.91
#include <Adafruit_GFX.h>
#include <Adafruit_SSD1306.h>
#define SCREEN_WIDTH 128 // Set OLED Width, Unit: Pixels
#define SCREEN_HEIGHT 32 // Set OLED height, unit: pixel
// Customize the reset pin, although the tutorial is not used, but it is necessary for the Adafrouit_ssd1306 library file.
#define OLED_RESET 4
Adafruit_SSD1306 display(SCREEN_WIDTH, SCREEN_HEIGHT, &Wire, OLED_RESET);
void setup()
{
Wire.begin(/*SDA*/17,/*SCL*/16);
// Initialize OLED and set its IIC address to 0x3c
display.begin(SSD1306_SWITCHCAPVCC, 0x3C);
}
void loop()
{
words_display();
display.display();
}
void words_display()
{
// Clear the screen
display.clearDisplay();
// Set the font color, white visible
display.setTextColor(WHITE);
// Set the font size
display.setTextSize(1.5);
/ / Set the cursor position
display.setCursor(0, 0);
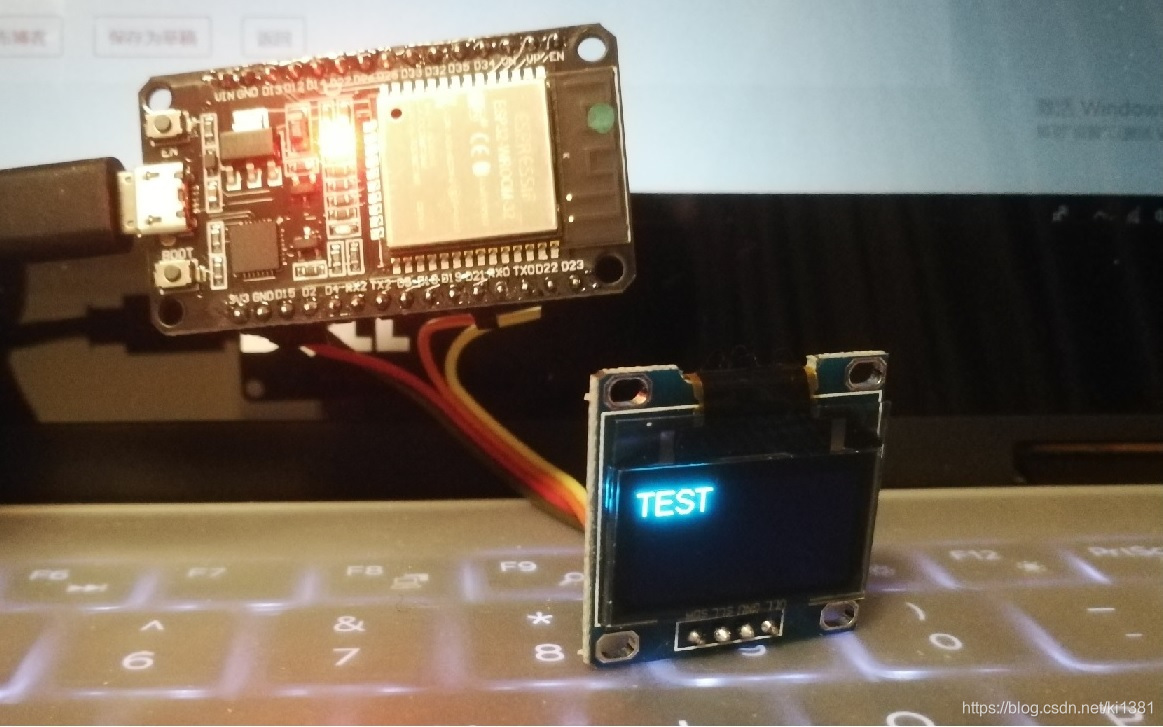
display.print("0.91 OLED");
display.setCursor(0, 10);
display.print("Run time: ");
// Print the number of seconds since the development board reset:
display.print(millis() / 1000);
display.print(" s");
display.setCursor(0, 20);
display.print("Author: ");
display.print("Nick");
}
Reference link
1) Describe the overall implementation of ideas and libraries to add precautions, not illustrated by SDA and SCL pins set:http://www.taichi-maker.com/homepage/reference-index/display-reference-index/arduino-oled-application/
2) Describe the SDA and SCL pin settings, that is, SDA and SCL are defined in ware.begin ():Remember adafrouit_ssd1306 uses custom I2C pins
void setup()
{
  Wire.begin(/*SDA*/12,/*SCL*/14);
}
Intelligent Recommendation
Fun with ESP32 + Arduino (8) U8G2 to drive OLED
OLED driver chip: SSD1306 Development platform: vscode+platformIO Development board: ESP32 Divkit v1 Currently the most widely used OLED library on the Arduino platform: U8G2 github address:https://gi...

Arduino ESP32+OLED+Meteorological Clock+Graphic Player
Arduino ESP32+OLED+Meteorological Clock+Graphic Player The 1.3 -inch SH1106 OLED screen is used, which also supports the 0.96 -inch screen display This project is transplanted from the original ESP826...
Arduino driver 7 foot OLED
Hardware wiring Arduino OLED 5V VCC GND GND D0 13 D1 12 RES RESET DC 10 CS 11 Library file Download u8glib Code Compile and upload The results show that related articles Arduino - operand OLED screen ...
ESP32 uses adafrouit_ssd1331.h driver 1331 OLED
ESP32 uses adafrouit_ssd1331.h driver 1331 OLED ADAFRUIT_SSD1331.H, all functions lists all functions in the Adafrouit_GFX.H source file, you need to define first Then initialize After you start writi...
ESP32 driver 1.3 -inch OLED SH1106 chip)
Use U8G2Lib library driver 1.3 inch OLED Drive IC: SH1106 Resolution: 128*64 Support voltage 3.3V/5.0V...
More Recommendation

ESP32 series (9): Complete a driver of an OLED
Table of contents 1 ESP32's I2C Resources 1.1 I2C architecture of ESP32 1.2 I2C API use guide 1.3 I2C timing 2 OLED driver 2.1 OLED driver use 2.1 Main API 2.1.1 esp_err_t oled_init(); 2.1.2 esp_err_t...
ESP32 driver OLED and weather display [Continuous update]
Update after you have time Articles directory 1.SPI four -line driver OLED 1.1 One of the methods: 1.2 can also be used in another way 1.3 Show multiple Chinese 1.4 Find the official website connectio...

arduino driver i2c oled display temperature and humidity
Source code // IIC interface only needs two lines VCC and GND of the OLED screen are connected to 3.3V and GND of the development board, respectively, SDA and SCL of the OLED screen are connect...
Arduino OLED driver display XBM picture
Arduino OLED driver display XBM picture If we want to display pictures on the OLED screen, our most conventional approach is to first model the picture, and save the array obtained by the model into t...
Arduino: ESP32 WIFI Get web content and display it on OLED
It is a very practical application scenario for ESP32 to access the Web Server to specify a web page through the network and display the content on the display. Resting at home today, I have a raspber...