Electron+vue-cli3 develop cross-platform desktop applications
tags: Electron-Vue Configuration vue npm
Write catalog title here
- 1. Create a project
- 1.1 Install Nodejs
- 1.2 Use cnpm to speed up downloads
- 1.3 Why not use electron-vue to build it
- 1.4 Install/upgrade vue-cli3
- 1.5 Create a vue project
- 1.6 Automatic installation of Electron
- 1.7 Manually install Electron
- 1.8 Compile and start the app
- 2. Configuration items
- 3. Basic project settings
- 3.1 Introduction to the main process and rendering process
- 3.2 APP window size
- 3.3 Cancel cross-domain restrictions
- 3.4 Cancel the menu bar
- 3.5 Set the APP window icon
- 3.6 Set the title bar name of the APP window
- 4. Pack
Build the Electron+vue-cli3 development platform step by step (valid for pro-test)
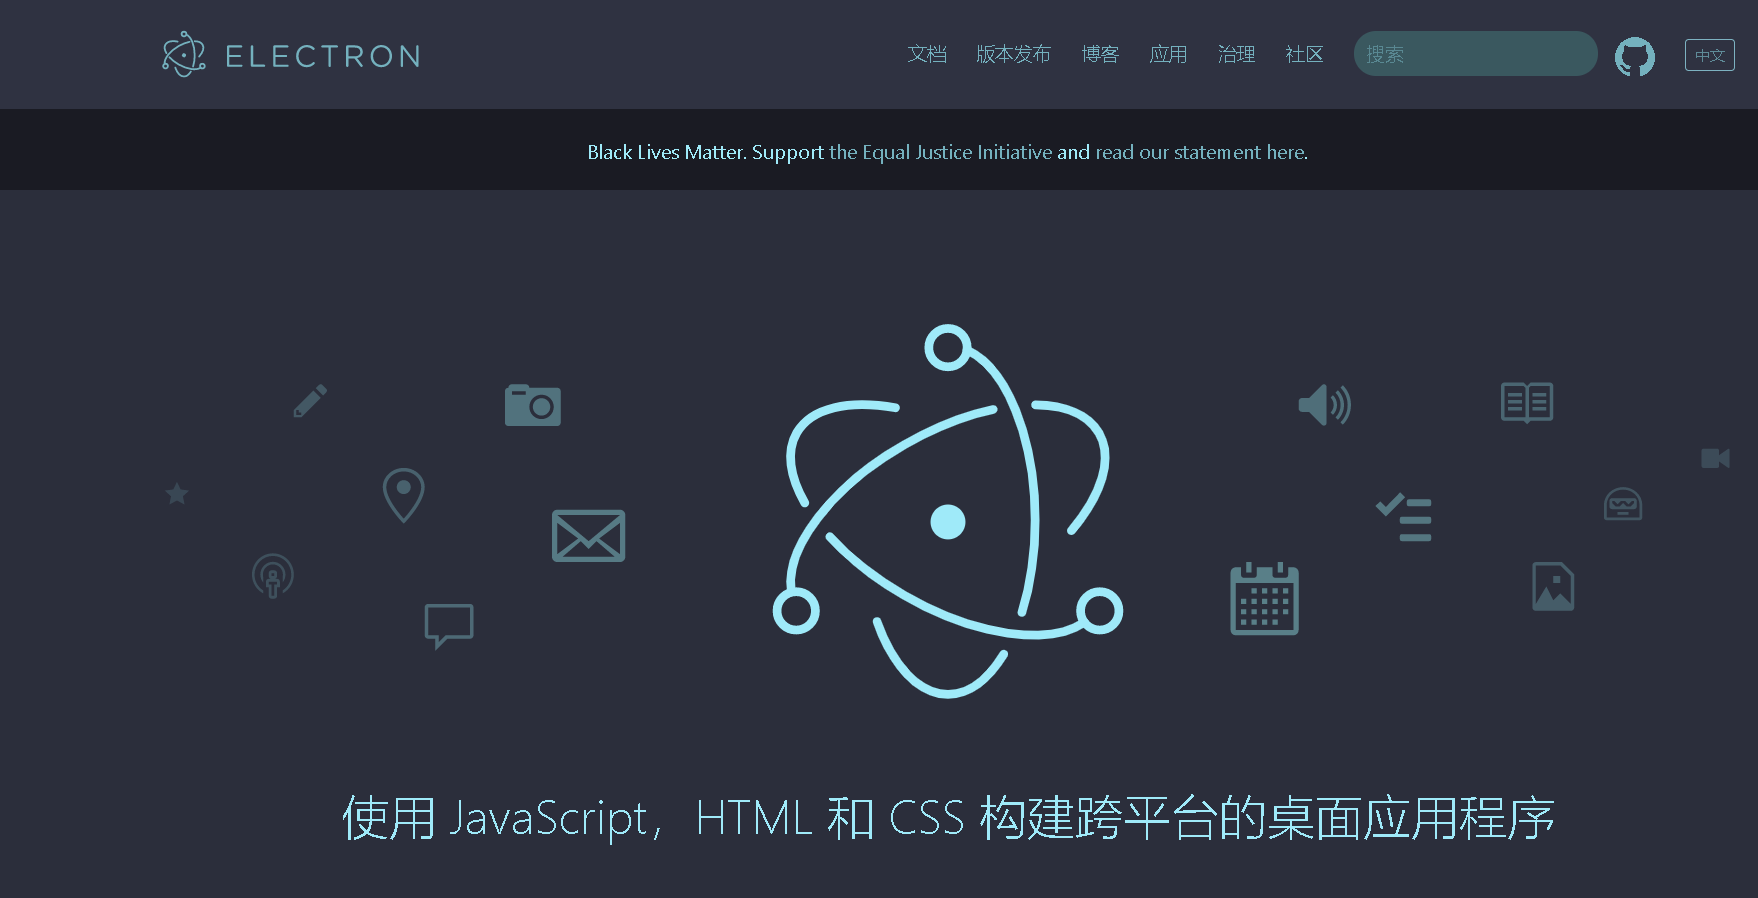
Electron is a technical framework based on Chromium and Node.js that can use HTML, CSS and JavaScript to build cross-platform applications, compatible with Mac, Windows and Linux. Although B/S is the mainstream of current development, C/S still has great market demand. Limited by the browser's sandbox restrictions
[^Sandbox (English: sandbox, also translated as sandbox), computer terminology, is a security mechanism in the field of computer security, providing an isolation environment for running programs . It is usually used for experimentation as a program whose source is untrustworthy, destructive or cannot be determined. ]
Web applications cannot meet the requirements of certain scenarios, while desktop applications can read and write local files, call more system resources, and the advantages of low cost and high efficiency of web development , This method is more and more popular among developers.
This blog step by step teaches you how to use Electron and vue-cli3 to build desktop applications while fully retaining the habit of developing web applications with vue.
This blog does not involve Electron and Vue development tutorials. It is only for the purpose of combining the two. If you want to learn about Electron and Vue in depth, please visit the official:
| Electron | Vue | Vue-cli | Stylus |
Before learning this framework, I hope readers need to master the following skills in advance:
| HTML、CSS、JavaScript | Vue2.x | Stylus |
1. Create a project
1.1 Install Nodejs
Node.js Chinese website download and install
1.2 Use cnpm to speed up downloads
Sometimes the download speed of npm is very slow, you can install cnpm, download from the domestic Taobao mirror, execute the following command:
$ npm install -g cnpm --registry=https://registry.npm.taobao.org
After that, all npm commands can be directly replaced with cnpm.
1.3 Why not use electron-vue to build it
Electron-vue official Chinese document
Since SimulatedGREG/electron-vue has not been updated for a long time, and the generated engineering structure is not vue-cli3. So give up use.
1.4 Install/upgrade vue-cli3
- First execute the following command to confirm the locally installed vue-cli version (if you have not installed vue on your computer, skip the first two steps to the third step!):
$ vue -Vor$ vue --version
At the time of writing this blog, my vue is version 2.9.6.
- If you are using vue-cli 2.x or earlier versions locally, you can first execute the following command to uninstall globally:
$ cnpm uninstall vue-cli -g
(1) vue-cli3 uses the new npm package name, which is different from the old version.
(2) Execute the above command under vue2.9.6, enter the console
vue -VThere is still output, the solution: a. Of course, the uninstall command still has to be executed: Global uninstall: npm uninstall vue-cli -g;
b. Delete the npmrc file
c. Retrieve and delete the vue-cli folder
Try again:
vue -V, The version number is not displayed.(3) You can ignore the above problems and just install the latest version of vue-cli3 (valid for pro-test).
- Execute the following command to install vue-cli3 globally:
$ cnpm install @vue/cli -g
- Execute the following command to upgrade vue-cli3:
$ cnpm update @vue/cli -g
1.5 Create a vue project
- In the specified directory, open the terminal and execute the following command to create a vue project:
$ vue create electron-vue-demo
The project name here is electron-vue-demo (No capital letters), can be changed according to your own specific projects.
- After the creation command is executed, the following options will appear before the creation is completed (if you are familiar with this step, you can skip this section):
Vue CLI v4.4.6
? Please pick a preset: (Use arrow keys)
  default (babel, eslint)
> Manually select features
ChooseManually select features (Custom installation).
? Check the features needed for your project: (Press <space> to select, <a> to toggle all,
<i> to invert selection)
>(*) Babel
 ( ) TypeScript
 ( ) Progressive Web App (PWA) Support
 (*) Router
 (*) Vuex
 (*) CSS Pre-processors
 (*) Linter / Formatter
 ( ) Unit Testing
 ( ) E2E Testing
The commonly used modules are selected here, please choose according to actual needs.
? Use history mode for router? (Requires proper server setup for index fallback in production) (Y/n)
n
If router is selected, it will ask whether to use history mode.
By default, vue-router uses the hash mode (that is, to jump to the page through url#hash), and uses the hash of the URL to simulate a complete URL. When the URL changes, the page will not reload.
If you use the history mode, the URL is just like a normal URL, for examplehttp://yoursite.com/page, More beautiful. But also need background configuration support.
Here we choosen。
? Pick a CSS pre-processor (PostCSS, Autoprefixer and CSS Modules are supported by default): (Use
arrow keys)
  Sass/SCSS (with dart-sass)
  Sass/SCSS (with node-sass)
  Less
> Stylus
Select the CSS preprocessing module, here we useStylus。
? Pick a linter / formatter config: (Use arrow keys)
  ESLint with error prevention only
  ESLint + Airbnb config
> ESLint + Standard config
  ESLint + Prettier
Select the configuration of the ESLint code format check tool, selectESLint + Standard config,Standard configuration.
? Pick additional lint features: (Press <space> to select, <a> to toggle all, <i> to invert selection)
>(*) Lint on save
 ( ) Lint and fix on commit
Line on saveIndicates that the format is checked when saving the code.
Lint and fix on commitExpressed in$ git commitAutomatically correct the format when
Here only selectLint on save。
? Where do you prefer placing config for Babel, PostCSS, ESLint, etc.?
  In dedicated config files
> In package.json
Here is where to put the configuration files of babel, postcss and eslint?
In dedicated config filesRepresents an independent file.
In package.jsonSaid to be placed in package.json.
Choose hereIn package.json。
? Save this as a preset for future projects? (y/N) N
Do you keep these settings for future projects? selectN。
Then wait patiently for the completion of the project installation.
1.6 Automatic installation of Electron
- Execute the following command to enter the project directory:
$ cd electron-vue-demo
- Then execute the following command:
$ vue add electron-builder
electron-builderIt is a simple and powerful library. It solves the thorny problem of packaging and can deal with most of the packaging needs.
- The configuration options appear next:
? Choose Electron Version (Use arrow keys)
  ^7.0.0
  ^8.0.0
> ^9.0.0
Choose the Electron version. When I write this blog, the options are the above 3 versions, just choose the latest one.
Then wait patiently for the installation to complete.
1.7 Manually install Electron
- modify
package.json, Add the following 7 lines:
  ...
  "scripts": {
    "serve": "vue-cli-service serve",
    "build": "vue-cli-service build",
    "lint": "vue-cli-service lint",
    "electron:build": "vue-cli-service electron:build",	// add
    "electron:serve": "vue-cli-service electron:serve",	// add
    "postinstall": "electron-builder install-app-deps",	// add
    "postuninstall": "electron-builder install-app-deps"	// add
  },
  "main": "background.js",		// add
  "dependencies": {
    "core-js": "^3.6.5",
    "vue": "^2.6.11",
    "vue-router": "^3.2.0",
    "vuex": "^3.4.0"
  },
  "devDependencies": {
    "@vue/cli-plugin-babel": "~4.4.0",
    "@vue/cli-plugin-eslint": "~4.4.0",
    "@vue/cli-plugin-router": "~4.4.0",
    "@vue/cli-plugin-vuex": "~4.4.0",
    "@vue/cli-service": "~4.4.0",
    "@vue/eslint-config-standard": "^5.1.2",
    "babel-eslint": "^10.1.0",
    "electron": "^9.0.5",		// add
    "eslint": "^6.7.2",
    "eslint-plugin-import": "^2.20.2",
    "eslint-plugin-node": "^11.1.0",
    "eslint-plugin-promise": "^4.2.1",
    "eslint-plugin-standard": "^4.0.0",
    "eslint-plugin-vue": "^6.2.2",
    "stylus": "^0.54.7",
    "stylus-loader": "^3.0.2",
    "vue-cli-plugin-electron-builder": "~2.0.0-rc.3",		// add
    "vue-template-compiler": "^2.6.11"
  },
  ...
- New
src/background.js
'use strict'

import { app, protocol, BrowserWindow } from 'electron'
import {
  createProtocol,
  installVueDevtools
} from 'vue-cli-plugin-electron-builder/lib'
const isDevelopment = process.env.NODE_ENV !== 'production'

// Keep a global reference of the window object, if you don't, the window will
// be closed automatically when the JavaScript object is garbage collected.
let win

// Scheme must be registered before the app is ready
protocol.registerSchemesAsPrivileged([
  { scheme: 'app', privileges: { secure: true, standard: true } }
])

function createWindow() {
  // Create the browser window.
  win = new BrowserWindow({
    width: 1000,
    height: 600,
    webPreferences: {
      // Use pluginOptions.nodeIntegration, leave this alone
      // See nklayman.github.io/vue-cli-plugin-electron-builder/guide/security.html#node-integration
      // for more info
      // nodeIntegration: process.env.ELECTRON_NODE_INTEGRATION
      webSecurity: false,
      nodeIntegration: true
    }
  })

  if (process.env.WEBPACK_DEV_SERVER_URL) {
    // Load the url of the dev server if in development mode
    win.loadURL(process.env.WEBPACK_DEV_SERVER_URL)
    if (!process.env.IS_TEST) win.webContents.openDevTools()
  } else {
    createProtocol('app')
    // Load the index.html when not in development
    win.loadURL('app://./index.html')
  }

  win.on('closed', () => {
    win = null
  })
}

// Quit when all windows are closed.
app.on('window-all-closed', () => {
  // On macOS it is common for applications and their menu bar
  // to stay active until the user quits explicitly with Cmd + Q
  if (process.platform !== 'darwin') {
    app.quit()
  }
})

app.on('activate', () => {
  // On macOS it's common to re-create a window in the app when the
  // dock icon is clicked and there are no other windows open.
  if (win === null) {
    createWindow()
  }
})

// This method will be called when Electron has finished
// initialization and is ready to create browser windows.
// Some APIs can only be used after this event occurs.
app.on('ready', async () => {
  if (isDevelopment && !process.env.IS_TEST) {
    // Install Vue Devtools
    try {
      await installVueDevtools()
    } catch (e) {
      console.error('Vue Devtools failed to install:', e.toString())
    }
  }
  createWindow()
})

// Exit cleanly on request from parent process in development mode.
if (isDevelopment) {
  if (process.platform === 'win32') {
    process.on('message', (data) => {
      if (data === 'graceful-exit') {
        app.quit()
      }
    })
  } else {
    process.on('SIGTERM', () => {
      app.quit()
    })
  }
}
The above code is generated after the automatic installation in section 1.6.
- Install dependencies
Execute the following command in the project directory to install all dependent packages:
$ cnpm install
1.8 Compile and start the app
- Execute the following commands to start compiling the APP and start the development environment APP:
$ npm run electron:serveor$ yarn electron:serve
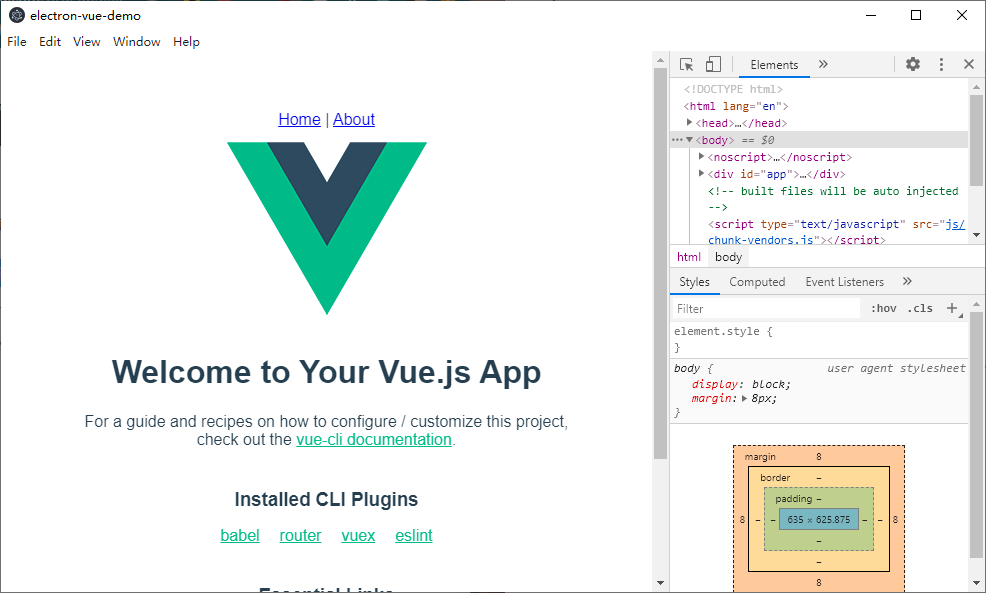
It may take a long time to start up for the first time. After loading, the APP will automatically open, just wait.
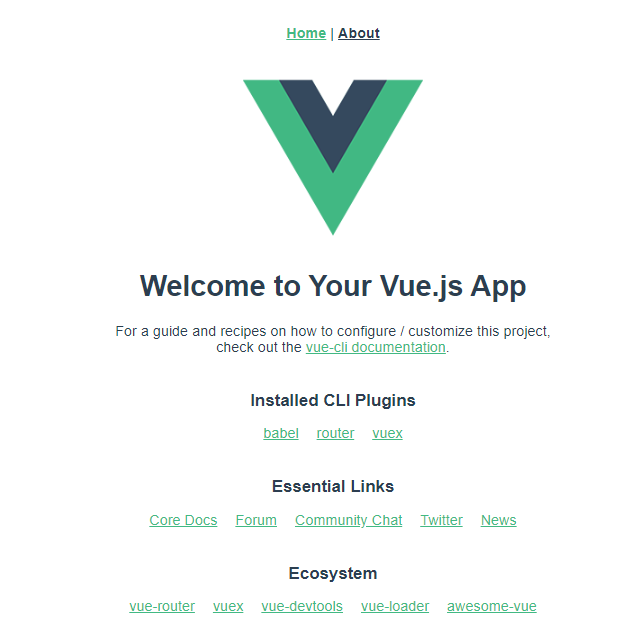
- After the compilation is successful, the APP of the development environment will appear, as shown in the figure below (Win10 startup interface):

- When I returned to the console, I found the console information:
INFO  Launching Electron...
Failed to fetch extension, trying 4 more times
Failed to fetch extension, trying 3 more times
Failed to fetch extension, trying 2 more times
Failed to fetch extension, trying 1 more times
Failed to fetch extension, trying 0 more times
Vue Devtools failed to install: Error: net::ERR_CONNECTION_TIMED_OUT
This is because the installation is requestedvuejs devtoolsPlugin. Need to overturn the wall to install successfully. You can ignore the above problem, and wait patiently for 5 times that the request fails and it will automatically skip. The above success interface confirms that the skip is still compiled successfully.
There are still solutions:
Comment outsrc/background.jsThe following code in will do:
/*
	if (isDevelopment && !process.env.IS_TEST) {
      // Install Vue Devtools
      try {
          await installVueDevtools();
      } catch (e) {
          console.error("Vue Devtools failed to install:", e.toString());
      }
  }
*/
2. Configuration items
2.1 Configure ESLint code format check tool
ESlint can efficiently check the code format, so that all engineers involved in the project can maintain a unified code style. The detection accuracy can even be accurate to whether one more space or one less space. The unification of the code format is very helpful to improve the team's collaborative development efficiency, especially for engineers with code cleanliness.
Created in the project root directory.eslintrc.js (Note that there is a.)
Please paste the following code:
module.exports = {
  root: true,
  env: {
    node: true
  },
  'extends': [
    'plugin:vue/essential',
    '@vue/standard'
  ],
  rules: {
    'no-debugger': process.env.NODE_ENV === 'production' ? 'error' : 'off',
    // Do not check the semicolon at the end of the statement
    'semi': ['off', 'always'],
    // Force indentation to 2 spaces
    'indent': ['error', 2],
    // Turn off space detection between function name and parentheses
    'space-before-function-paren': 0,
    // Ignore spaces in braces
    'object-curly-spacing': 0
  },
  parserOptions: {
    parser: 'babel-eslint'
  }
}
Here is the description of the configuration of indent indentation, which should be matched with the project root directory.editorconfig
[*.{js,jsx,ts,tsx,vue}]
indent_style = space   <--This defines whether the indentation type is space or tab
indent_size = 2        <--Here need to be with.eslintrc.js indent corresponding
trim_trailing_whitespace = true
insert_final_newline = true
.editorconfigUsed for IDE automatic formatting code
.eslintrc.jsUsed for ESlint detection
More configuration can be foundESLint tutorial。
2.2 Configure vue
Create vue.config.js in the project directory and paste the following code:
const path = require('path');

function resolve (dir) {
  return path.join(__dirname, dir);
}

module.exports = {
  publicPath: './',
  devServer: {
    // can be overwritten by process.env.HOST
    host: '0.0.0.0',
    port: 8080
  },
  chainWebpack: config => {
    config.resolve.alias
      .set('@', resolve('src'))
      .set('src', resolve('src'))
      .set('common', resolve('src/common'))
      .set('components', resolve('src/components'));
  }
};
devServer is used to set up the service of the development environment, here means to start the web service on the local port 8080.
For chainWebpack, we gave the project directory an "alias". In the code, we can directly use the "alias" to access resources, saving you the trouble of entering a complete relative path each time.
Aliases can be used directly in js code, for example:
@/common/js/xxx.jsEquivalent tosrc/common/js/xxx.js
common/js/xxx.jsEquivalent tosrc/common/js/xxx.jsTo use aliases in css or html, you need to add "~" before the alias, for example:
@import "~common/stylus/font.styl"
3. Basic project settings
3.1 Introduction to the main process and rendering process
Before starting the following steps, it is necessary to briefly understand the application architecture of Electron.
- Main process
The process in which Electron runs the main script (background.js) of package.json is called the main process. The script running in the main process creates a web page to display the user interface. An Electron application always has one and only one main process.
- Rendering process
Since Electron uses Chromium to display web pages, Chromium's multi-process architecture is also used. Each web page in Electron runs in its own rendering process.
In ordinary browsers, web pages usually run in a sandbox environment and are not allowed to access native resources. However, Electron users can interact with the operating system on the page under the support of Node.js API.
- The relationship between the main process and the rendering process
The main process uses the BrowserWindow instance to create the page. Each BrowserWindow instance runs the page in its own rendering process. When a BrowserWindow instance is destroyed, the corresponding rendering process will also be terminated.
The main process manages all web pages and their corresponding rendering processes. Each rendering process is independent, it only cares about the web page it runs.
For details, please refer toOfficial document。
3.2 APP window size
Modify background.js:
  win = new BrowserWindow({
      width: 1000,
      height: 600,
      webPreferences: {
        // Use pluginOptions.nodeIntegration, leave this alone
        // See nklayman.github.io/vue-cli-plugin-electron-builder/guide/security.html#node-integration
        // for more info
        nodeIntegration: process.env.ELECTRON_NODE_INTEGRATION
      }
   })
3.3 Cancel cross-domain restrictions
Modify background.js:
  win = new BrowserWindow({
      width: 1000,
      height: 600,
      webPreferences: {
        // Use pluginOptions.nodeIntegration, leave this alone
        // See nklayman.github.io/vue-cli-plugin-electron-builder/guide/security.html#node-integration
        // for more info
        // nodeIntegration: process.env.ELECTRON_NODE_INTEGRATION
        webSecurity: false,
        nodeIntegration: true
      }
   })
3.4 Cancel the menu bar
In the desktop APP we generated, we can see the default menu bar.
In windows, the menu bar is at the top of the APP window; in macOS, the menu bar is at the top of the computer screen.
In order to facilitate the project to directly generate pure web applications in the future, try to make all the functions of the APP in the rendering process, here we cancel the menu bar.
Due to the peculiarities of macOS, the top menu bar cannot be deleted, so we have special treatment for macOS and only keep the menu bar "About" and "Exit".
modifybackground.js:
'use strict'
// Add Menu component
import { app, protocol, BrowserWindow, Menu } from 'electron'
...
function createWindow() {
  // Create the browser window.
  ...

  win.on('closed', () => {
    win = null
  })

  createMenu()
}

// Set the menu bar
function createMenu() {
  // darwin means macOS, settings for macOS
  if (process.platform === 'darwin') {
    const template = [{
      label: 'App Demo',
      submenu: [
        {role: 'about'},
        {
          role: 'quit'
        }]
    }]
    const menu = Menu.buildFromTemplate(template)
    Menu.setApplicationMenu(menu)
  } else {
    // windows and linux systems
    Menu.setApplicationMenu(null)
  }
}
The changed APP interface style:

For more information about menu bar settings, please refer to:Electron official API
3.5 Set the APP window icon
Prepare icons for windows and macOS versions:
| Platform | File Type | Specification |
|---|---|---|
| Windows | app.ico | Minimum size: 256x256 |
| MacOS | app.png or app.icns | Minimum size: 512x512 |
Put the icon file inpublic/Under the directory, the project structure is as follows:
|- /dist_electron
   |...
|- /public
   |- app.icns
   |- app.ico
   |- app.png
   |- favicon.ico
   |- index.html
|- /src
   |...
|- .editorconfig
|- .eslintrc.js
|- .gitignore
|- babel.config.js
|- package.json
|- package-lock.json
|- README.md
Can by the wayfavicon.icoAlso modify it, but it is not used on the desktop version of the APP. It will only be used if a pure web project is generated in the future.
modifybackground.js, Let the APP window apply icon:
function createWindow() {
  // Create the browser window.
  win = new BrowserWindow({
    ...

    // eslint-disable-next-line no-undef
    icon: `${__static}/app.ico`
  })

  ...
}
here
${__static}Corresponding to the public directoryNow, you can see that the APP window icon of the development environment has taken effect on the Windows system.
For MacOS icons, please refer to chapter 4.1, and they need to be built to take effect.
3.6 Set the title bar name of the APP window
modifypublic/index.html,
<!DOCTYPE html>
<html lang="en">
  <head>
    <meta charset="utf-8">
    <meta http-equiv="X-UA-Compatible" content="IE=edge">
    <meta name="viewport" content="width=device-width,initial-scale=1.0">
    <link rel="icon" href="<%= BASE_URL %>favicon.ico">
    <!-- Change'<%= htmlWebpackPlugin.options.title %>' to App Demo -->
    <title>My App</title>
  </head>
  <body>
    ...
  </body>
</html>
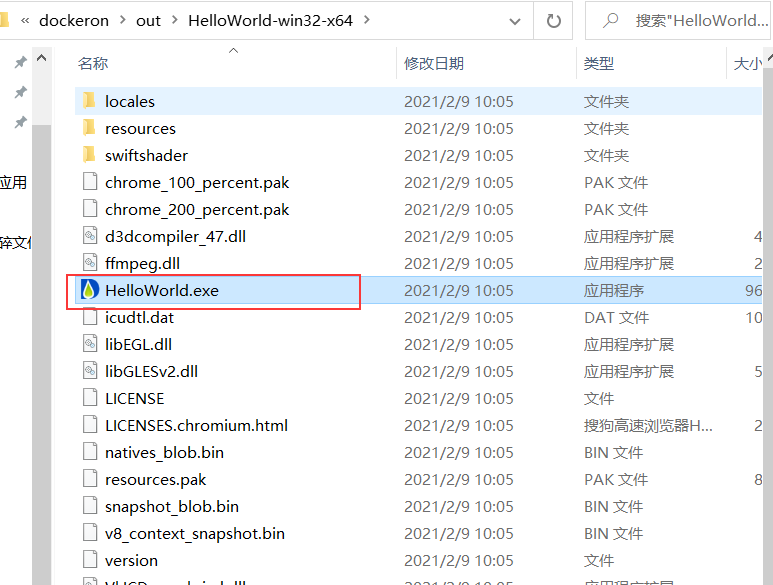
4. Packaging
Here we have integratedelectron-builderTools, you can refer toOfficial document。
Intelligent Recommendation
Electron + Vue-CLI3 development cross-platform desktop application
table of Contents Create a project 1.1 Install NodeJS 1.2 Accelerate download using CNPM 1.3 Why don't you use Electron-Vue to build? 1.4 installation / upgrade Vue-CLI3 1.5 Creating a Vue project 1.6...
[Electron + Vue] [2] Develop cross-platform desktop applications package generation EXE file
table of Contents Package 1: DOS window command package 1, under DOS, enter npm install electron-packager -g globally installed our packing artifact: 2, under the project folder, that is, the root dir...
Using Electron-Vue to achieve cross-platform desktop applications complete teaching
Introduction From the first quarter, each period will be updated in the future (I have issued original teaching in social media, the creation is not easy, and hope to support) Electron takes you to un...
Electron develops cross-platform desktop applications
Simple process In the open code root directory, the mkidr project folder Npm initialization Install electron Omit the development part of the code in the middle, to be continued Code development is co...

Electron builds cross-platform desktop applications
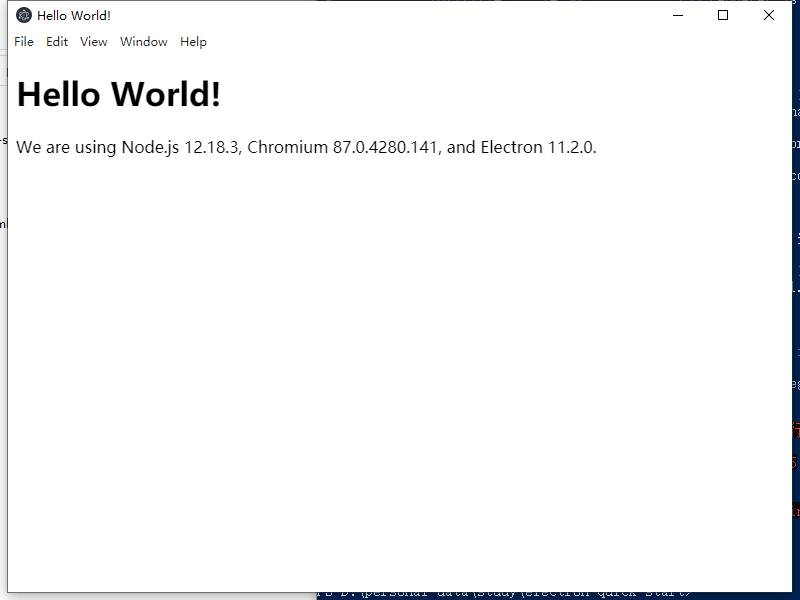
Write a custom directory title here Electron builds cross-platform desktop applications Download Official Demo - Electron-Quick-Start Main files: Successful package Electron builds cross-platform desk...
More Recommendation
Electron development cross-platform desktop applications
Although B / S is the mainstream developed, C / S still has a large market demand. Sandbox restrictions on the browser, web applications cannot meet the needs of the use under certain scenes, while de...
electron+vue-cli to develop desktop applications
ElectronIs based onChromiumwith Node.js,can use HTML、CSSwithJavaScriptBuild a technical framework for cross-platform applications, compatible with Mac, Windows and Linux. This article is what I am stu...
Use JavaScript to develop cross-platform desktop applications
Atwood’s Law was proposed by Jeff Atwood in 2007: "any application thatcan be written in JavaScript, will eventually be written in JavaScript.". It is said that this was...
Electron Vue cross-platform desktop application
Before you create an Electron cross-platform application, you need to install some commonly used tools, such as Node, Vue, and Electron, etc. Installing Electron [Windows button + R -> Open Command...
html develop cross-platform desktop application development framework electron start
electron github electron is the development of a Web technology can take advantage of cross-platform desktop application development framework, initially released Github Atom editor derived Atom Shell...