Getting Started with ESP32 Arduino Development (2)--Hello world
Note:Those who are interested in ESP32 open source technology can join a group. Let's explore and exchange together, group number: 782473783. Group name: ESP32 open source technology exchange group.
The purpose of this article is to explain how to useArduino IDEAs a development environment, useESP32Make a simple“Hello World”program.
Introduction
The purpose of this article is to explain how to useESP32Make a simple“Hello World”program. This will be a very simple introduction, so this tutorial will include printing messages toArduino IDEOn the serial port assistant.
now atEspressifofgithubpageOn, there is aWindowsInstall onArduino-ESP32Very good tutorial。please checkHereMentioned tutorial. In addition, please note that there are other operating systems that can beHeresee.
Note that in the tutorial mentioned earlier, clonegitThe directory of the repository may be different from yours. In my case, for example,Arduinoinstalled atC:\ Programs(x86)\Arduinoin. and,hardwareThe directory already exists, so only\espressif\esp32Folder is made byGitAutomatically created.
The other important thing is that you may need to run as an administratorGit GUIwithget.exeFile in order to create the correct folder. In both cases, just right-click on the executable file and select“ Execute as administrator ”OK. It should work fine.
Code
The code for this tutorial is very simple, especially if you have usedArduinoorESP8266experience of.
So, inSetupIn the function, we first open a serial port connection, the baud rate is115200To do this, we simply callSerialObject ofbeginMethod and use the mentioned baud rate as input. Next, in the loop function, we only need to callprintlnMethod, print with a new line at the end“Hello World”news. After that, we usedelayFunction do2second(2000Milliseconds).
void setup()
{
 Serial.begin(115200);
}
void loop()
{
 Serial.println("HelloWorld");
 delay(2000);
}
Run code
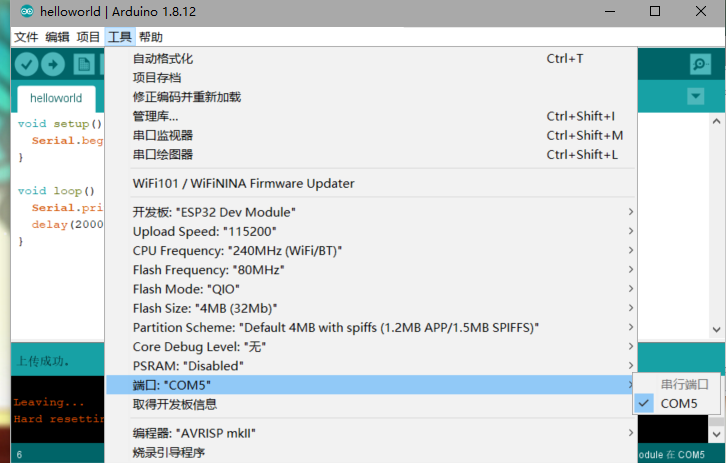
Because we are still inESP32In the early stages of the product life cycle, most suppliers still call these boards“ESP32Development board”Or similar products. In my case, I use one of the universal boards sold on Taobao. So i choseArduino IDEmiddle“ESP32 Dev Module”As shown1Shown.

Figure1 - Currently availableArduino IDEofESP32board.
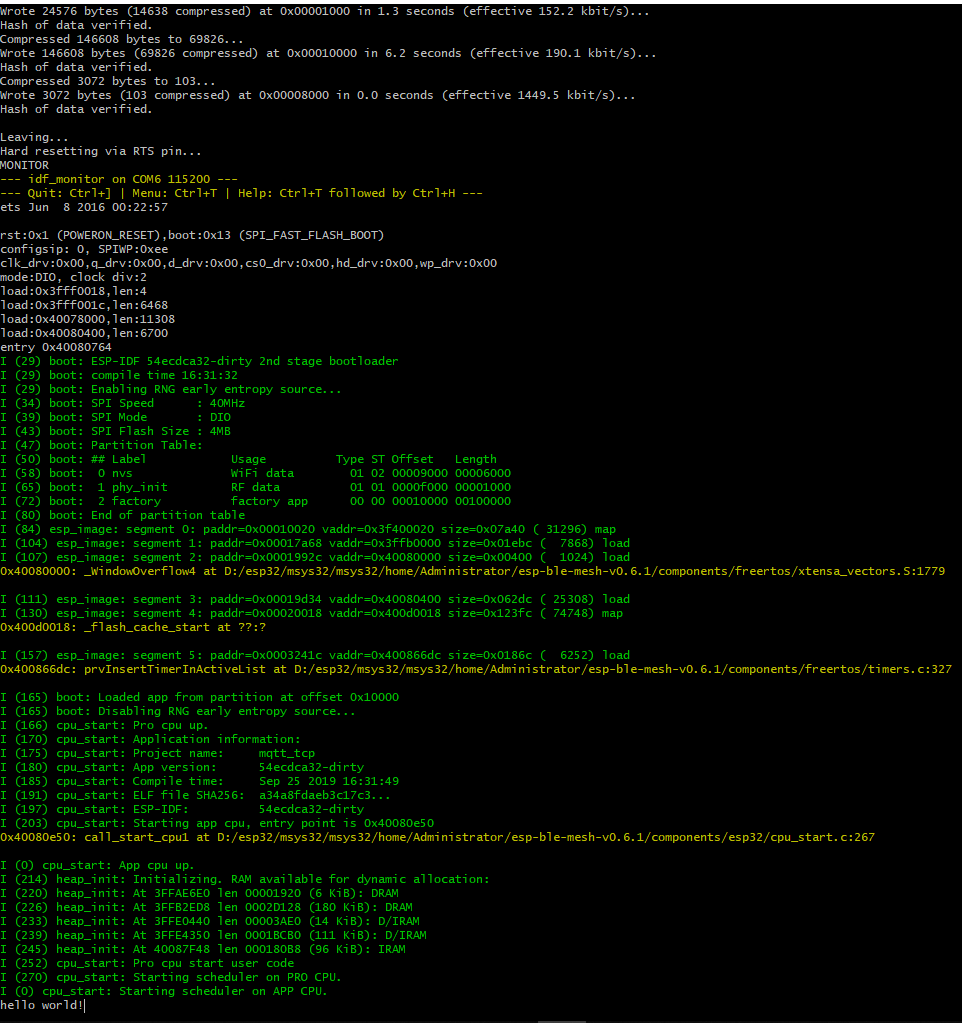
Nevertheless, the code compiling and uploading is also very good. D2As can be seen in the serial console, we got the correct“Hello World”Output. Don't forget to use the correct baud rate defined in the code, as shown in the figure.

Figure2 - “Hello World”The output of the program
related information
Intelligent Recommendation
Getting started with ROS (2) ---- Hello World
The ROS environment has been described earlier, and details will not be described here. Already set up environmental information: First, initialize the work space, and create a ROS package Initializat...
Usage record based on ESP32 development board (2) ------Hello World
Article directory Preface 1. Code environment 2. Code analysis 3. Code verification Summarize Preface Project usage debugging records There are also many resources in the site, but errors occurred dur...
Getting started: Hello World.
GIAO! GIAO! GIAO! GIAO! GIAO! GIAO!...
Arduino Getting Started to Wen Dynasty 1: Let Arduino tell Hello World
1、Hello World! First, let's practice a simple experiment that doesn't need other auxiliary components, just a simple experiment of Arduino and a download line, let our Arduino say "Hello World!&q...

Arduino ESP32 Getting Started Light Program
Arduino ESP32 Getting Started Light Program Lighting premise is that you need to install the ESP32 support firmware package in advance. ESP32 Development Information 1.74GFrom the entry to the ground....
More Recommendation

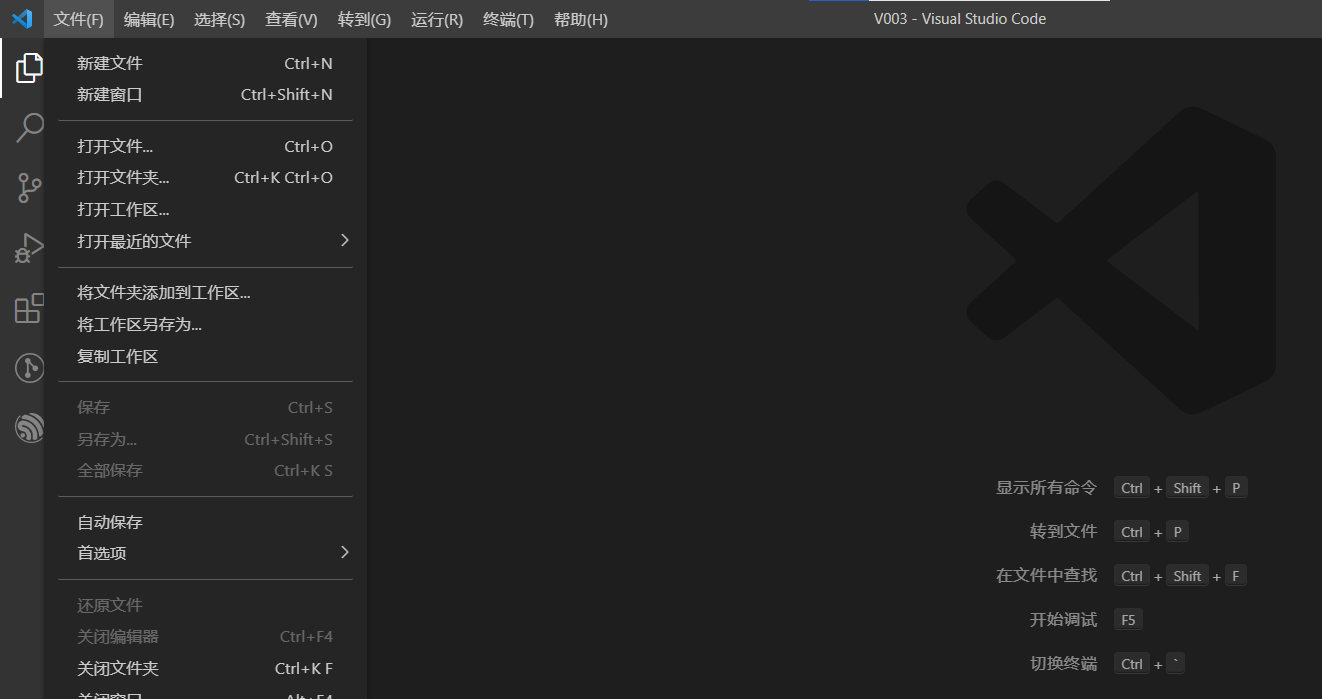
ESP32-C3 Getting Started Tutorial Basic Article ①-Based on VS Code Construction HELLO World
Articles directory 1. Construction project 2. Configuration project 3. Choose a chip Fourth, fast operation 1. Construction project PressF1 enterESP-IDF: Show Examples Projects chooseUse current ESP-I...
Using Arduino to develop ESP32 (two): chip selection and hello world!
I used the esp32-s of Anxin Kejia before tried to build the environment according to his information, but the information on the website was unclear, and it didn’t work in the end. Forget it, us...

Set up an ESP32 development environment-Hello World
file:///home/work/esp/esp-idf-doc-zh/docs/_build/html/get-started/linux-setup.html [Install dependent packages] The entire ESP-IDF environment requires a lot of software, such asgit make``pythonW...
The first lesson of ESP32 development, hello world
The environment setup will not be repeated here, and directly enter the project. First copy the example program and modify it Then open the corresponding editor and switch to the project path, enter m...

Getting started with iPhone development "Hello World" analysis code
This article will introduce the analysis code of the Hello World program, which is how the program says Hello. This article is very suitable for developers who have not yet started, I hope that the be...