Custom visualization of Open3D
tags: open3d
bydraw_geometrieswithdraw_geometries_with_custom_animationThe function can easily use the visualization of Open3D, everything can be done with the GUI. Press the H key in the visualization window to see related help information. more details:Visualize。
This tutorial focuses on the more advanced visualization function to customize the behavior of the visual window. Please refer to/Python/Advanced/customized_visualization.pyImplement the following routine.
Imitate the Draw_Geometries () function via Visualizer class
def custom_draw_geometry(pcd):
    # The following code implements the same effect as the following:
    # o3d.visualization.draw_geometries([pcd])
    vis = o3d.visualization.Visualizer()
    vis.create_window()
    vis.add_geometry(pcd)
    vis.run()
    vis.destroy_window()
This function is implementeddraw_geometriesThe same functionality is the same.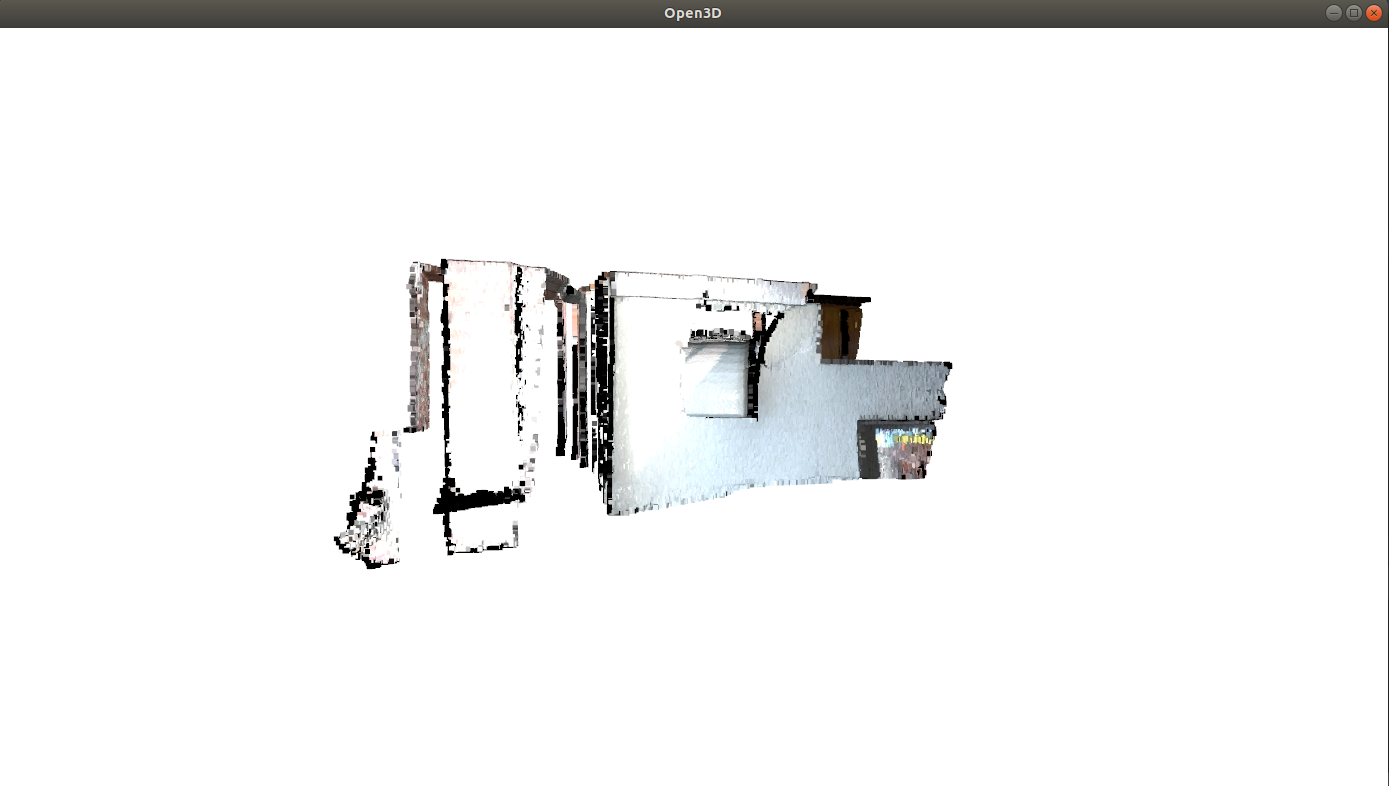
VisualizerClass has several variables, such asViewControlwithRenderOption. The following function reads the predefined in the JSON file stored in the JSON file.RenderOption。
def custom_draw_geometry_load_option(pcd):
    vis = o3d.visualization.Visualizer()
    vis.create_window()
    vis.add_geometry(pcd)
    vis.get_render_option().load_from_json("../../TestData/renderoption.json")
    vis.run()
    vis.destroy_window()
Change angle
To change the angle of view of the camera, you must first obtain an instance of the visual control. usechange_field_of_viewThe function changes the field of view.
def custom_draw_geometry_with_custom_fov(pcd, fov_step):
    vis = o3d.visualization.Visualizer()
    vis.create_window()
    vis.add_geometry(pcd)
    ctr = vis.get_view_control()
    print("Field of view (before changing) %.2f" % ctr.get_field_of_view())
    ctr.change_field_of_view(step=fov_step)
    print("Field of view (after changing) %.2f" % ctr.get_field_of_view())
    vis.run()
    vis.destroy_window()
The perspective can be set to [5,90]. Note functionchange_field_of_viewAdd a specified FOV to the current FOV. The default visualization has 60 ° FOV. Call the following code:
custom_draw_geometry_with_custom_fov(pcd, 90.0)
This will add 90 ° FOV on the default 60 °. When the maximum FOV is exceeded, the FOV will be set to 90 °.
The following code
custom_draw_geometry_with_custom_fov(pcd, -90.0)

The FOV will be set to 5 ° because 60 - 90 = -30 is below 5 °.
Use a callback function
def custom_draw_geometry_with_rotation(pcd):
    def rotate_view(vis):
        ctr = vis.get_view_control()
        ctr.rotate(10.0, 0.0)
        return False

    o3d.visualization.draw_geometries_with_animation_callback([pcd],
                                                              rotate_view)
functiondraw_geometries_with_animation_callbackPython's callback functionrotate_viewRegister as the idle function of the main loop. When the visual window is in idle state, he will rotate along the X axis. This defines animation behavior.
def custom_draw_geometry_with_key_callback(pcd):

    def change_background_to_black(vis):
        opt = vis.get_render_option()
        opt.background_color = np.asarray([0, 0, 0])
        return False

    def load_render_option(vis):
        vis.get_render_option().load_from_json(
            "../../TestData/renderoption.json")
        return False

    def capture_depth(vis):
        depth = vis.capture_depth_float_buffer()
        plt.imshow(np.asarray(depth))
        plt.show()
        return False

    def capture_image(vis):
        image = vis.capture_screen_float_buffer()
        plt.imshow(np.asarray(image))
        plt.show()
        return False

    key_to_callback = {}
    key_to_callback[ord("K")] = change_background_to_black
    key_to_callback[ord("R")] = load_render_option
    key_to_callback[ord(",")] = capture_depth
    key_to_callback[ord(".")] = capture_image
    o3d.visualization.draw_geometries_with_key_callbacks([pcd], key_to_callback)
The callback function can also be registered when the button event is generated. The above script registered four buttons. For example, pressing the K key will set the background to black.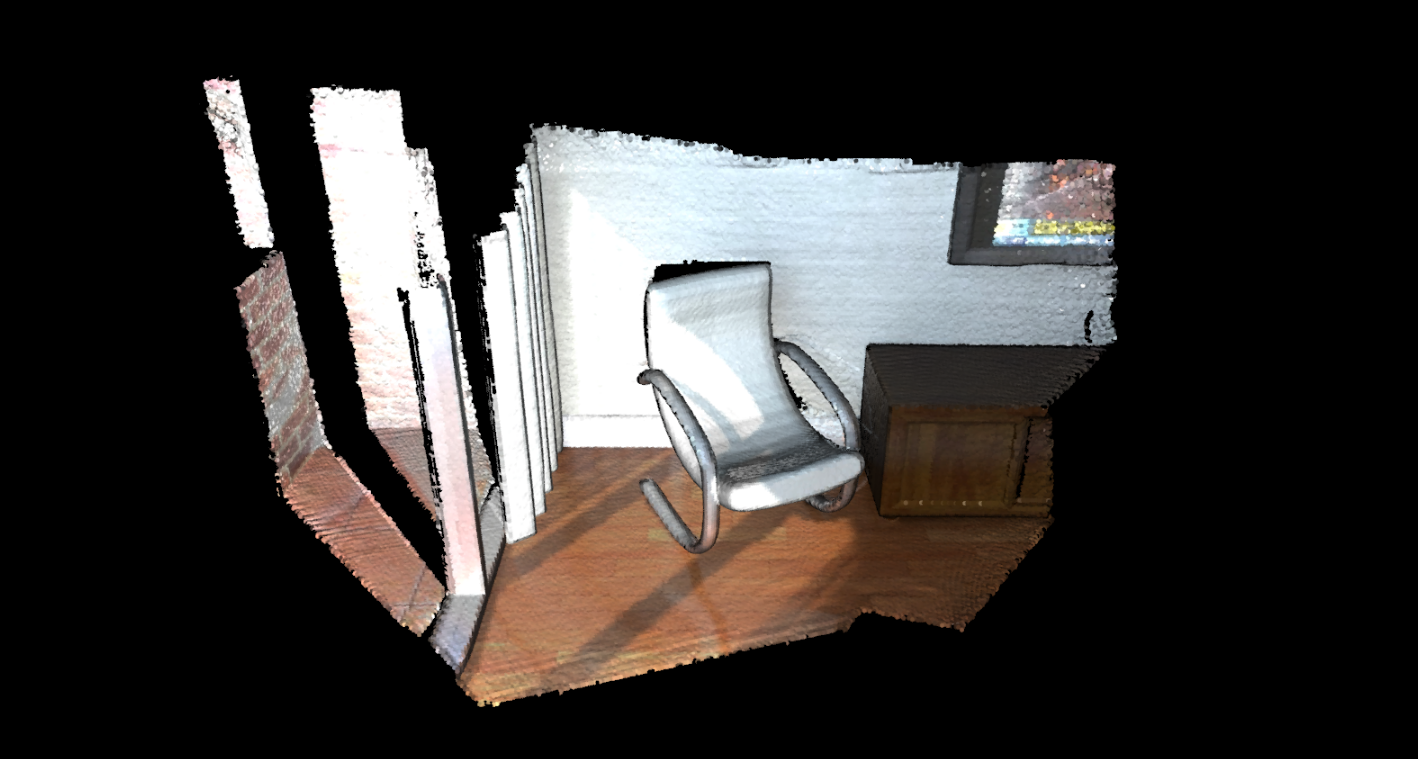
Capture image with custom animation
def custom_draw_geometry_with_camera_trajectory(pcd):
    custom_draw_geometry_with_camera_trajectory.index = -1
    custom_draw_geometry_with_camera_trajectory.trajectory =\
            o3d.io.read_pinhole_camera_trajectory(
                    "../../TestData/camera_trajectory.json")
    custom_draw_geometry_with_camera_trajectory.vis = o3d.visualization.Visualizer(
    )
    if not os.path.exists("../../TestData/image/"):
        os.makedirs("../../TestData/image/")
    if not os.path.exists("../../TestData/depth/"):
        os.makedirs("../../TestData/depth/")

    def move_forward(vis):
        # This function is called within the o3d.visualization.Visualizer::run() loop
        # The run loop calls the function, then re-render
        # So the sequence in this function is to:
        # 1. Capture frame
        # 2. index++, check ending criteria
        # 3. Set camera
        # 4. (Re-render)
        ctr = vis.get_view_control()
        glb = custom_draw_geometry_with_camera_trajectory
        if glb.index >= 0:
            print("Capture image {:05d}".format(glb.index))
            depth = vis.capture_depth_float_buffer(False)
            image = vis.capture_screen_float_buffer(False)
            plt.imsave("../../TestData/depth/{:05d}.png".format(glb.index),\
                    np.asarray(depth), dpi = 1)
            plt.imsave("../../TestData/image/{:05d}.png".format(glb.index),\
                    np.asarray(image), dpi = 1)
            #vis.capture_depth_image("depth/{:05d}.png".format(glb.index), False)
            #vis.capture_screen_image("image/{:05d}.png".format(glb.index), False)
        glb.index = glb.index + 1
        if glb.index < len(glb.trajectory.parameters):
            ctr.convert_from_pinhole_camera_parameters(
                glb.trajectory.parameters[glb.index])
        else:
            custom_draw_geometry_with_camera_trajectory.vis.\
                    register_animation_callback(None)
        return False

    vis = custom_draw_geometry_with_camera_trajectory.vis
    vis.create_window()
    vis.add_geometry(pcd)
    vis.get_render_option().load_from_json("../../TestData/renderoption.json")
    vis.register_animation_callback(move_forward)
    vis.run()
    vis.destroy_window()
This function reads the camera track and then customizes the animation function.move_forwardTo traverse the camera trajectory. In this function, the color image and depth image are used separately.Visualizer.capture_depth_float_bufferwithVisualizer.capture_screen_float_bufferGo to capture and save it into a file.
Captured color image sequence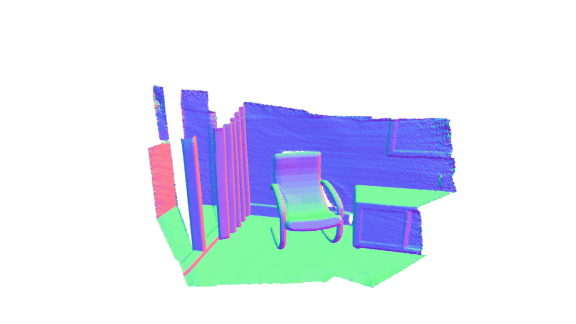
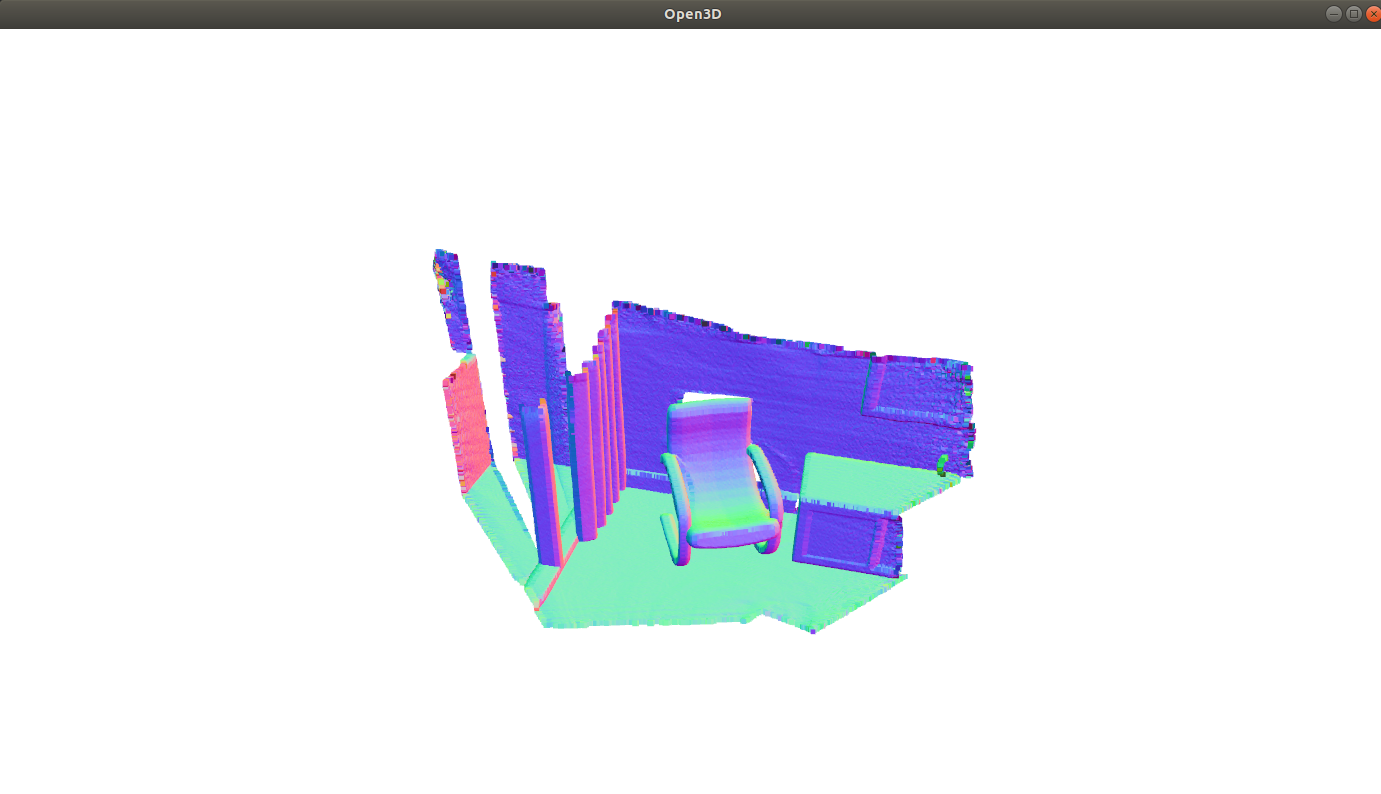
Captured depth image sequence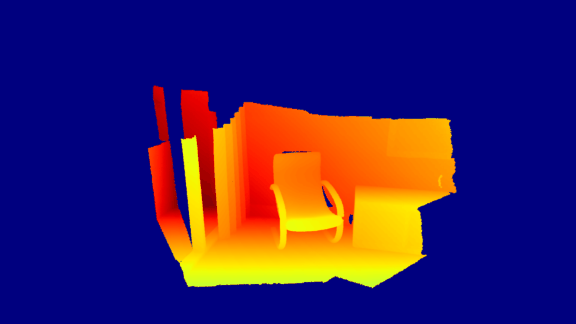
Intelligent Recommendation
[Python] [Open3D] .pcd and .obj three-dimensional visualization
As the title (a) Patch display (b) Vertex display...

Open3D: Reading and writing point cloud and visualization (C++)
Both Open3D and PCL are excellent 3D data processing libraries, but they do not support .las files. (As a person dealing with LAS point clouds in large/natural scenes, my mood is a bit unbeautiful.) P...
Open3D visualization Numpy point cloud data
Open3D visualization Numpy point cloud data The effect of using the Open3D visualization point cloud data is relatively dazzling. But when I re-use the Open3D library in half a year, I found that the ...


Python uses Open3D visualization NPY files
Article catalog Visualization code 2. Code analysis 3. Visualization TXT file pcdThere are two types of storage in point cloud, which are binary and asCLL code form, which is explained Preparation: Op...
More Recommendation

Use Open3D visualization. Point cloud in the format
Use Open3D visualization. Point cloud in the format PointNet Dataset Indoor3D_SEM_SEG_HDF5_DATA Download link 2. Introduction to Data Format 3. Visualization a block 4. Result PointNet Dataset Indoor3...
Python 3D Visualization Tool Application - Open3D (1)
Python version 3D visualization tool application - Open3D (1) Open3D is very easy to use for Python version of 3D tools and supports Windows and Ubuntu systems. Related project address:https://gitcode...
Open3D Learning Notes (1) ---- Visualization point cloud
Visualize point cloud Paint point cloud...
Open3d (1) -Dianyun data read visualization
The pro -test code program can be used, and the Open3D version is 0.13.0. Open3D data resource download:GitHub - Cobotic/Open3D: Open3D: A Modern Library for 3D Data Processing The code execution func...
The use of Open3D, PCD visualization, 3D Bbox visualization, web_visualizer, etc.
Open3D visualization BOX (with angle) 3D BBOX drawing method: Save VIS visualization effect into picture form Open3D draws arrows In the process of using Open3D, I need to express the extracted target...