Labelme use tutorial
tags: HALCON characteristics artificial intelligence
(1) Open the Labelme interface
Open Labelme in the virtual environment you created. As shown below: Enter Label directly and enter.
Note: If you accidentally exit the Labelme virtual environment, you need to re-enter the environment.
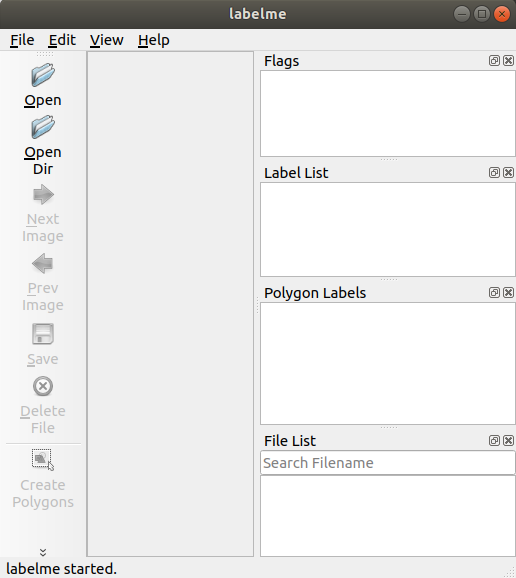
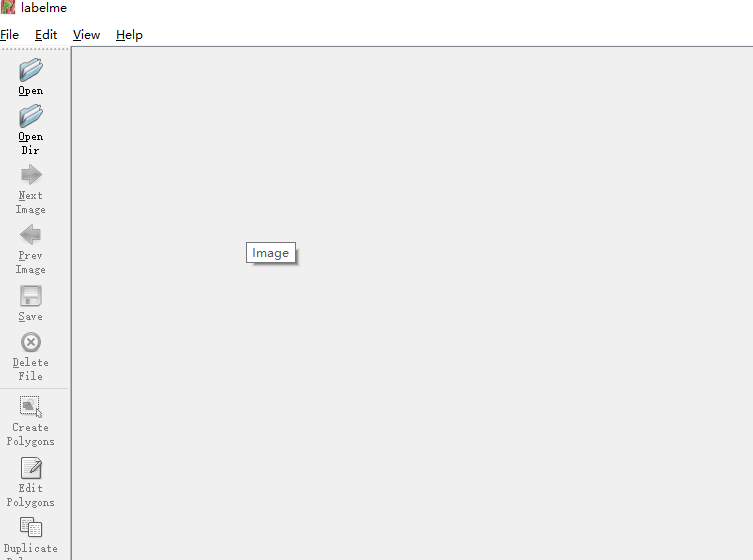
After opening, the interface of the Labelme is like this:

(2) Labeling data set
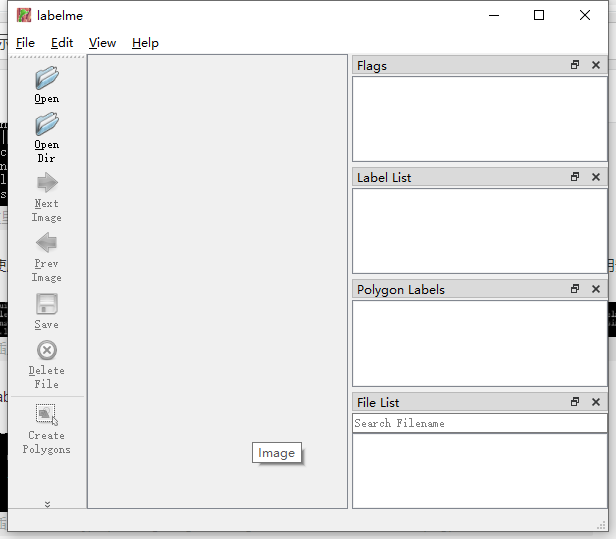
The first step is to click Open. Open your ready-made data set, select the first picture to open. For example, the picture I opened is 302.jpg

Step 2, click Create Polygons to start the point. The points must be meticulous, and you must live in the target (here the origin). Just like this:

After the anchor is completed, you will automatically jump out of the picture page to make you annihilate. Here I only need to judge the area of the origin, so the category is named directly1I.e.
Then click Save, get the corresponding JSON file. As shown below:
(3) Generate a PNG picture label
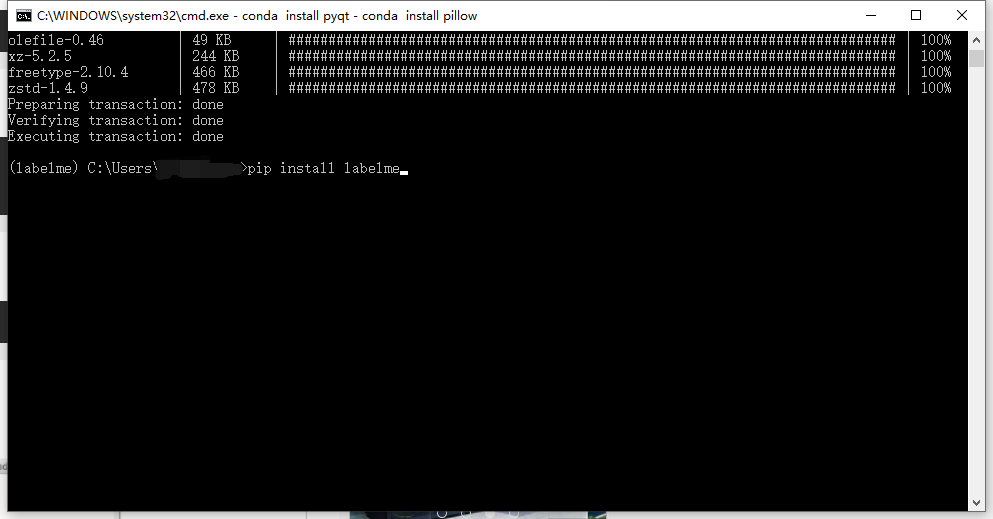
In the start menu, find the Anaconda PROMPT to open again. Note that the Anaconda Prompt opened by the first time does not have to be.
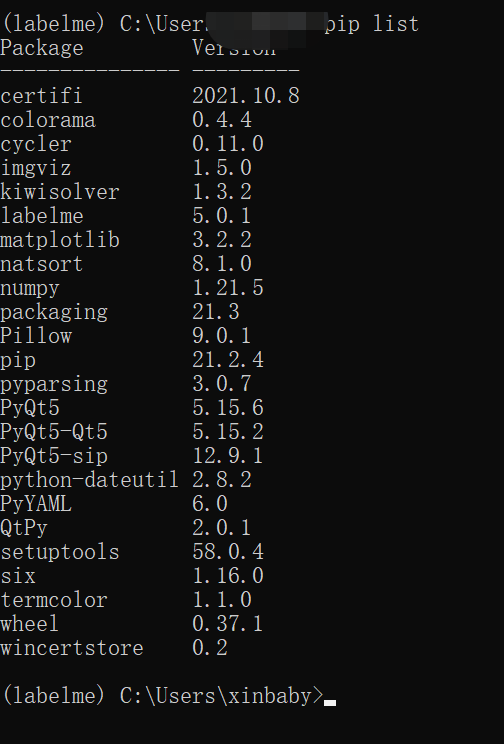
The first step, first enter the Labelme environment that has been created:
conda activate labelme
In the second step, the CD is the JSON file address that has just been generated. For example, I generated 302.json files in: C: \ users \ yibo_liu \ desktop \ sand heap dataset \ dataset test. Then, CD is in this directory:

In the third step, run the following code:
Labelme_json_to_dataset <file name> .json
For example, I want to generate 302.json's PNG label file, just like this:

After this step is completed, 302_json files are generated, and our finally needed PNG tags in this folder.

Finally, open 302_json files, need to be label.pngRenameFor 302.png, this is our final label.
Note: The label picture name must correspond to the original map.
Intelligent Recommendation
Labelme installation and usage tutorial
Labelme installation and usage tutorial design by ht 1. Installation tutorial Based on the video tutorial: https://www.bilibili.com/video/BV16b411G7kB?p=1 modified Step 1: Install Anaconda Teaching vi...
ubuntu18.04 install labelme tutorial
Step 1: Run directly: Report an error after running: Command “python setup.py egg_info” failed with error code 1 in /tmp/pip-build-ofw7jw6h/PyQt5/ Solution: And then re-run Successful inst...

Labelme Tutorial (Practical)
Labelme use tutorial 1 Labelme installation 1.1 Open Anaconda PROMPT 1.2 Creating a virtual PY environment: conda create –name=labelme python=3.7 1.3 Install PYQT: conda install pyqt 1.4 Install...
Tools Labelme Installation Tutorial
1. Recommendations that do not install Anacode first install Anacode, Anacode installation tutorials do not done here 2. Creating a Labelme environment in Anacode, using the Python3.6 version, the com...
Labelme installation tutorial
Execute in CMD: labelme Maybe I have encountered problems, see a blog!...
More Recommendation
Labelme and labelimg installation tutorial
labelme installation Environmental preparation Labelme requires Python and Anaconda support. View python version and Conda version start installation Create a virtual environment Activate into the env...
labelme installation tutorial in windows
1. What is labelme 2. Detailed installation tutorial 1. What is labelme labelme is a graphic image annotation tool, it is written in Python, in fact, it is a labeling software, --- Points, rectangles,...
Labelme use experience
First labelme can be labeled instance segmentation or semantic segmentation How to mark the weight, if not separate from person1, person2, that is semantic segmentation Still do not understand, semant...

Labelme installation and use
From: https://blog.csdn.net/shwan_ma/article/details/77823281 Image semantic segmentation is a pixel-wise level of image classification operation. Its purpose is to put the same label on the same cate...
Windows labelme installation and use
1. Installation (1) Open anacoda prompt (2) Enter pip install pyqt5 pip install labelme 2. Use At the anaconda prompt, enter labelme Shortcut key previous picture: A Next picture: D Save: Ctrl+...