labelme installation tutorial in windows
tags: deep learning artificial intelligence
1. What is labelme
2. Detailed installation tutorial
1. What is labelme
labelme is a graphic image annotation tool, it is written in Python, in fact, it is a labeling software,
--- Points, rectangles, polygons, etc. can be used for target detection and segmentation tasks, etc.
---Annotation in the form of flag, which can be used for image classification and cleaning tasks
---Video annotation, generate VOC data set
---Generate a dataset in COCO format
2. Detailed installation tutorial①
Reference link https://github.com/wkentaro/labelme
First, ancoda must be installed, and the specific installation process will not be repeated here.
Click Anaconda Prompt to install. All commands are performed here.
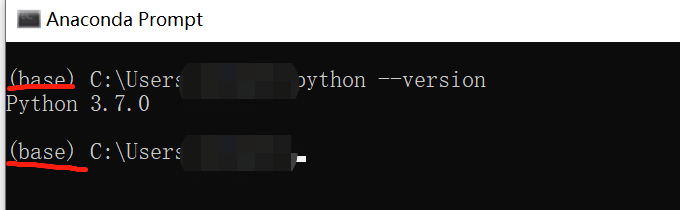
① Check the python version code
python --version
②Create a conda environment for labelme, named labelme
conda create --name=labelme python=3.7
Because I have already created it, it is in this state. If you are connected to the external network, be careful to disconnect the external network.

③ Activate the environment
conda activate labelme

The front end will change. operate in this environment.
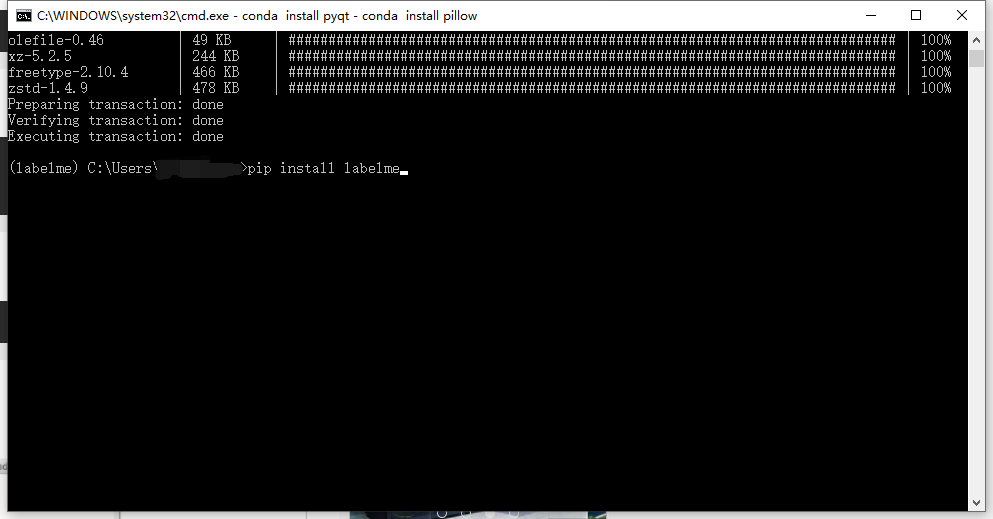
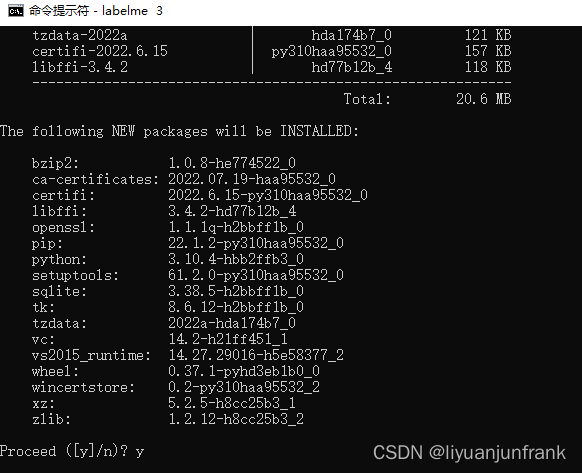
④Install labelme
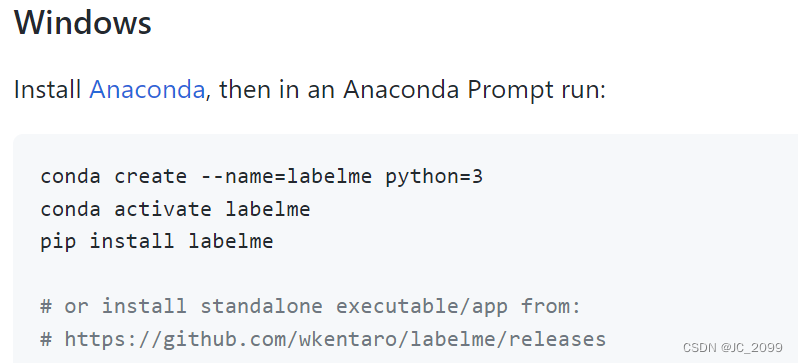
pip install labelme
Appearance of successful installation
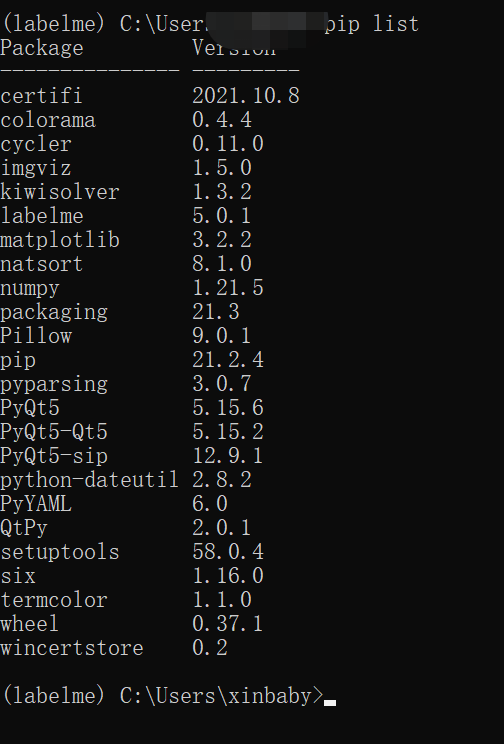
For the next use, activate labelme and enter labelme directly.

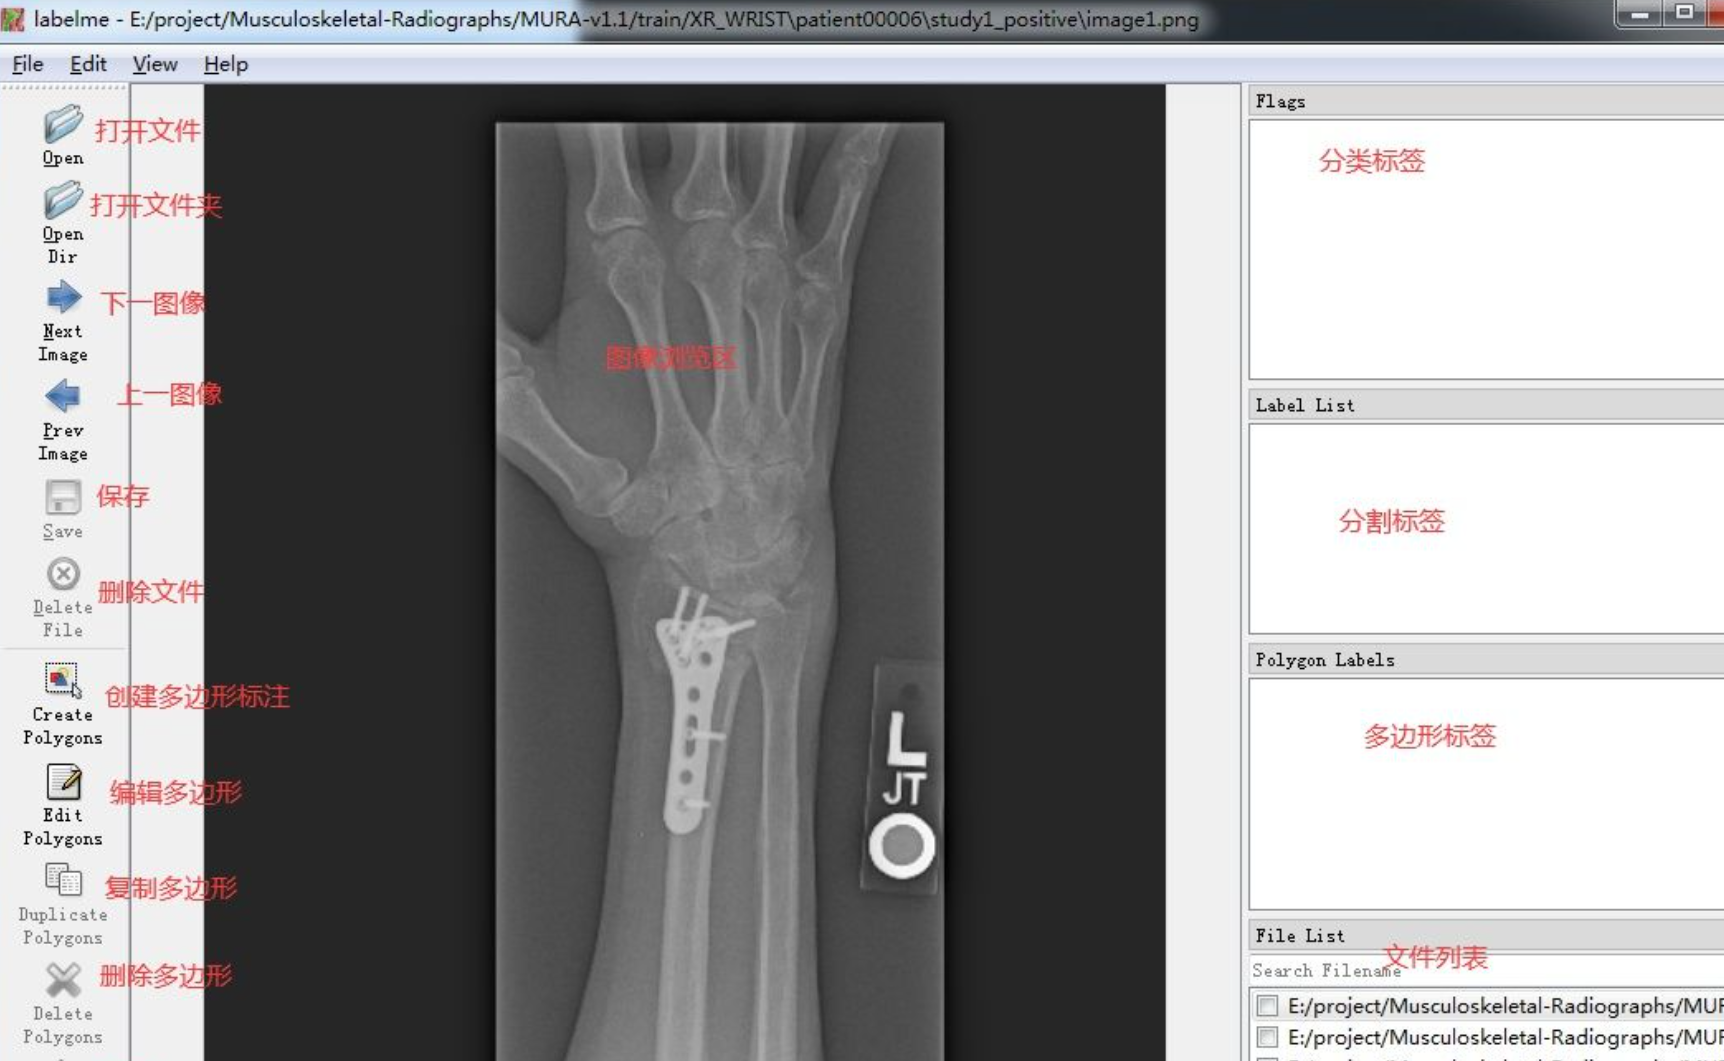
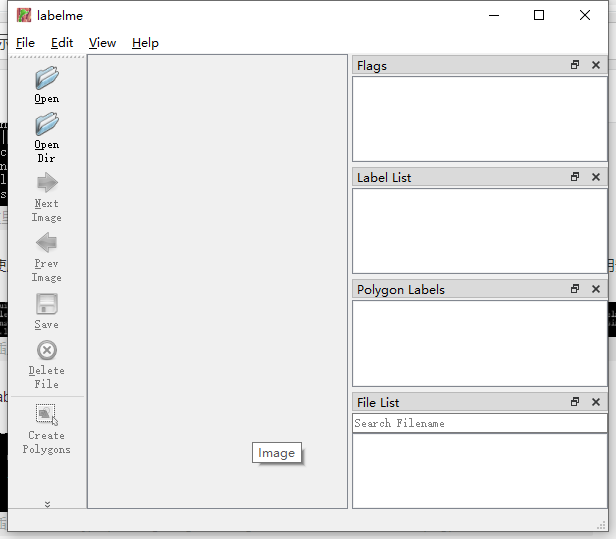
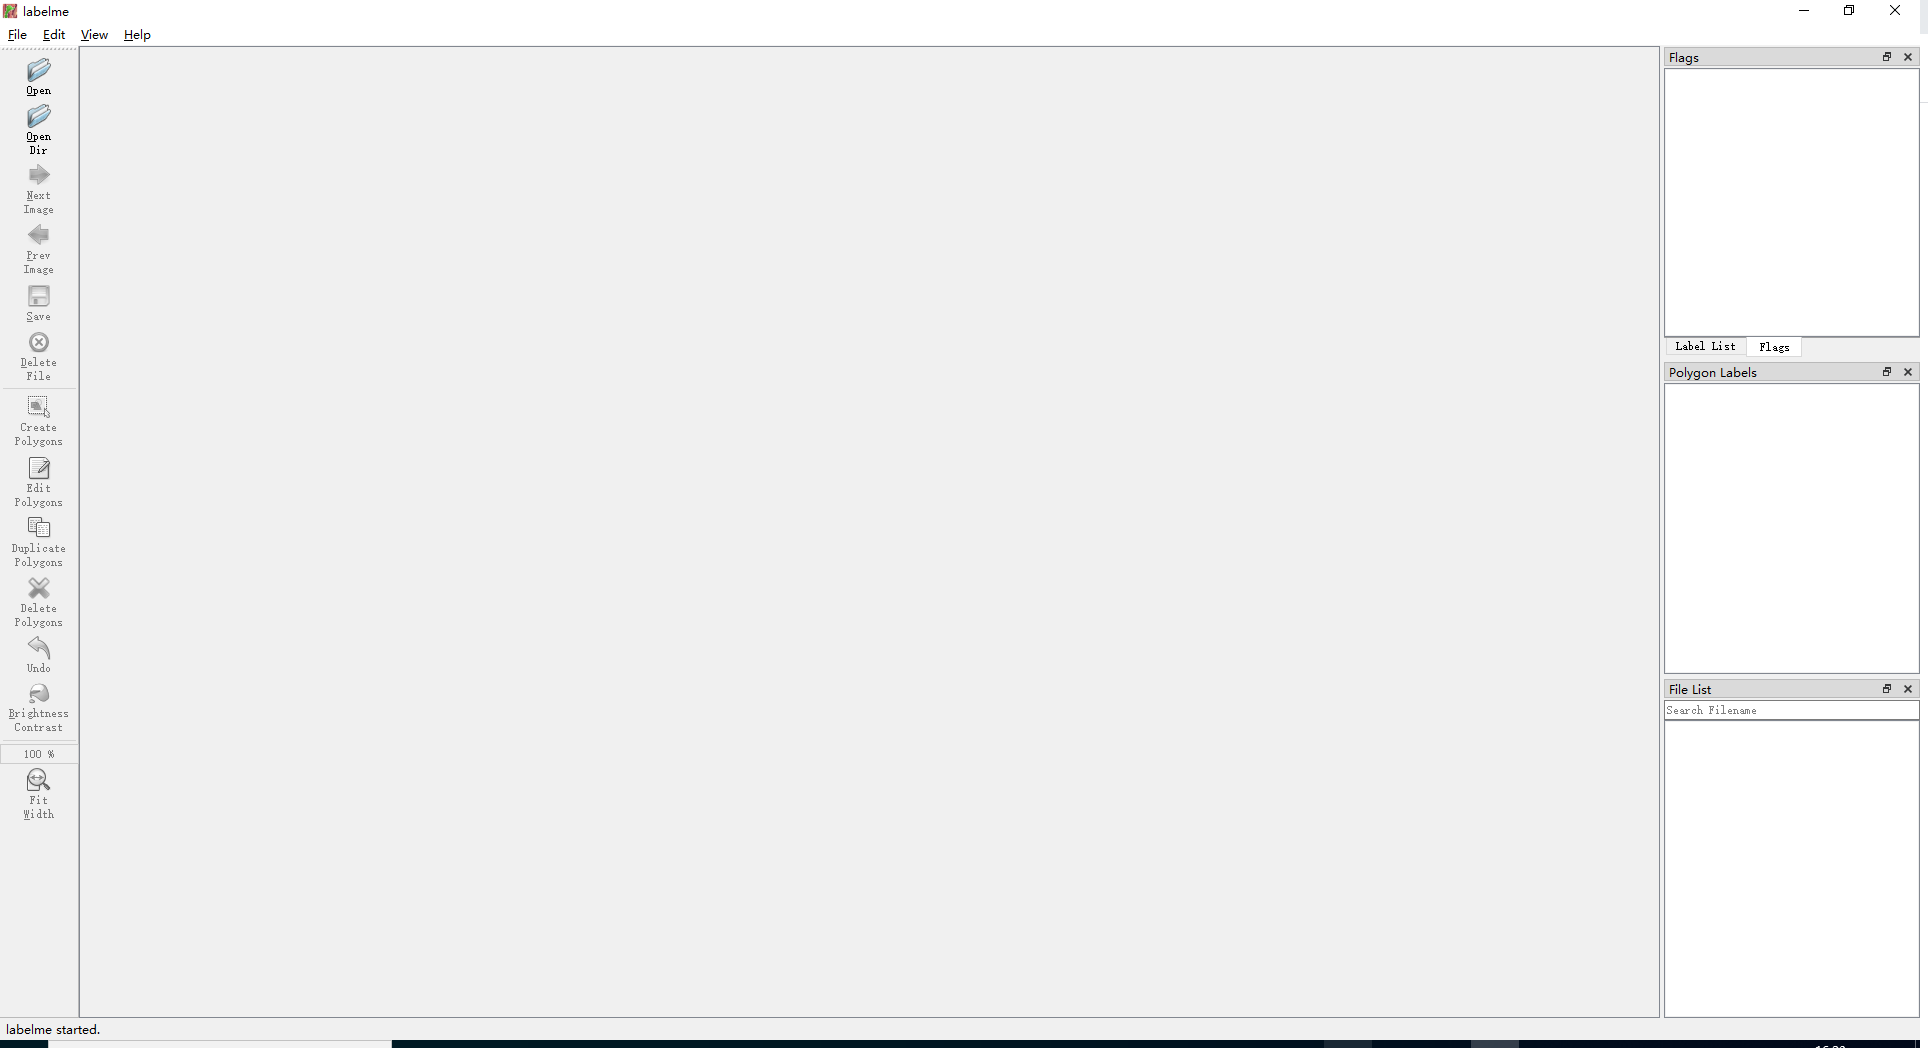
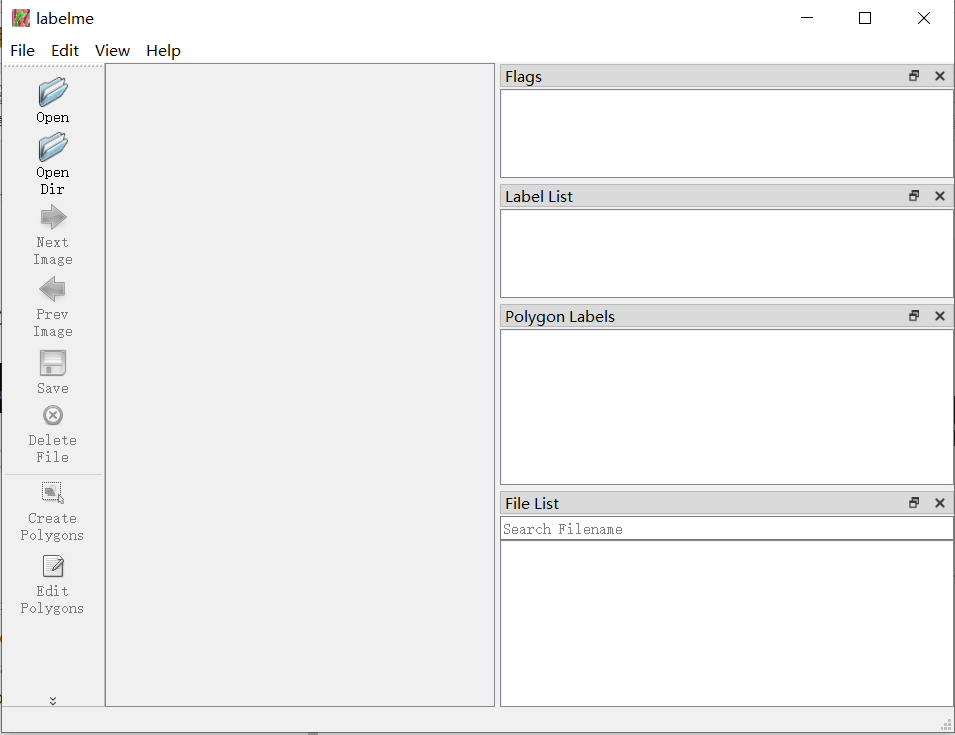
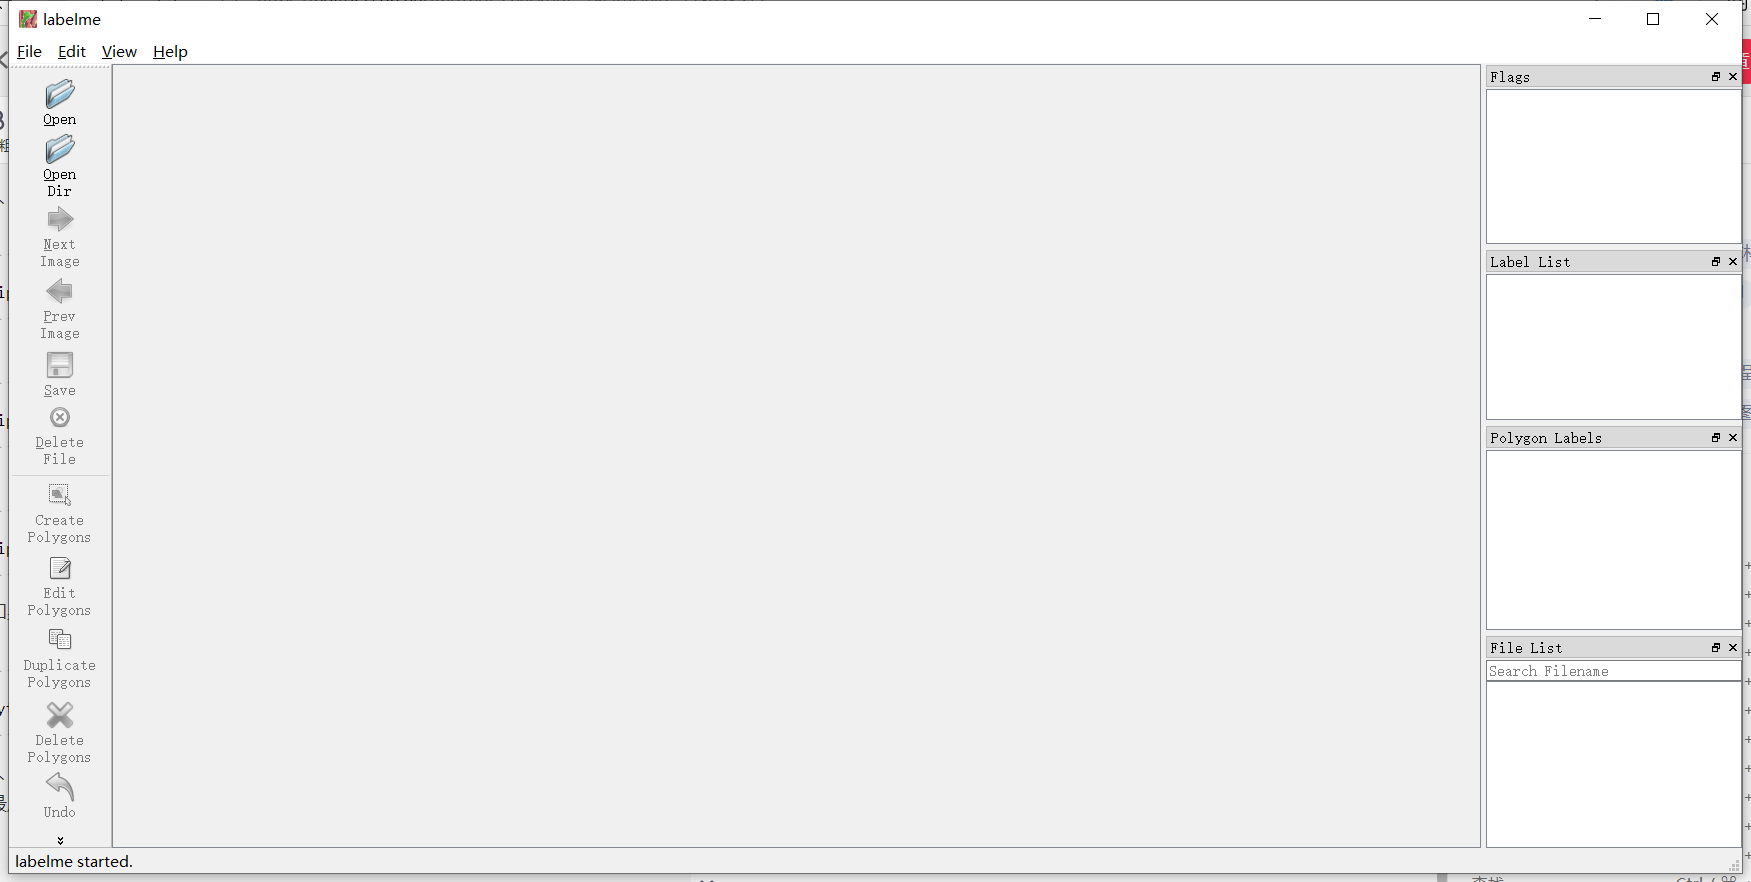
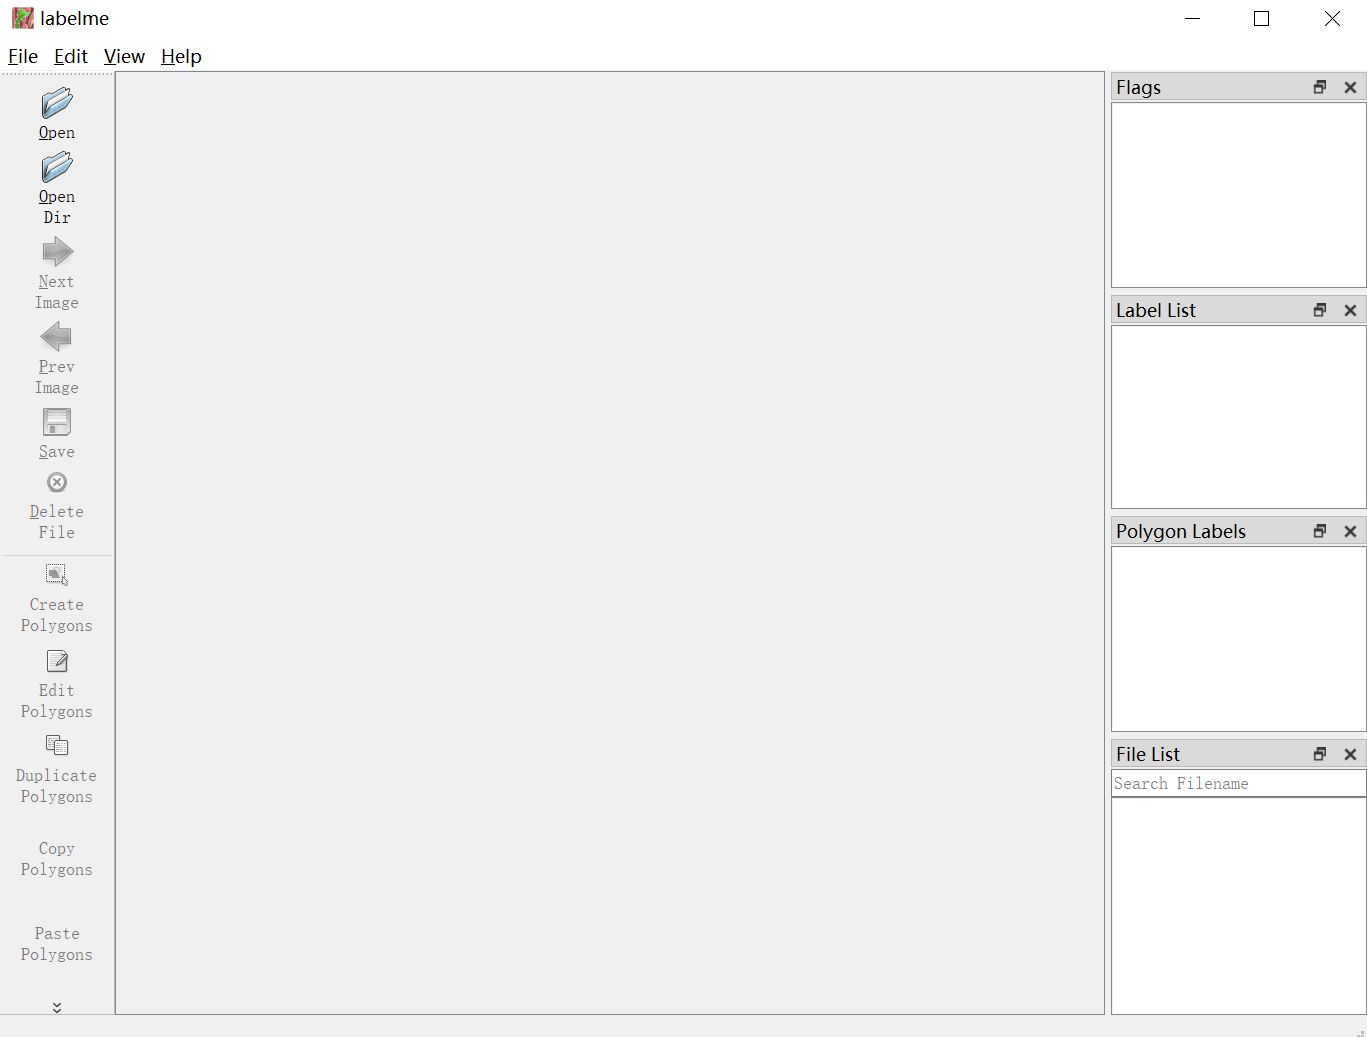 Interface description
⑤ You can create labels with commands, or you can create labels yourself. Here is the way to create your own labels.
Create a text document txt file in the same directory as the image folder to be marked,Note that txt must be created in the same directory
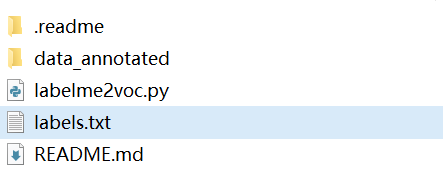
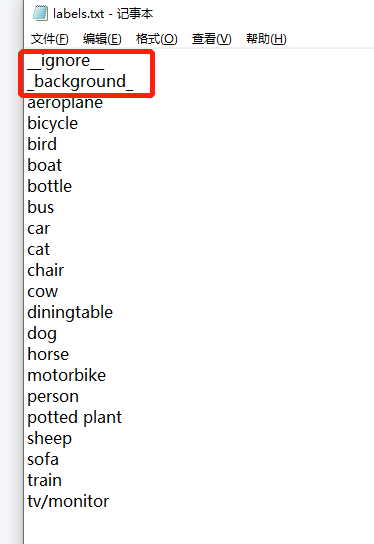
The first two are a must. __ignore__ and _background_ must have, below is the label. The underline in front of ignore is to enter two underscores consecutively.
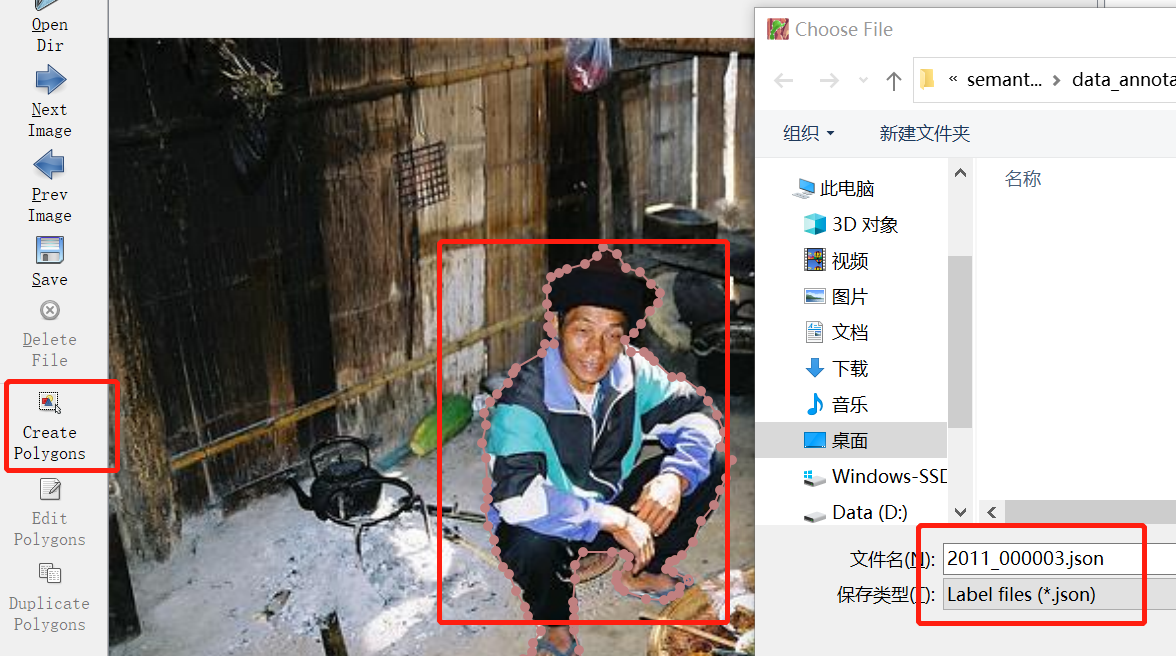
⑥ Take segmentation as an example

Open this file path in the terminal with .
cd command
cd .. #return to the previous directory
cd \ # Return to the root directory under the current directory
cd file or folder path #Access the path of the c drive
E:+Enter+cd command #To access the path of the E drive, first enter the drive letter, press Enter, and then use the cd command

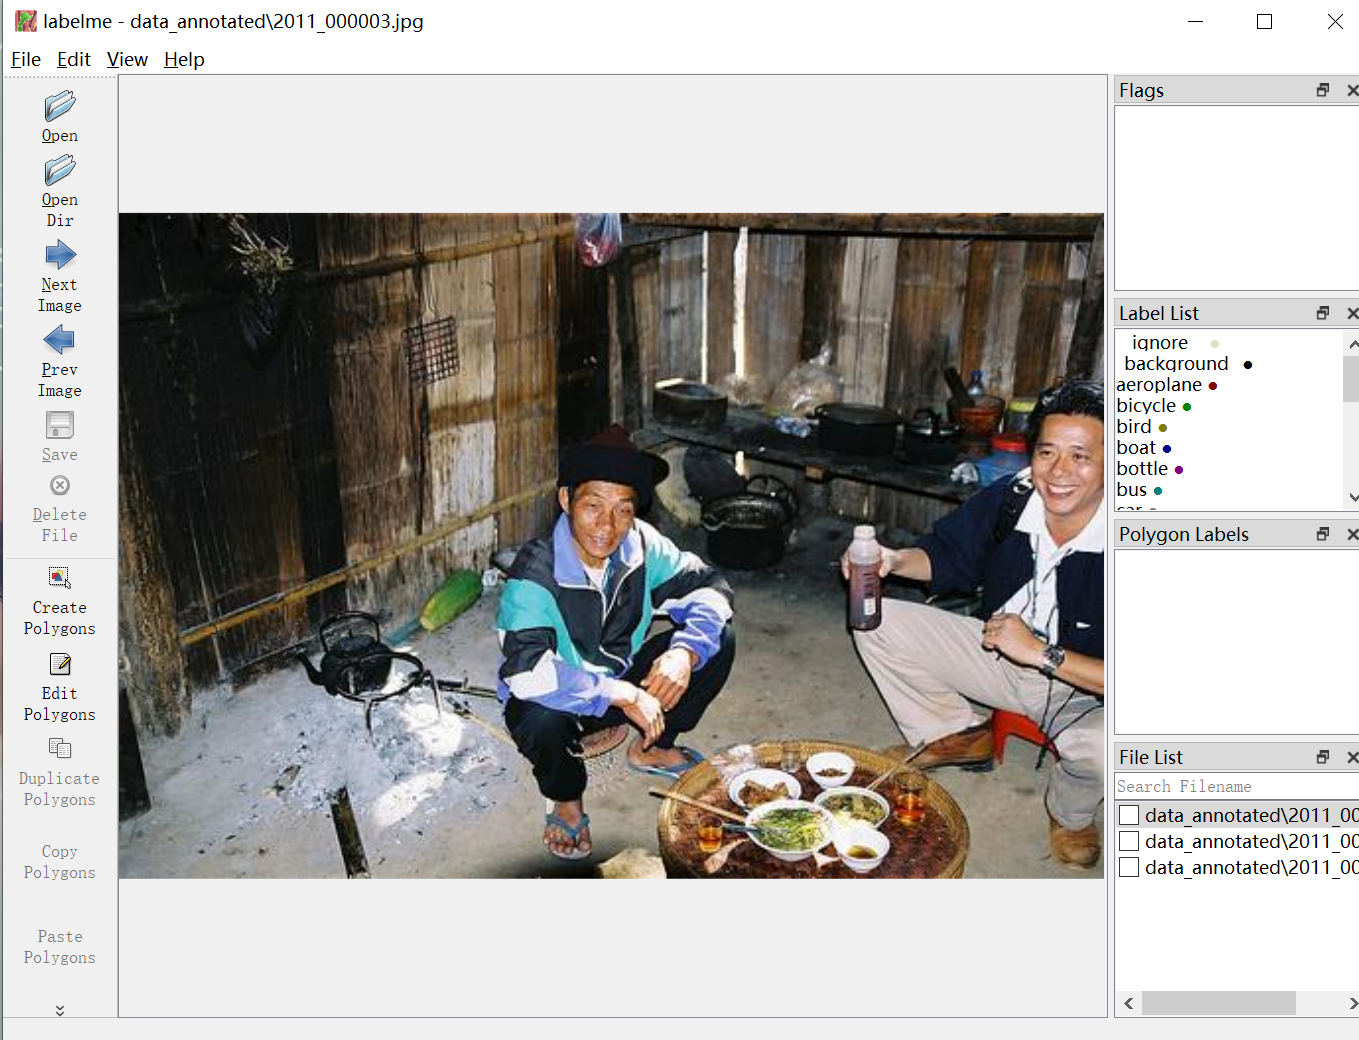
Type in the terminal
labelme data_annotated --labels labels.txt --nodata --validatelabel exact --config "{shift_auto_shape_color: -2} "
data_annotated is the name of the image folder to be labeled, and labels.txt is the txt file created above.Note that there is a single quote at the end on github, but it needs to be changed to double quotes in windows.
⑦File format conversion
Since the marked file is in json format, we will convert it into image format or other formats. Use the code labelme2voc.py given by the author. The main conversion formats are: class name file, jpeg format of the original image, npy format of the segmented image, png format, and jpg format of overlaying the segmented image on the original image
Author's order:

./labelme2voc.py data_annotated data_dataset_voc --labels labels.txt
But it will report an error when running, modify it to the following code
python labelme2voc.py data_annotated data_dataset_voc --labels labels.txt
data_annotated is the name of the annotated image, and data_dataset_voc is the name of the newly created VOC format file.

existThe results of label segmentation can be viewed in data_dataset_voc.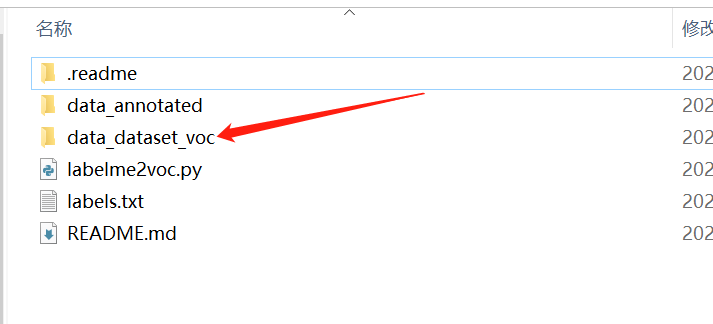

Intelligent Recommendation
Tools Labelme Installation Tutorial
1. Recommendations that do not install Anacode first install Anacode, Anacode installation tutorials do not done here 2. Creating a Labelme environment in Anacode, using the Python3.6 version, the com...
Labelme installation tutorial
Execute in CMD: labelme Maybe I have encountered problems, see a blog!...
Labelme and labelimg installation tutorial
labelme installation Environmental preparation Labelme requires Python and Anaconda support. View python version and Conda version start installation Create a virtual environment Activate into the env...
Labelme installation and use tutorial
The official website tutorial is more detailed, but because I am used to Chinese tutorials, I still like to read Chinese tutorials, so I refer to the tutorials written online, and by the way, I also r...

Labelme data annotation tool installation tutorial under Windows
Foreword Because you have to do a target detection game recently, you need to use the labelme open source annotation tool, so install it. Specific installation steps can refer to:https://github.com/wk...
More Recommendation
[Windows+anaconda3 + Labelme installation notes]
Install anaconda, open the prompt, check the python version: python -V Enter the following four important commands: Install LabelMe Open the anaconda prompt Execute conda create --name=labelme ...
WINDOWS + Anaconda + Labelme installation and use
Labelme official website labelme Installation Install anaconda without installing anaconda I installed the 1.9.7 version, follow-up to work with Python3.5 + Tensorflow1 to run Maskrcnn. Open Anaconda ...
The problem of installation of labelme under Windows
Question description: Refer to the installation method of the source codehttps://github.com/wkentaro/labelme/#windows After installing the above process, it will appear: Building WHEEL for Matplotlib ...
Labelme installation and use detailed tutorial
installation steps Install the labelme calibration tool with PIP (Python is installed by default): Enter: pip install labelme After installation, enter Labelme directly on the command line to open Lab...
Tutorial for installation and use of Labelme (1)
This article introduces the installation of Labelme, very simple Foreword : Labelme is often used to make image split data sets, and the function is more than Labelimg. The former is a variety of form...