Hello World of Python Visual Graphical Interface Programming (VSCode, PYQT5, QtDesigner)
1. Environment
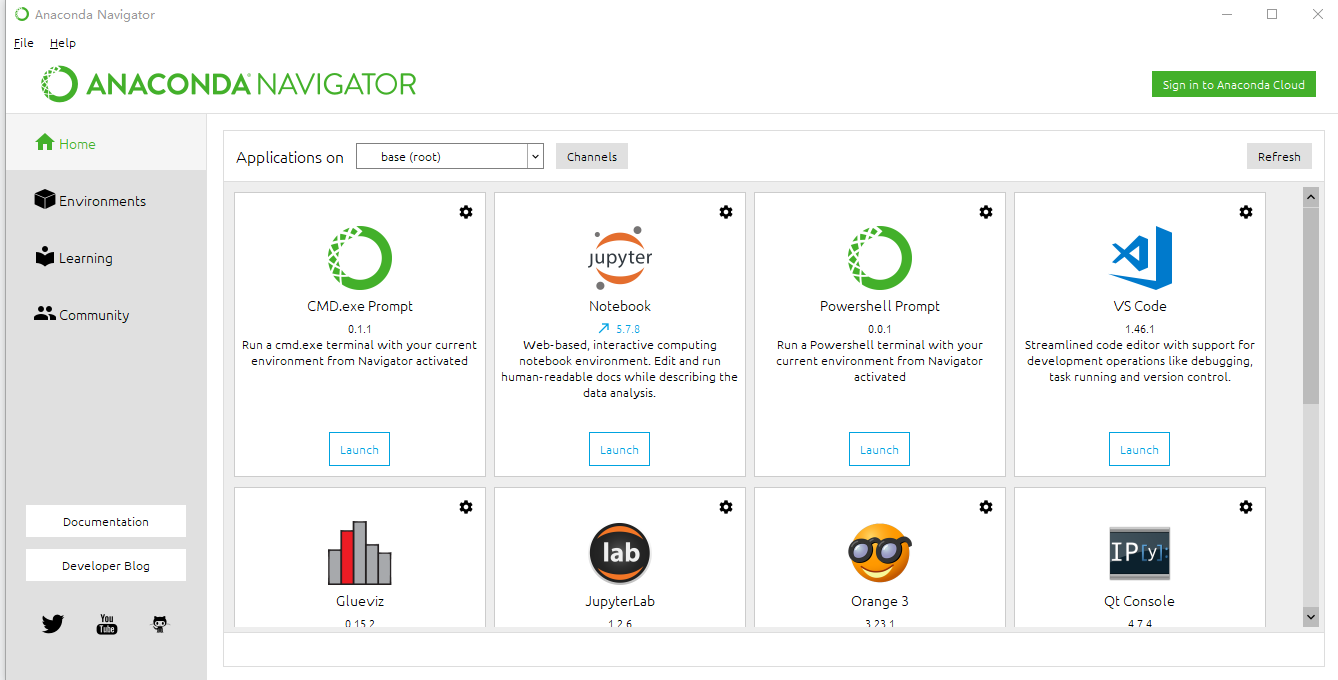
Win10 (64bit), python 3.6.7, VS code 1.46.1 (installed with Anaconda). It is assumed that the basic environment is set up and tested.
2. Download pyqt5
Run the following statement in Anaconda Prompt
pip install pyqt5-tools -i https://pypi.douban.com/simple/After the installation is complete, the following interface is displayed

Do not run in cmd, otherwise you need to configure environment variables yourself
-i https://pypi.douban.com/simple/ is to change the source, the original download address downloads super slow.
pyqt5 is a dependency of pyqt5-tools, so there is no need to install it separately with pip pyqt5.
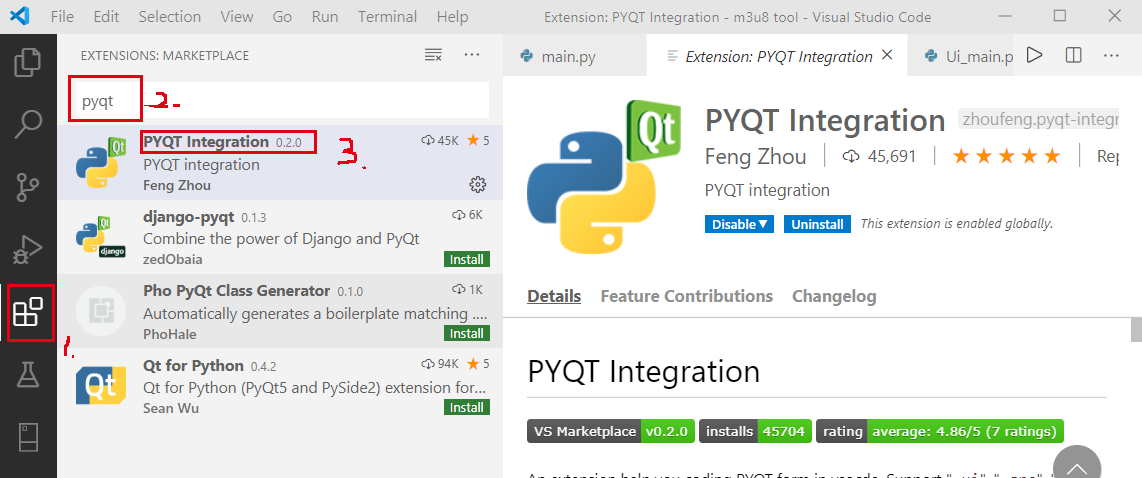
3. Install the PYQT Integration extension in VS Code
Open VS Code, find PYQT Integration in Extensions and install it
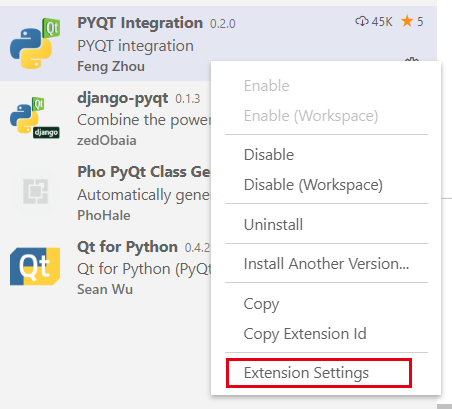
4. Configure PYQT Integration in VS Code
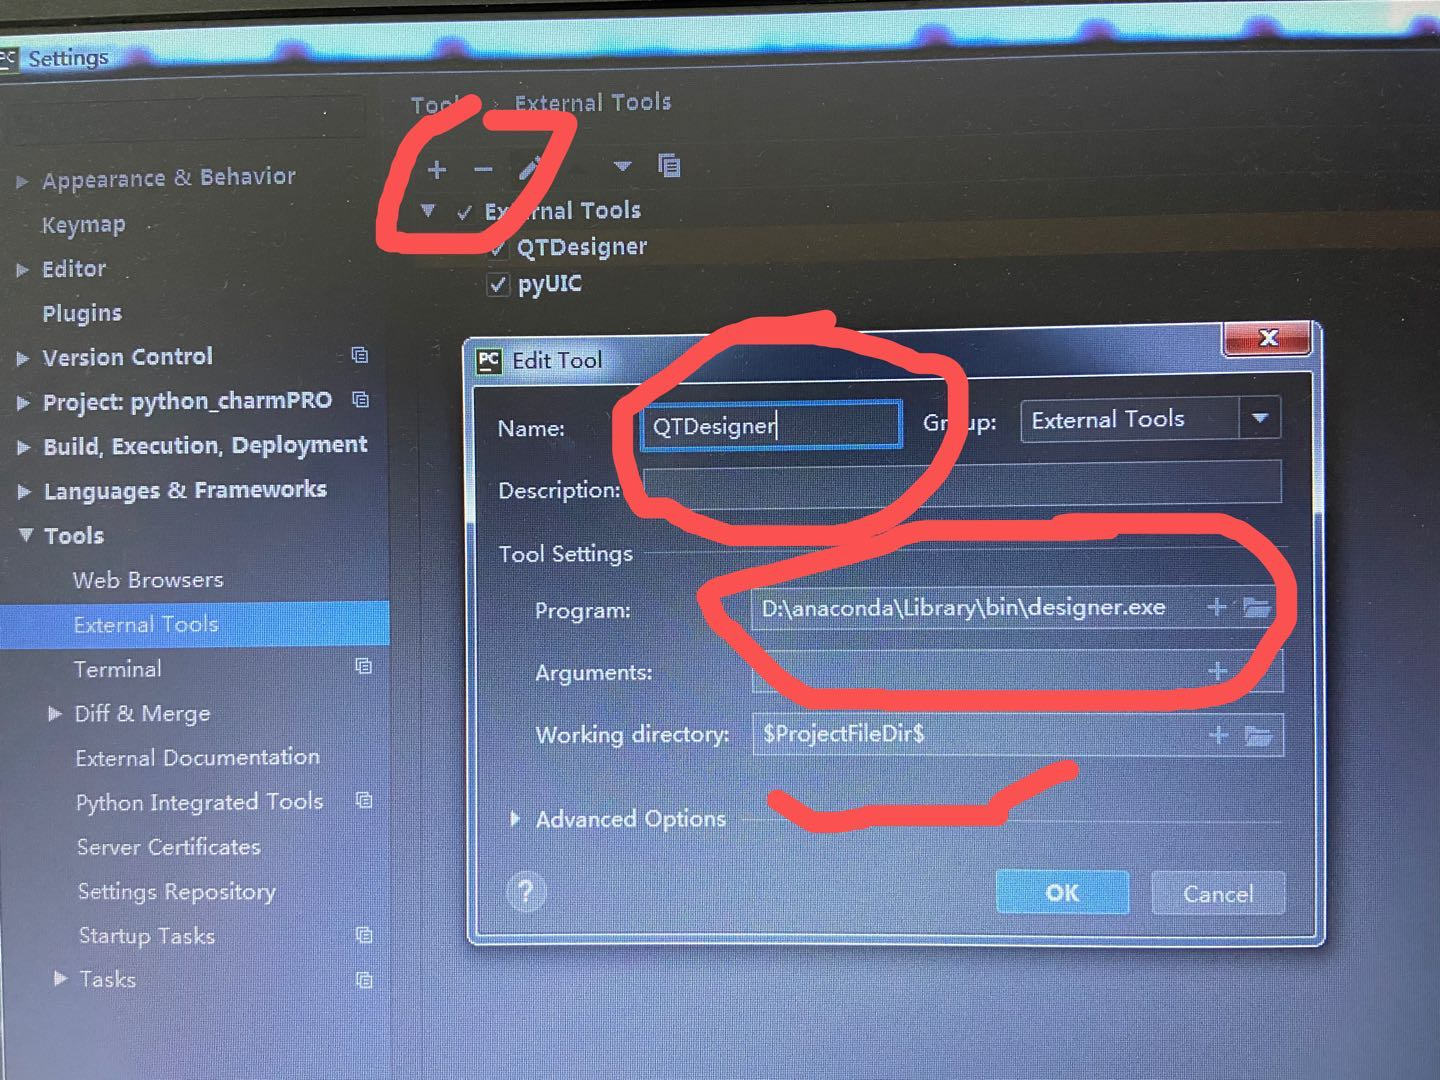
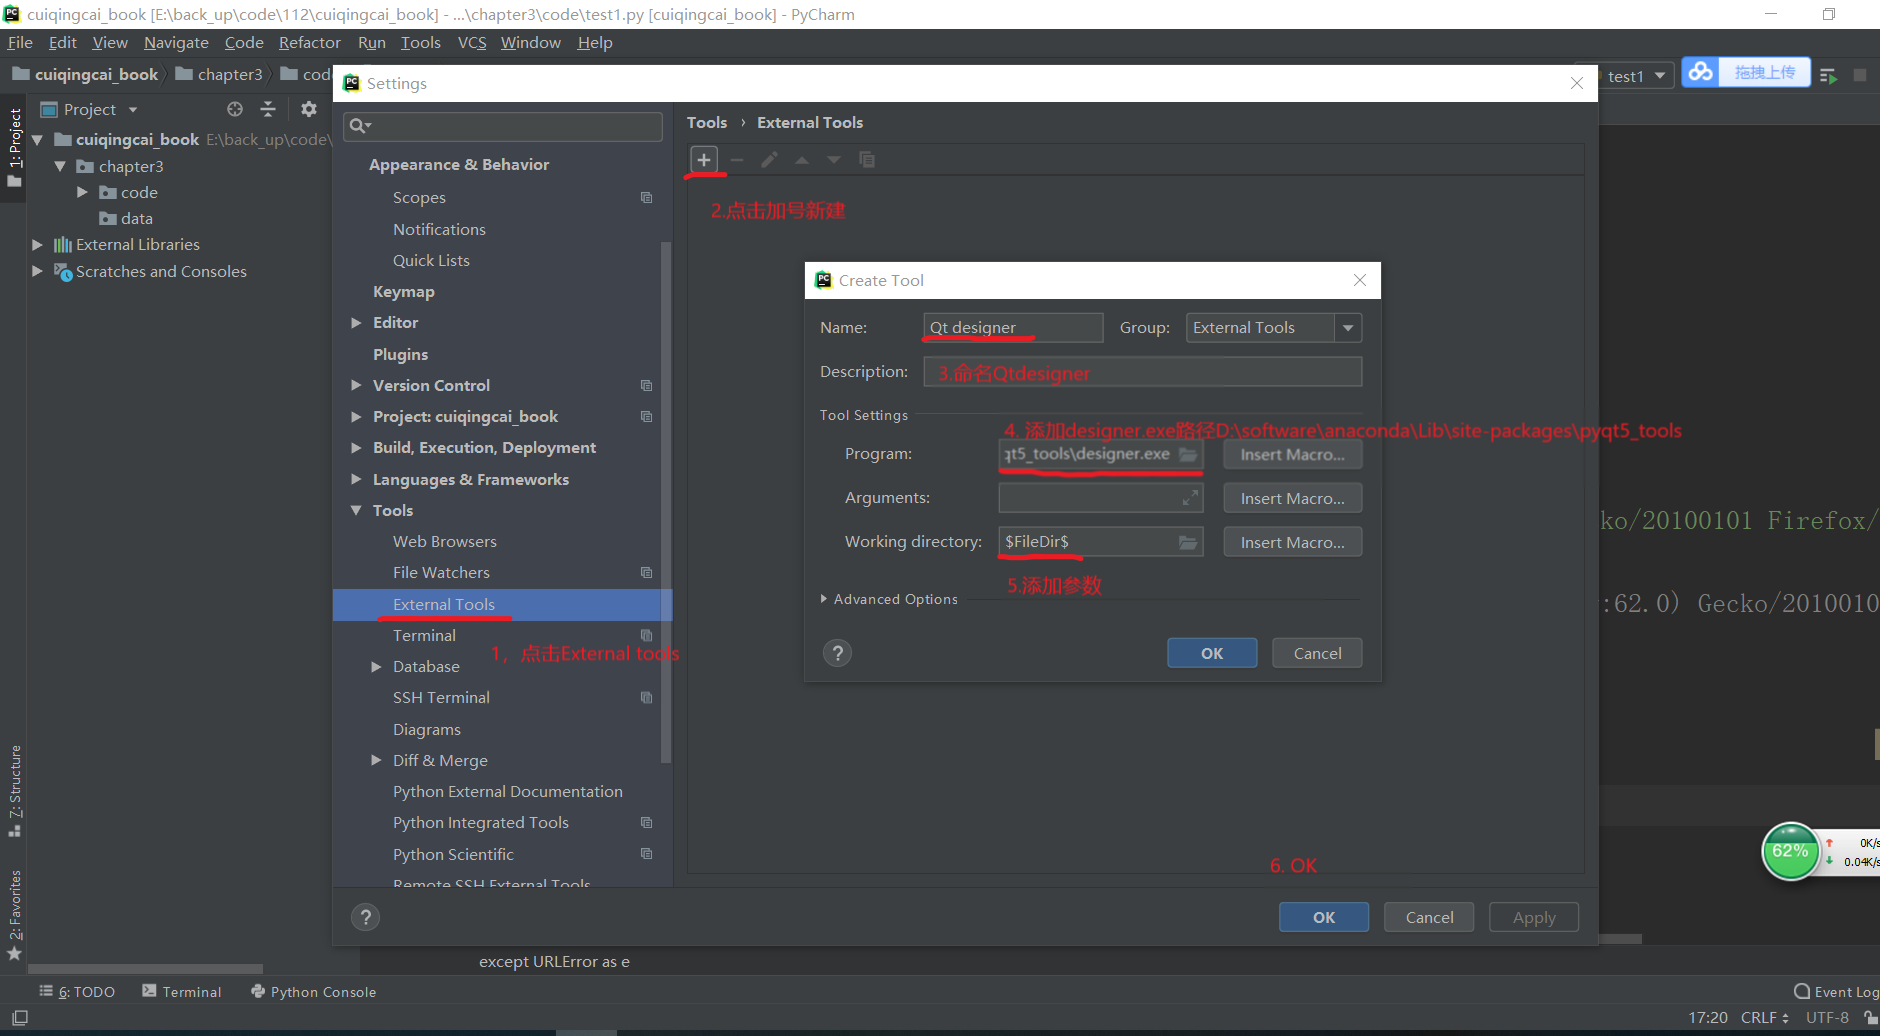
After the installation is complete, right-click and select Extension Settings, and set the path of pyuic5.exe and designer.exe. The path in the screenshot is for reference.

5. Create UI in Designer
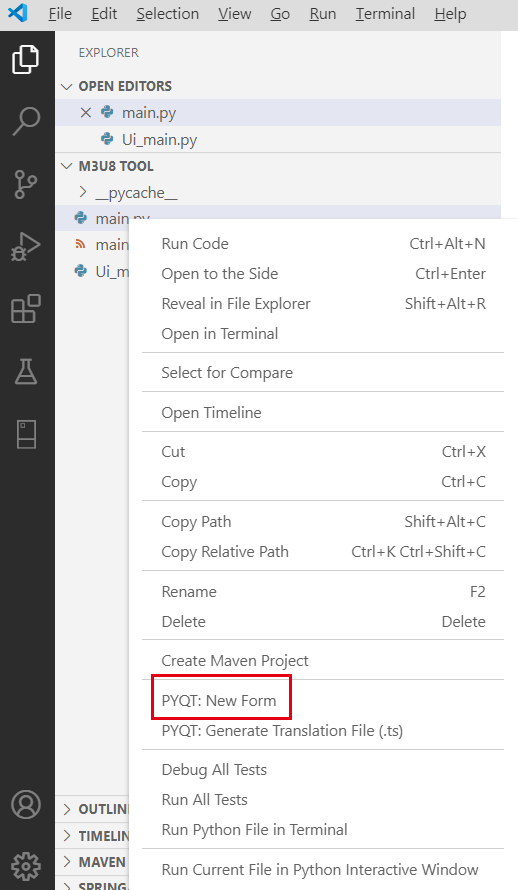
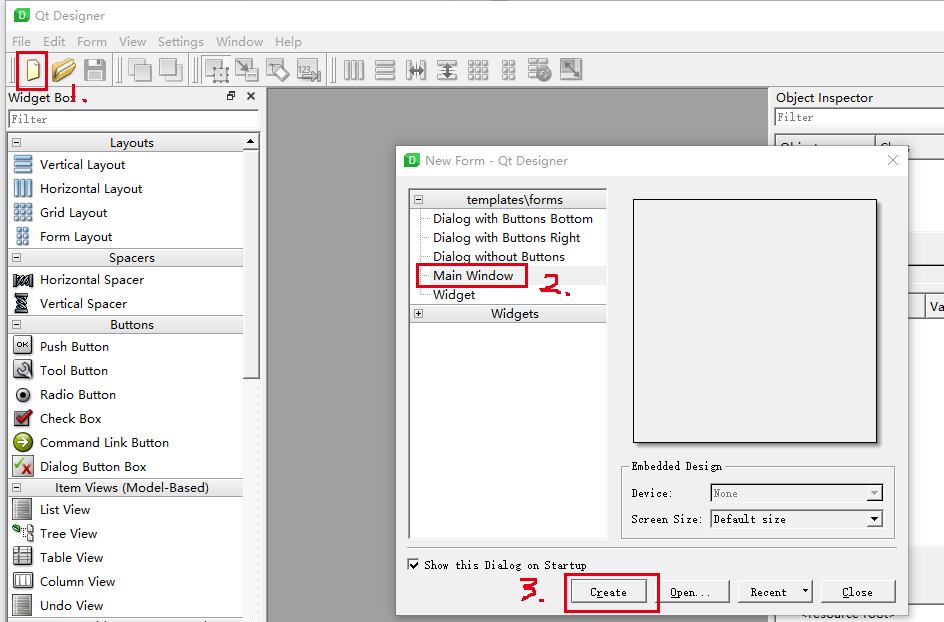
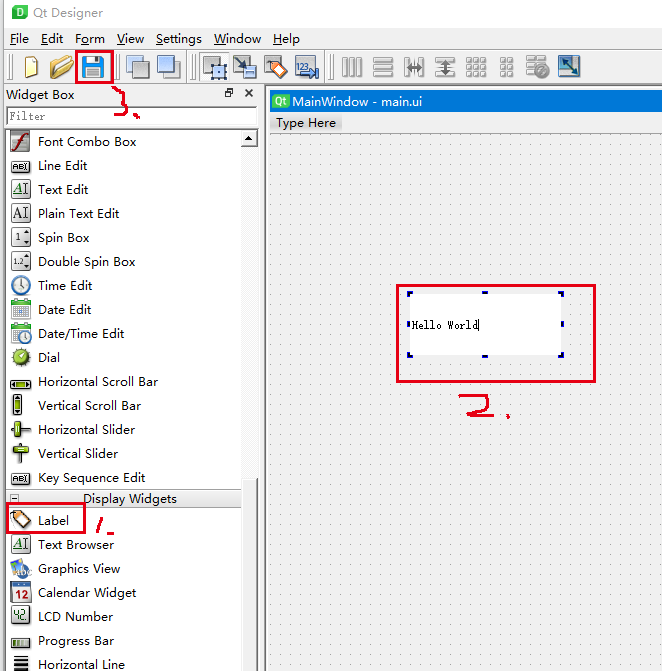
Create a new blank .py file (named main.py for the convenience of subsequent description), right-click and select New Form to invoke the designer designer. Create a new Main Window. Drag and drop the Label control, write Hello World and save it (named as main.ui for subsequent descriptions). It needs to be in the same directory as main.py.
6. Compile main.ui in VS Code
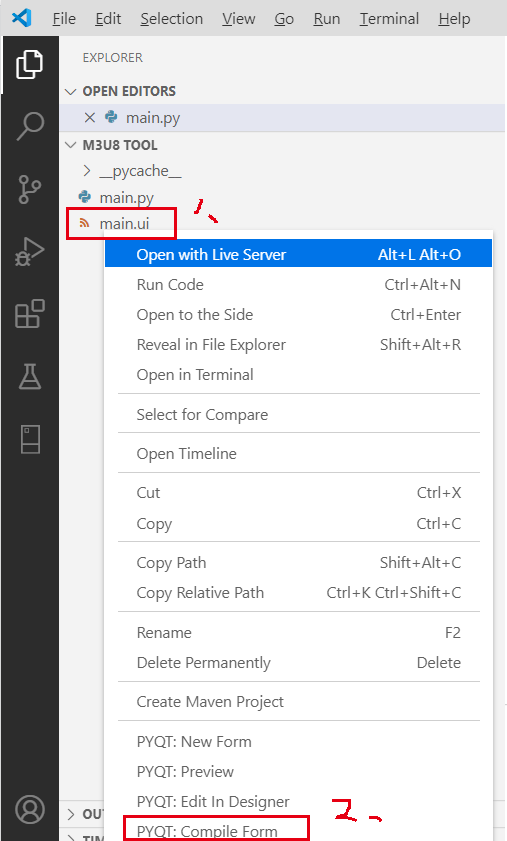
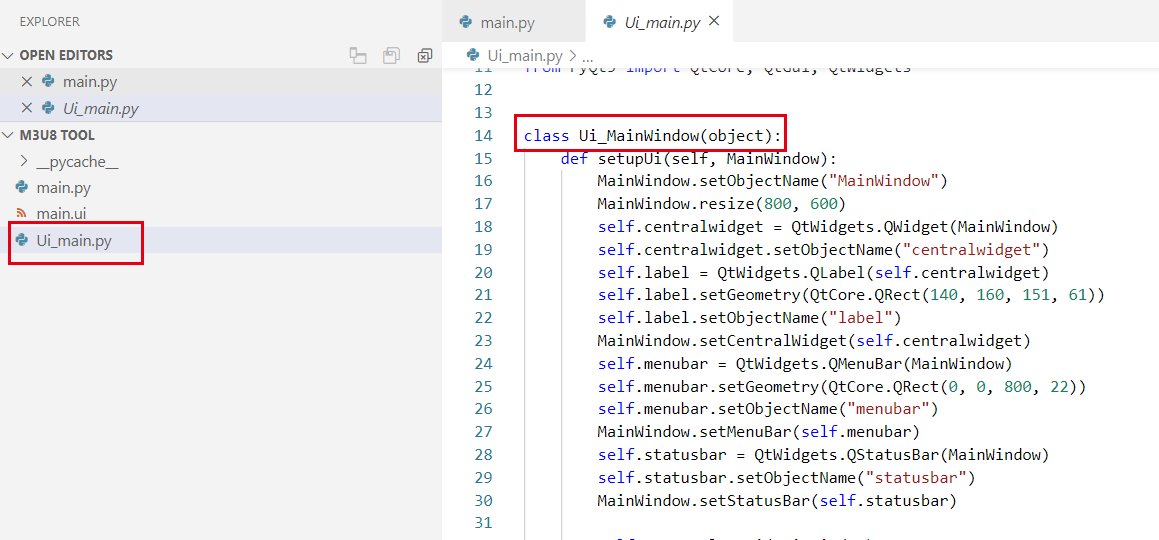
Go back to VS Code and find that there is more main.ui file in the working directory, right click and select PYQT: Compile Form to generate Ui_main.py file. (If there is no designer, this file is the interface file that requires pure handwriting). Here we only need to care about the class name.
7. Testing
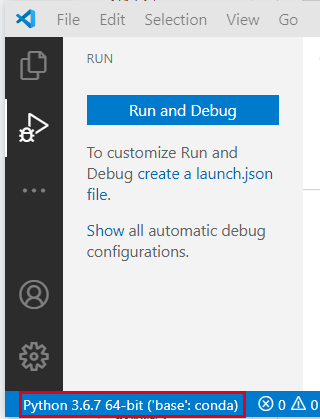
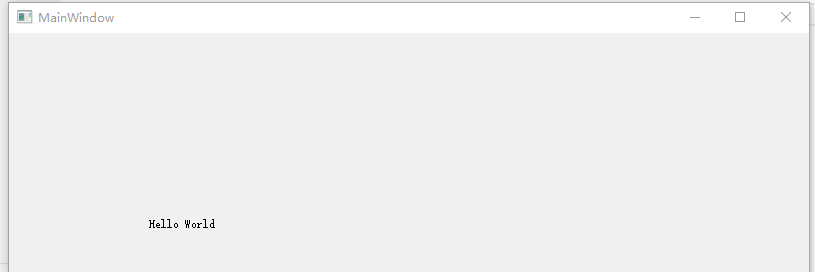
Go back to the blank file main.py at the beginning, write the following code and run it. When the following interface appears, the construction is complete. Pay attention to the file name and class name in the red box. To
import sys
from PyQt5.QtWidgets import QApplication, QMainWindow

import Ui_main

if __name__ == '__main__':
    app = QApplication(sys.argv)
    MainWindow = QMainWindow()
    ui = Ui_main.Ui_MainWindow()
    ui.setupUi(MainWindow)
    MainWindow.show()
    sys.exit(app.exec_())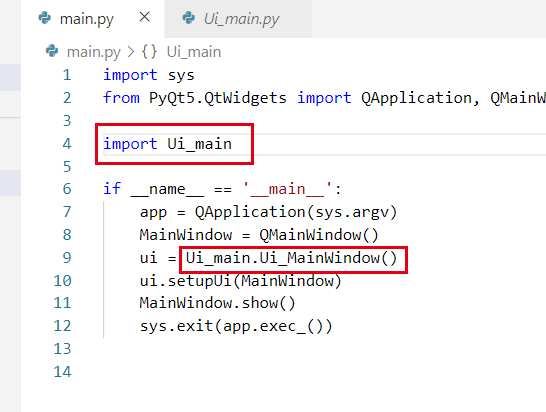
appendix:
Step 5 If the following error occurs when opening the Designer:
This application failed to start because no Qt platform plugin could be initialized. Reinstalling the application may fix this problem.
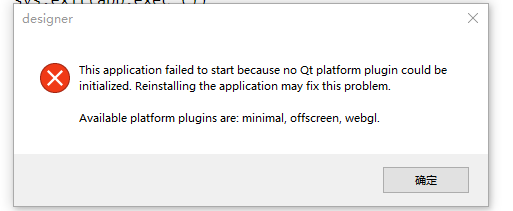
It can be solved as follows:
Copy all the files in the following directory (theoretically there should be 4)

Replace and paste into the following directory

Intelligent Recommendation
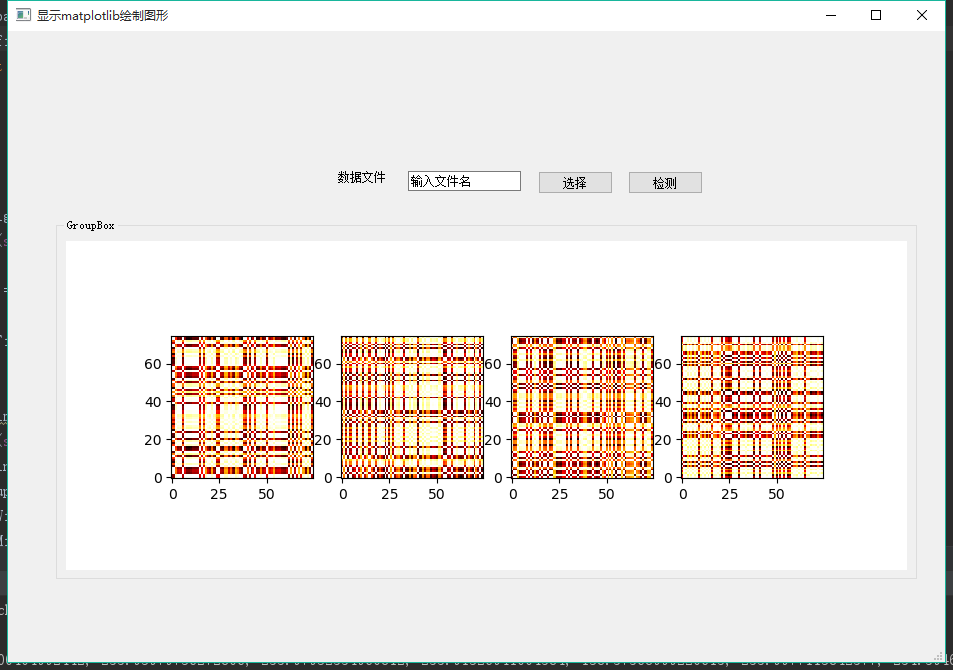
PyQt: Python graphical interface programming PyQt5 embeds matplotlib
table of Contents Foreword: 1. Design interface 2. Introduce matplotlib 3. Complete code Foreword: I have explained how to design an interactive interface through QT-desinger+PYUIC, and it has ...
PyQt5 programming (4): Using QtDesigner to design the program interface (2)
The previous article introduced the direct call to the ui file. This article describes how to convert the ui file into a py file generation window. To generate the ui_MyForm.py file from MyForm.ui, ex...
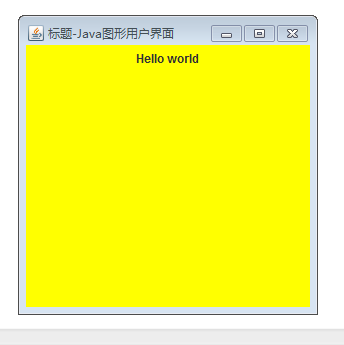
Java: Create a "hello world" graphical user interface
import java.awt.*; //Add AWT library import javax.swing.JLabel; //Add swing library public class Frame_Test { public static void main(String[] args) { // TODO automatically generated method stub Frame...
Create a "Hello World" graphical user interface
operation result: Key knowledge: Overview of awt: The awt component makes the GUI written on different platforms have different operating effects; it is not advisable to use absolute positioning when ...
Create "Hello World" Graphical User Interface
“` package swing; //Set up a package; import java.awt.*; import javax.swing.JLabel; //Add AWT and swing libraries public class Frame_Test {//Create a class Frame_Test } Results: “` Knowled...
More Recommendation
Python Implementation Desktop Program: Pyqt5 + QTDESIGNER -Interface Design and Logic Writing
Python is simple and fast, so my friend wants to write a simple desktop program in Python. The style of QT interface is OK, so this blog. This blog is targeted atDon't understand python at all But I s...
Python visual interface programming environment construction, pycharm+anaconda3+pyqt5
1. Go to the official website to download python, official website: www.python.org Downloads -> Windows -> Windows x86-64 executable installer Note: When installing, remember to tick the Add Pat...

Python graphical interface-a simple process of QtDesigner 5 from the beginning
The purpose of this case is to use QtDesigner and Python to realize the graphical interface and GUI. It includes data preprocessing module, feature extraction module, model building module, and the fi...
Win10 pycharm+QtDesigner to make python program graphical interface
Step 1: Install Pycharm Step 2: Install the plugin pip install sip pip install PyQt5 pip install PyQt5-tools The third step: pycharm configuration In Pycharm, select "File" —> "...