I tried it as early as when Docker was hot, because the cloud at that time was still chaotic, but the current form of cloud is relatively mature, so I personally think that the role of docker is not so prominent, but I found it recently when I was doing service relocation. , Using Docker can smooth out some differences, and another can open up the horizons of small partners, which is not a bad thing.
So today it is a commonplace talk, from installing Docker to starting the redis service:
The first is to install Docker. My system environment is CentOS7, so the kernel is 3.10, which meets the official requirements of 3.8 or above. If you are still using 6, you can search for the previous articles and upgrade the kernel.
➜ ~ uname -a
Linux ecs-88f0-0001 3.10.0-1062.1.1.el7.x86_64 #1 SMP Fri Sep 13 22:55:44 UTC 2019 x86_64 x86_64 x86_64 GNU/Linux
We will not discuss the technical genre. The software installation needs to be compiled manually. To put it bluntly, there is no such strength. So the following starts to install based on the Yum tool. First install the auxiliary installation tool. If you already have it, you don’t need to repeat the installation, so there is Copy selected:
yum -y install yum-utils device-mapper-persistent-data lvm2The rest is the question of choosing the source. In China, I personally recommend using Alibaba Cloud's source. After all, the speed can be faster. The official source is not very friendly to our country.
Central warehouse:
yum-config-manager --add-repo http://download.docker.com/linux/centos/docker-ce.repo

 Ali warehouse:
yum-config-manager --add-repo http://mirrors.aliyun.com/docker-ce/linux/centos/docker-ce.repo
Because I use HUAWEI CLOUD, I am using HUAWEI's image, so I won't describe them one by one here.
We look at the source of the following docker:
➜ ~ yum list docker-ce --showduplicates | sort -r
 Loaded plugin: fastestmirror
 Installed packages
 Installable packages
updates: mirrors.huaweicloud.com
Loading mirror speeds from cached hostfile
extras: mirrors.huaweicloud.com
epel: mirrors.tuna.tsinghua.edu.cn
docker-ce.x86_64 3:19.03.8-3.el7 docker-ce-stable
docker-ce.x86_64 3:19.03.7-3.el7 docker-ce-stable
docker-ce.x86_64 3:19.03.6-3.el7 docker-ce-stable
docker-ce.x86_64 3:19.03.5-3.el7 docker-ce-stable
docker-ce.x86_64 3:19.03.4-3.el7 docker-ce-stable
docker-ce.x86_64 3:19.03.3-3.el7 docker-ce-stable
docker-ce.x86_64 3:19.03.2-3.el7 docker-ce-stable
docker-ce.x86_64 3:19.03.1-3.el7 docker-ce-stable
docker-ce.x86_64 3:19.03.0-3.el7 docker-ce-stable
docker-ce.x86_64 3:18.09.9-3.el7 docker-ce-stable
docker-ce.x86_64 3:18.09.8-3.el7 docker-ce-stable
docker-ce.x86_64 3:18.09.7-3.el7 docker-ce-stable
docker-ce.x86_64 3:18.09.6-3.el7 docker-ce-stable
docker-ce.x86_64 3:18.09.5-3.el7 docker-ce-stable
docker-ce.x86_64 3:18.09.4-3.el7 docker-ce-stable
docker-ce.x86_64 3:18.09.3-3.el7 docker-ce-stable
docker-ce.x86_64 3:18.09.2-3.el7 docker-ce-stable
docker-ce.x86_64 3:18.09.1-3.el7 docker-ce-stable
docker-ce.x86_64 3:18.09.0-3.el7 docker-ce-stable
docker-ce.x86_64 18.06.3.ce-3.el7 docker-ce-stable
docker-ce.x86_64 18.06.2.ce-3.el7 docker-ce-stable
docker-ce.x86_64 18.06.1.ce-3.el7 docker-ce-stable
docker-ce.x86_64 18.06.0.ce-3.el7 docker-ce-stable
docker-ce.x86_64 18.03.1.ce-1.el7.centos docker-ce-stable
docker-ce.x86_64 18.03.1.ce-1.el7.centos @docker-ce-stable
docker-ce.x86_64 18.03.0.ce-1.el7.centos docker-ce-stable
docker-ce.x86_64 17.12.1.ce-1.el7.centos docker-ce-stable
docker-ce.x86_64 17.12.0.ce-1.el7.centos docker-ce-stable
docker-ce.x86_64 17.09.1.ce-1.el7.centos docker-ce-stable
docker-ce.x86_64 17.09.0.ce-1.el7.centos docker-ce-stable
docker-ce.x86_64 17.06.2.ce-1.el7.centos docker-ce-stable
docker-ce.x86_64 17.06.1.ce-1.el7.centos docker-ce-stable
docker-ce.x86_64 17.06.0.ce-1.el7.centos docker-ce-stable
docker-ce.x86_64 17.03.3.ce-1.el7 docker-ce-stable
docker-ce.x86_64 17.03.2.ce-1.el7.centos docker-ce-stable
docker-ce.x86_64 17.03.1.ce-1.el7.centos docker-ce-stable
docker-ce.x86_64 17.03.0.ce-1.el7.centos docker-ce-stable
base: mirrors.huaweicloud.com

 My system is CentOS7, the source I chose is: 18.03.1.ce-1.el7.centos, the command format for yum to install Docker: yum install docker-ce-version number.
 So execute the following command to install:

➜ ~ yum -y install docker-ce-18.03.1.ce
The rest is to wait for the installation to complete, start after the installation is complete, and join the boot to start automatically.
systemctl start docker (formerly: service docker start)
 systemctl enable docker (formerly: chkconfig docker on)
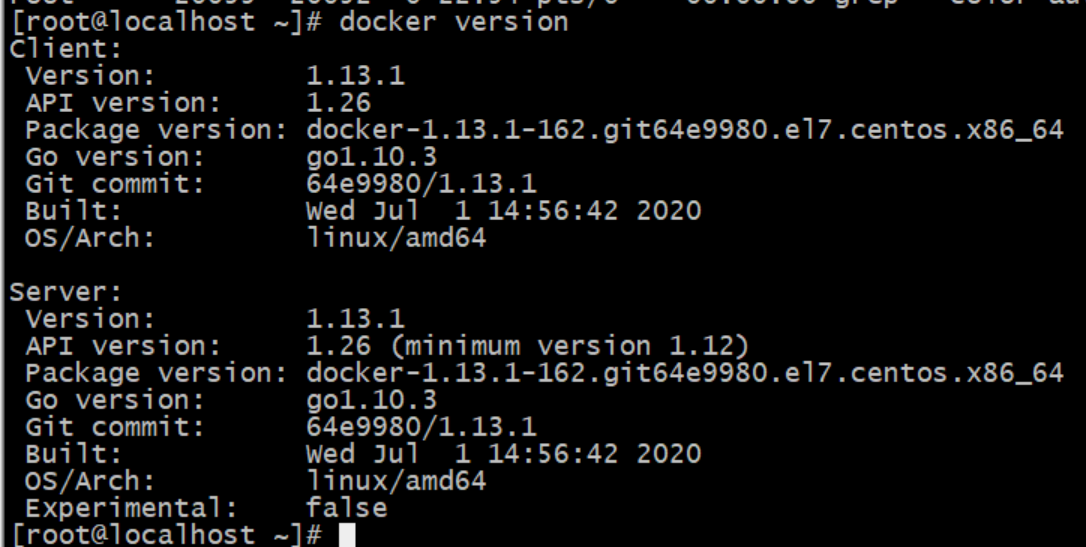
After the installation is complete, you can check your installation version: docker version
➜ ~ docker version
Client:
Version: 18.03.1-ce
API version: 1.37
Go version: go1.9.5
Git commit: 9ee9f40
Built: Thu Apr 26 07:20:16 2018
OS/Arch: linux/amd64
Experimental: false
Orchestrator: swarm
Server:
Engine:
Version: 18.03.1-ce
API version: 1.37 (minimum version 1.12)
Go version: go1.9.5
Git commit: 9ee9f40
Built: Thu Apr 26 07:23:58 2018
OS/Arch: linux/amd64
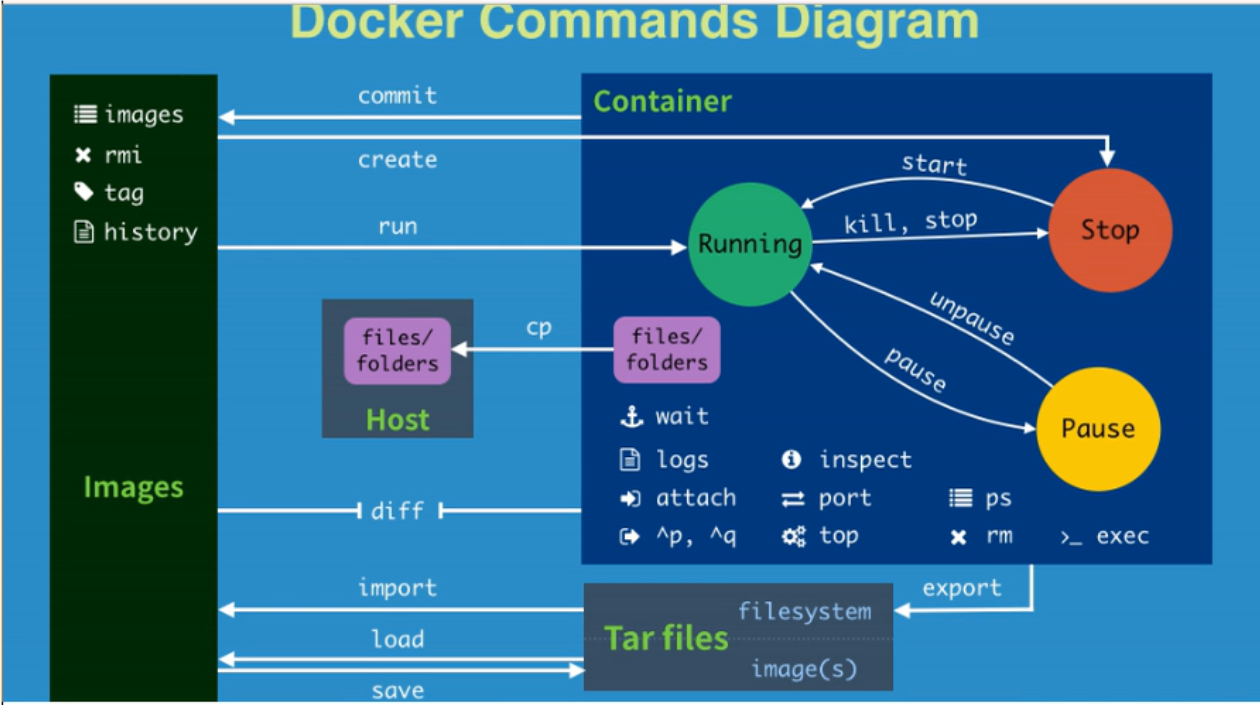
Experimental: falseThe above Docker installation is complete, some commonly used commands can be checked on the website: http://www.docker.org.cn/dockerppt/106.html
Next we start to install redis, also using yum tools:
First, you can query the Redis mirror:
➜ ~ docker search redis
NAME DESCRIPTION STARS OFFICIAL AUTOMATED
redis Redis is an open source key-value store that… 8077 [OK]
bitnami/redis Bitnami Redis Docker Image 143 [OK]
sameersbn/redis 79 [OK]
grokzen/redis-cluster Redis cluster 3.0, 3.2, 4.0 & 5.0 67
rediscommander/redis-commander Alpine image for redis-commander - Redis man… 37 [OK]
kubeguide/redis-master redis-master with "Hello World!" 31
redislabs/redis Clustered in-memory database engine compatib… 24
oliver006/redis_exporter Prometheus Exporter for Redis Metrics. Supp… 21
redislabs/redisearch Redis With the RedisSearch module pre-loaded… 21
arm32v7/redis Redis is an open source key-value store that… 21
bitnami/redis-sentinel Bitnami Docker Image for Redis Sentinel 13 [OK]
webhippie/redis Docker images for Redis 11 [OK]
redislabs/redisgraph A graph database module for Redis 11 [OK]
insready/redis-stat Docker image for the real-time Redis monitor… 9 [OK]
s7anley/redis-sentinel-docker Redis Sentinel 9 [OK]
arm64v8/redis Redis is an open source key-value store that… 9
redislabs/redismod An automated build of redismod - latest Redi… 7 [OK]
redislabs/redisinsight RedisInsight - The GUI for Redis 5
centos/redis-32-centos7 Redis in-memory data structure store, used a… 5
circleci/redis CircleCI images for Redis 4 [OK]
clearlinux/redis Redis key-value data structure server with t… 2
wodby/redis Redis container image with orchestration 1 [OK]
tiredofit/redis Redis Server w/ Zabbix monitoring and S6 Ove… 1 [OK]
runnable/redis-stunnel stunnel to redis provided by linking contain… 1 [OK]
xetamus/redis-resource forked redis-resource 0 [OK]
It is recommended to choose the official source installation. If you have your own mirror, it is best to pull your own mirror directly. I am lazy here and go directly: docker pull redis
Install the latest version, check the local mirror:
➜ ~ docker images
REPOSITORY TAG IMAGE ID CREATED SIZE
redis latest a4d3716dbb72 3 days ago 98.3MB
Next we started to do some redis startup configuration, I created a new path locally: /data/conf/redis
Two new folders were created: conf and data to store configuration files and persistent data.
➜  redis docker images
REPOSITORY          TAG                 IMAGE ID            CREATED             SIZE
redis               latest              a4d3716dbb72        3 days ago          98.3MB
I went to the official to download the redis configuration file:http://download.redis.io/redis-stable/redis.conf
Of course, you can also download the compressed package of reids with the same version number, and then unzip it to get the conf file inside, so that there will be fewer pits.
Start redis:
docker run -d --name redis -p 6379:6379 -v /data/conf/redis/conf/redis.conf:/redis.conf -v /root/redis/data:/data redis:latest redis-server --appendonly yesHere is a brief description of some commands, the redis configuration file is not detailed here, you can configure it according to your needs.
-d
 //Background process

-p
 //The port is mapped to the port of the host

-v
 //Mount the host directory to the container directory

redis-server --appendonly yes
 //Execute the redis-server startup command in the container and open the redis persistence configuration
After starting redis, you can use docker exec -it "containerID" to verify the success of your configuration, otherwise you need to step on it slowly.
such as:
➜ redis docker ps -a
CONTAINER ID IMAGE COMMAND CREATED STATUS PORTS NAMES
e431cd55e7f8 redis:latest "docker-entrypoint.s…" About an hour ago Up About an hour 0.0.0.0:6379->6379/tcp myredis
Then my containerID is:
e431cd55e7f8

 Use the command to verify it, you can directly use the redis-cli command to operate.
➜ redis docker exec -it e431cd55e7f8 /bin/bash