Install HeidiSQL using Wine under Ubuntu 18.04.1 LTS x86_64
Install HeidiSQL using Wine under Ubuntu 18.04.1 LTS x86_64
It turned out that I used HeidiSQL under Windows, and suddenly changed to Ubuntu to use MySQL Workbench. Compared with MySQL Workbench, I think HeidiSQL is more convenient. HeidiSQL is a graphical interface for simplifying mini MySQL server and database management. The HeidiSQL official website gives runs fine on Windows XP, Vista, 7, 8 and 10. But there is another sentence that is Running on Wine requires to override Wine's builtin Direct2D library with the native one. So I tried to install HeidiSQL with Wine on Ubuntu, and also successfully installed with crossover, and the compatibility is almost perfect! But crossover can only be used for free for 14 days, of course, if you choose to buy, it is recommended to install with crossover. Here I use the free Wine for installation. The following is the successful installation process for your reference! A
table of Contents
Install HeidiSQL using Wine under Ubuntu 18.04.1 LTS x86_64
2. Install Wine and winecfg configuration
-
One. HeidiSQL download
go withHeidiSQL official websiteDownload the latest version of HeidiSQL (download link:https://www.heidisql.com/download.php)

I downloaded Revision9.5.0.5289-32 + 64bit installer (10.5MB). Click Download to place the downloaded file (HeidiSQL_9.5.0.5289_Setup.exe) in the custom directory folder.
-
2. Install Wine and winecfg configuration
-
2.1. Install Wine
The software store can be installed directly but it is not recommended to install directly. Here we install manually. Specific installation steps are also visibleWine official website installation steps。
Install WineHQ installation package
If you have installed Wine installation packages from other repositories before, please delete it and all installation packages that depend on it (such as wine-mono, wine-gecko, winetricks) before attempting to install the WineHQ installation package.
If you are using a 64-bit system, please enable 32-bit architecture support (if you have not previously enabled it):
sudo dpkg --add-architecture i386
And add the warehouse:
wget -nc https://dl.winehq.org/wine-builds/Release.key
sudo apt-key add Release.key
sudo apt-add-repository https://dl.winehq.org/wine-builds/ubuntu/
Update the installation package:
sudo apt-get update
Then installOne of the following installation packages:
Stable branch:
sudo apt-get install --install-recommends winehq-stableDevelopment branch:
sudo apt-get install --install-recommends winehq-develStaging branch:
sudo apt-get install --install-recommends winehq-stagingIf apt-get prompts missing dependencies, please install the missing dependencies first, and then repeat the above two steps (update and install). The file is installed in / opt / wine-devel or / opt / wine-staging.
-
2.2.winecfg configuration
Terminal (Ctrl + Alt + T) input:
winecfg
Set the Windows version to Windows XP (remember! Remember! Remember!). For the first time, I did not configure the Windows version through winecfg, which caused an error during the installation process and an error BUG. The reason is that the default configuration is Windows 7, and the HeidiSQL official website gives Runs fine on Windows XP. Therefore, it is inferred that Windows 7 configured with winecfg on Ubuntu is not compatible with HeidiSQL. So it is configured as Windows 7.


-
Three. Wine install HeidiSQL
Open the terminal and enter:
wine /home/wangpengcheng/D:Work/Heidisql/HeidiSQL_9.5.0.5289_Setup.exe
Wine is followed by:HeidiSQL_9.5.0.5289_Setup.exe download and store the custom path
At this time, if you are prompted about the lack of Wine related configuration, click Install.
Follow the HeidiSQL installation steps.


You're done! In this way, HeidiSQL is successfully installed under Ubuntu 18.04.1 LTS x86_64.
This article is for reference only, if there are any mistakes, I hope to point out, I am very grateful!
Intelligent Recommendation

Install Ubuntu 18.04.1 on HP540
Another old laptop HP HP540, Intel 64-bit old CPU T5670, 3GB DDR2 800MHz memory, used to smash. Use UltraISO to make a USB flash drive installation disk as follows: Because it is written in RAW format...

Remember MySQL installation on Ubuntu (18.04.1 LTS)
This document records the installation of MySql on Ubuntu (18.04.1 LTS). The installed version of mySQL is 5.7.24. Installation Environment Install mySql The following is the command, you need to ente...

Ubuntu 18.04.1 LTS opens root privileges
After installing Ubuntu 18.04.1 LTS, use the command su -root to switch the super administrator user. The authentication has failed. Cause: The root user was not enabled. During the installation proce...
Ubuntu 18.04.1 LTS LVM disk expansion
Ubuntu LVM disk expansion Reference:...

How to enter the root directory of Ubuntu 18.04.1 LTS
Although Ubantu has a relatively complete desktop version of the file operation, sometimes we want to find a directory in the folder is still difficult to find. At this time we can go to the root dire...
More Recommendation
VMware installation Ubuntu Server 18.04.1 LTS
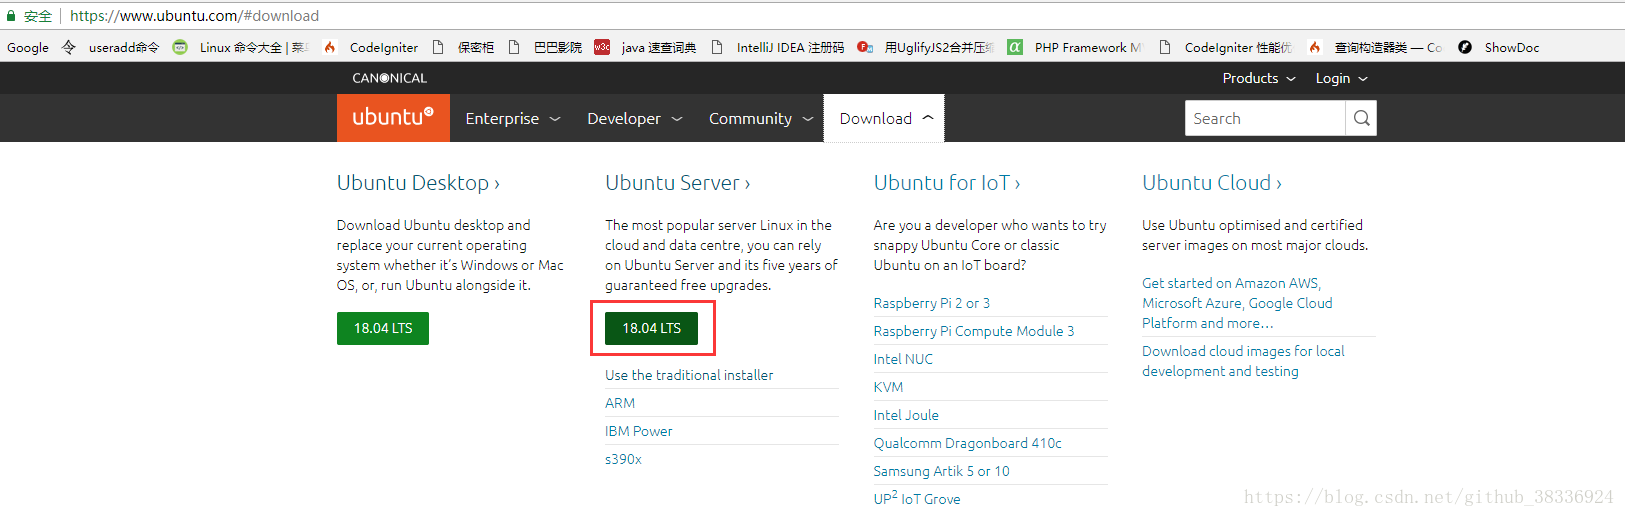
VMware InstallationUbuntu Server 18.04.1 LTS 1, preparation work installationVMware ToUbuntuOfficial website downloadUbuntu Server, link: https://www.ubuntu.com/#download 2, create a new virtual machi...

Virtual machine installation Ubuntu 18.04.1 LTS tutorial
Log in to the Ubuntu official website to download the system image. This article takes Ubuntu 18.04.1 LTS as an example. Mirror path:https://www.ubuntu.com/download/desktop Open VMare workspace Select...
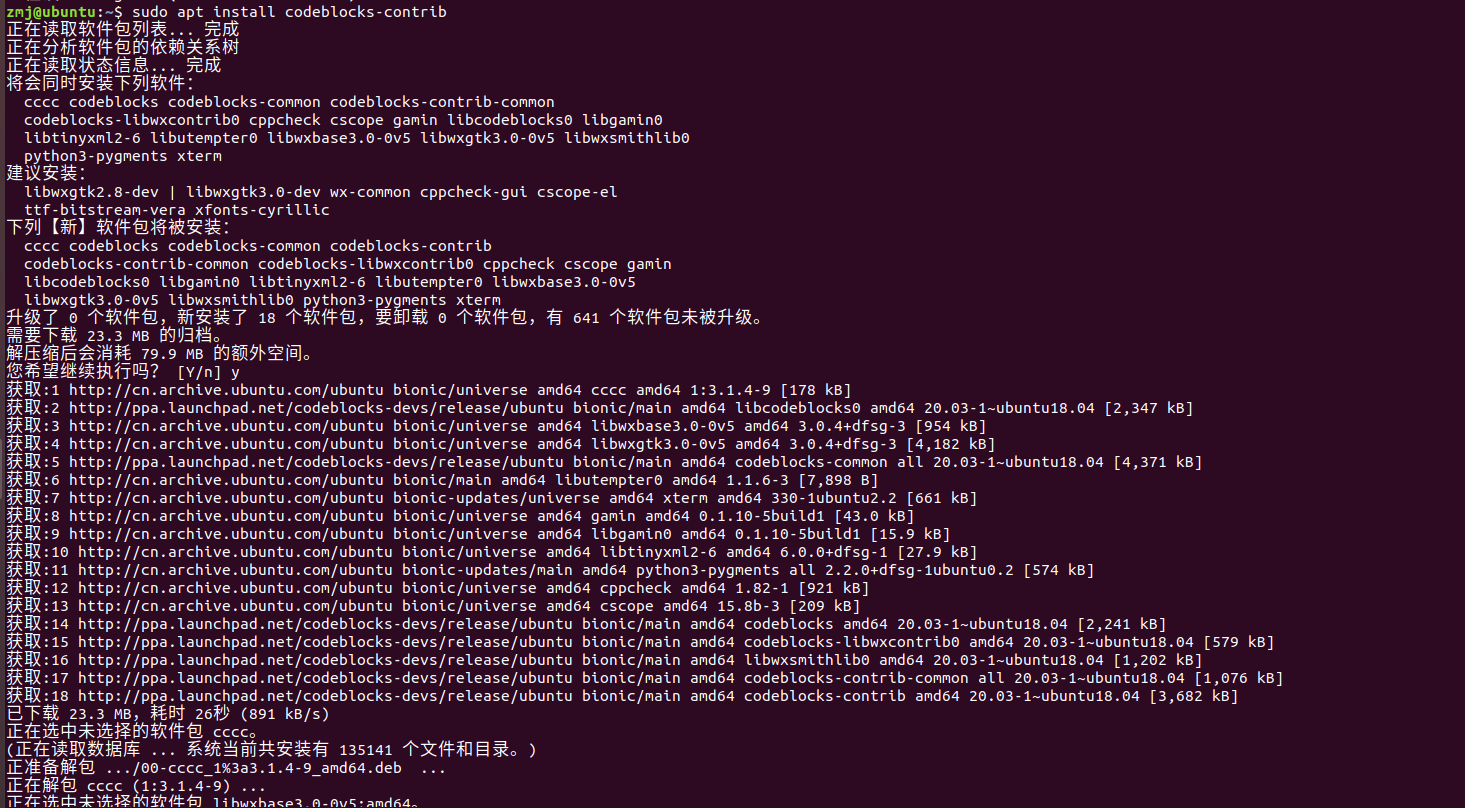
Ubuntu 18.04.1 LTS installation configuration CodeBlocks
Ubuntu 18.04.1 LTS installation configuration CodeBlocks 1. Install the GCC compiler 2. Install CodeBlocks 3.Codeblocks Tutorial 1. Install the GCC compiler Switch to root first, otherwise follow-up i...
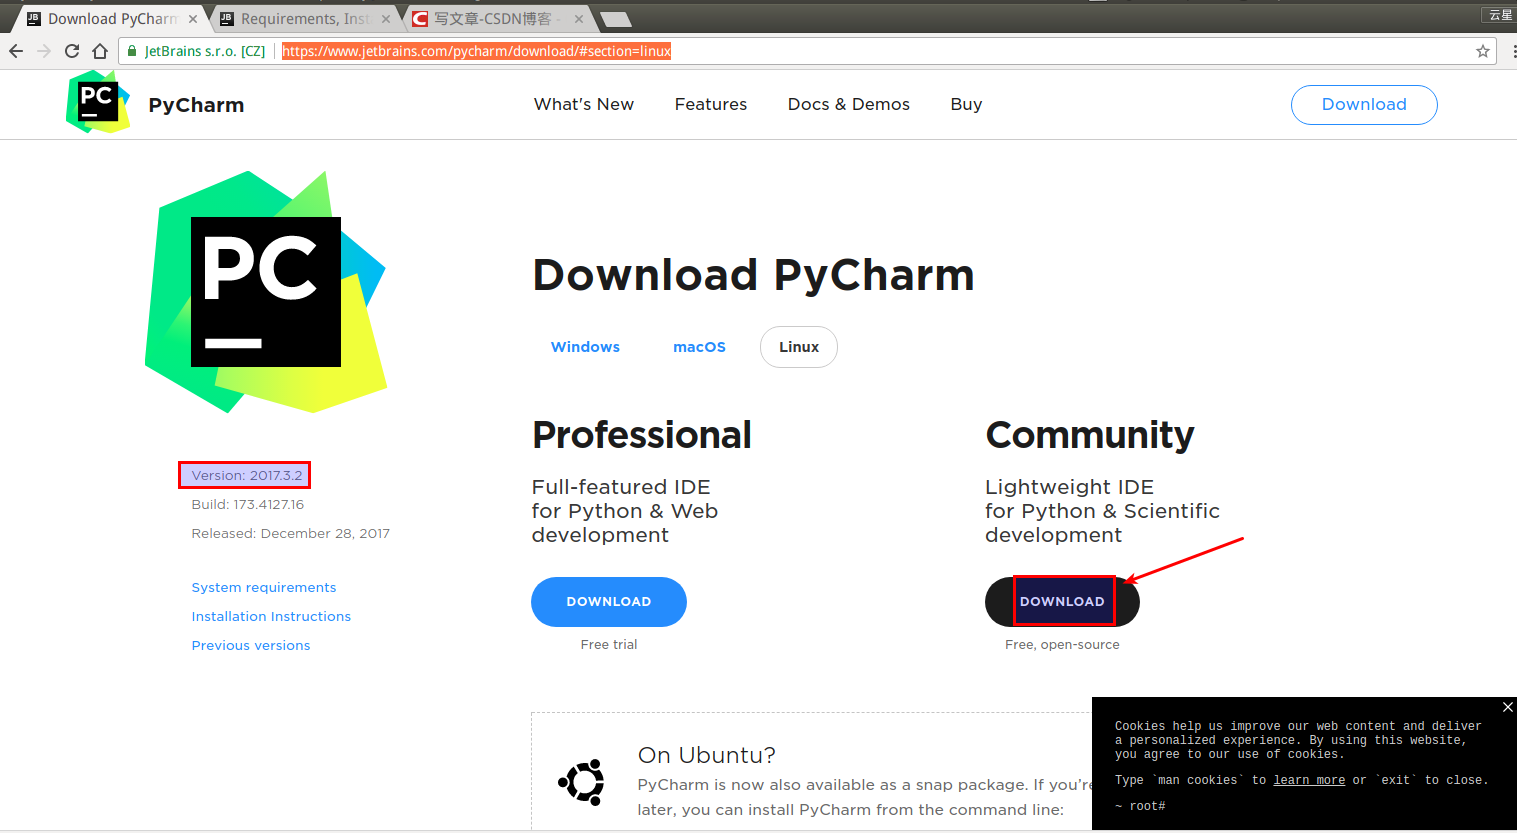
Install PyCharm Community Edition notes on Ubuntu 16.4.3 LTS x86_64
Download the latest community version from the PyCharm official website in the browser, it is free https://www.jetbrains.com/pycharm/download/#section=linux The default storage address is the download...
Install Hadoop cluster on Ubuntu 18.04.1
This article describes how to install a multi-node Hadoop 3.1.1 cluster on an Ubuntu-based system. The author will install a three-node Hadoop cluster with HDFS on Ubuntu 18.04.1. First, we need to cr...