When it comes to front-end packaging tools, there is no doubt that you want to get webpack first. But the front end is developing very fast, and new things will appear from time to time. Parcel and rollup appear before the packaging tool. Collision of various tools, mutual advantage, and promote the development of technology.
The zero-configuration feature is supported in webpack4, and block packaging is also optimized.CommonsChunkPluginHas been removed, now is usingoptimization.splitChunksinstead.
Let's start by introducing the contents of splitChunks.
Default
First webpack will automatically split the code block according to the following conditions:
- New code blocks can be shared references, or these modules are from the node_modules folder
- The new code block is larger than 30kb (min before min+gziped)
- The code block loaded on demand, the maximum number of parallel requests should be less than or equal to 5
- The initial loaded code block, the maximum number of parallel requests should be less than or equal to 3
Block packaging only affects on-demand loading of modules by default, because optimizing the initial block also affects the number of script tags in the HTML and increases the number of requests.
Let's look at some examples to understand the packaging of the default case.
Modules are all introduced synchronously
// indexA.js
import React from 'react'
import ReactDOM from 'react-dom'
import _ from 'lodash'

console.log(_.join(['a', 'b'], '~'))

ReactDOM.render(
  <div>SplitChunk</div>,
  document.getElementById('root')
)
Copy code
By default, only the on-demand modules are loaded, so everything is packaged together.
Dynamic import of modules
Here first use the matchECMAScript proposal Import() syntax
// indexA.js
import React from 'react'
import ReactDOM from 'react-dom'
import _ from 'lodash'
import(/* webpackChunkName: "async-jquery" */ 'jquery').then(component => {
console.log(component)
})
console.log(_.join(['a', 'b'], '~'))
ReactDOM.render(
<div>SplitChunk</div>,
document.getElementById('root')
)
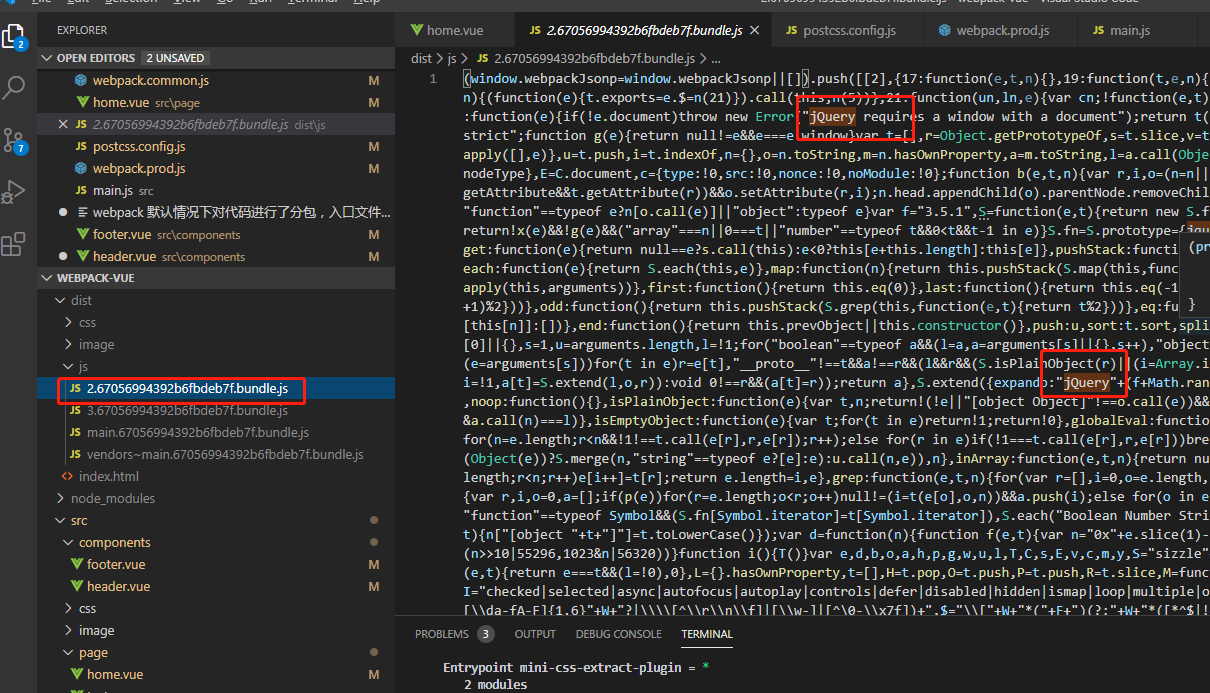
Copy codeHere jquery uses dynamic import, you can see that jquery is packaged separately in the package result.
React on demand
The same we tried to react on demand, using the react-routerOn-demand loading scenario
AsyncModule module asynchronously loads Dashboard according to the above scheme
import React from 'react'
import ReactDOM from 'react-dom'
import {BrowserRouter, Route} from 'react-router-dom'
import AsyncModule from './AsyncModule.jsx'
import _ from 'lodash'
import $ from 'jquery'

console.log(_.join(['a', 'b'], '~'))

ReactDOM.render(
  <div>
    <BrowserRouter>
      <Route path='/' component={AsyncModule} />
    </BrowserRouter>
  </div>,
  document.getElementById('root')
)
Copy code
From the packaging results, you can see that the modules loaded on demand are packaged into 0.js.
After finishing the optimization of the package block by webpack by default, let's look at the splitChunks configuration item.
Configuration item
Related configuration items:
module.exports = {
  //...
  optimization: {
    splitChunks: {
      chunks: 'async',
      minSize: 30000,
      minChunks: 1,
      maxAsyncRequests: 5,
      maxInitialRequests: 3,
      automaticNameDelimiter: '~',
      name: true,
      cacheGroups: {}
    }
  }
}
Copy code- Chunks: Indicates which code needs to be optimized. There are three optional values: initial (initial block), async (on-demand block), all (all blocks), default is async
- minSize: indicates the minimum module size before compression. The default is 30000.
- minChunks: indicates the number of times referenced, the default is 1
- maxAsyncRequests: The maximum number of concurrent requests when loading on demand, the default is 5
- maxInitialRequests: The maximum number of concurrent requests for an entry. The default is 3.
- automaticNameDelimiter: named connector
- Name: the name of the split block, which is automatically generated by the block name and hash value by default.
- cacheGroups: Cache groups. In addition to all the above attributes, the attributes of the cache group are test, priority, and reuseExistingChunk
- Test: used to control which modules are matched by this cache group
- Priority: priority of the cache group package
- reuseExistingChunk: If the module contained in the current code block already exists, a new code block is not generated.
The configuration items are basically the above, we focus on the chunks and cacheGroups.
chunks
The value of chunks is initial, async, all. By default, it is async, and its performance has been introduced in the first part of this article, so let's look at the performance of the other two.
initial, allThe pattern assigns all modules from node_modules to a cache group called vendors; all code that repeatedly references at least twice will be assigned to the default cache group.
// indexA.js
import './Dashboard.jsx'

// indexB.js
import './Dashboard.jsx'

// Dashboard.jsx
import React from 'react'
Copy code
// webpack.config.js
splitChunks: {
chunks: 'initial'
}
Copy codeThe package performance is as described above, resulting in two code blocks, vendors, default.
The default cache group can be disabled by configuring optimization.splitChunks.cacheGroups.default: false.
// webpack.config.js
splitChunks: {
  chunks: 'initial',
  cacheGroups: {
    default: false
  }
}
Copy code
As for the difference between all and initial, you can read this article.Webpack 4 — Mysterious SplitChunks Plugin(To be scientific online)
Mentioned insideinitialThe packaged asynchronous and non-asynchronous modules are optimized separately in the mode. andallAsynchronous and non-asynchronous will be optimized and packaged at the same time. That is to say, moduleA is introduced asynchronously in indexA, and indexB is introduced synchronously.initialThe next moduleA will appear in two packed blocks, andallOnly one will appear.
cacheGroups
Use cacheGroups to customize the configuration of the package block.
// indexA.js
import React from 'react'
import ReactDOM from 'react-dom'
import _ from 'lodash'
import $ from 'jquery'

// indexB.js
import React from 'react'
import ReactDOM from 'react-dom'
import('lodash')
import $ from 'jquery'

// webpack.config.js
optimization: {
    splitChunks: {
      cacheGroups: {
        commons: {
          name: 'commons',
          chunks: 'initial',
          minChunks: 2
        }
      }
    }
  }
Copy code
According to the introduction of the webapck splitting condition at the beginning, some common modules are packaged into commons. The priority of the custom packed block is 0, so now the public module will be packaged into commons instead of the default packed block vendors mentioned above (priority is negative).
But why is lodash not packed together here? You can review the difference between initial and all. Next, experiment with the effect of all.
// indexA, indexB is the same as above
// webpack.config.js
optimization: {
    splitChunks: {
        cacheGroups: {
            commons: {
                name: 'commons',
                chunks: 'all',
                minChunks: 2
            }
        }
    }
}
Copy code
As a result, lodash was packaged together in anticipation.
Extract third-party libraries
Finally, look at the third-party library features that were previously used by CommonsChunkPlugin. Here you can think about how to operate.
The settings have been mentioned abovechunks: initial || allYou can extract third-party libraries. But it is to extract all the third libraries, so we need to customize a cacheGroup only when extracting react and react-dom.
// indexA.js
import React from 'react'
import ReactDOM from 'react-dom'
import _ from 'lodash'
import $ from 'jquery'

// webpack.config.js
entry: {
    indexA: path.join(__dirname, 'src/indexA.js')
},
optimization: {
    splitChunks: {
        chunks: 'all',
        cacheGroups: {
            vendors: {
                test: /react/,
                name: 'vendors'
            }
        }
    }
}
Copy code
We rewrote the vendors package and only packaged the modules that match the react, so we have achieved the functionality of the previous CommonsChunkPlugin.
or
// index.jsx
import React from 'react'
import ReactDOM from 'react-dom'

// webpack.config.js
entry: {
    indexA: path.join(__dirname, 'src/indexA.js'),
    vendor: ["react", "react-dom"]
},
optimization: {
    splitChunks: {
        cacheGroups: {
            vendor: {
                name: "vendor",
                chunks: "initial"
            }
        }
    }
}
Copy code
The webpack package entry adds a vendor entry that includes all the libraries that need to be packaged separately, and then sets this package block in cacheGroups.chunks: initial || allIt is also possible to extract duplicate libraries from indexA and vendor into the vendor packing block.
optimization.runtimeChunk
Finally mention the runtimeChunk, throughoptimization.runtimeChunk: trueThe option, webpack will add an extra code block containing only the runtime (runtime) to each entry. (Annotation: This needs to look at the scene, which will cause each portal to load more than one runtime code)
to sum up
Webpack4's splitChunks feature is more powerful, but it is recommended to use the default mode, or extract third-party libraries.
References
- Without CommonsChunkPlugin, what do you want to subcontract?
- Webpack 4 — Mysterious SplitChunks Plugin
- Step by step to understand the splitChunk plugin for webpack4