Make your own semantic segmentation dataset with labelme
The hardware environment of this paper is DELL, GPU 1060TI, and the software environment iswindows10 64-bitOperating system, python 3.
First install the labelme based on anaconda in the windows system:
# python3
conda create --name=labelme python=3.6

source activate labelme

pip install pyqt5

pip install labelm
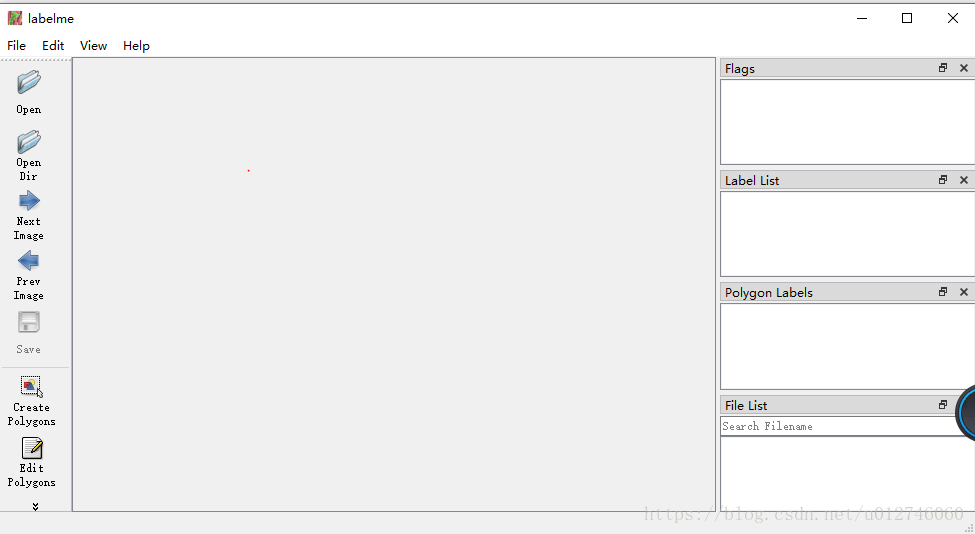
Enter in anaconda promote after installation is completelabelmeYou can open the graphical user interface as shown below:

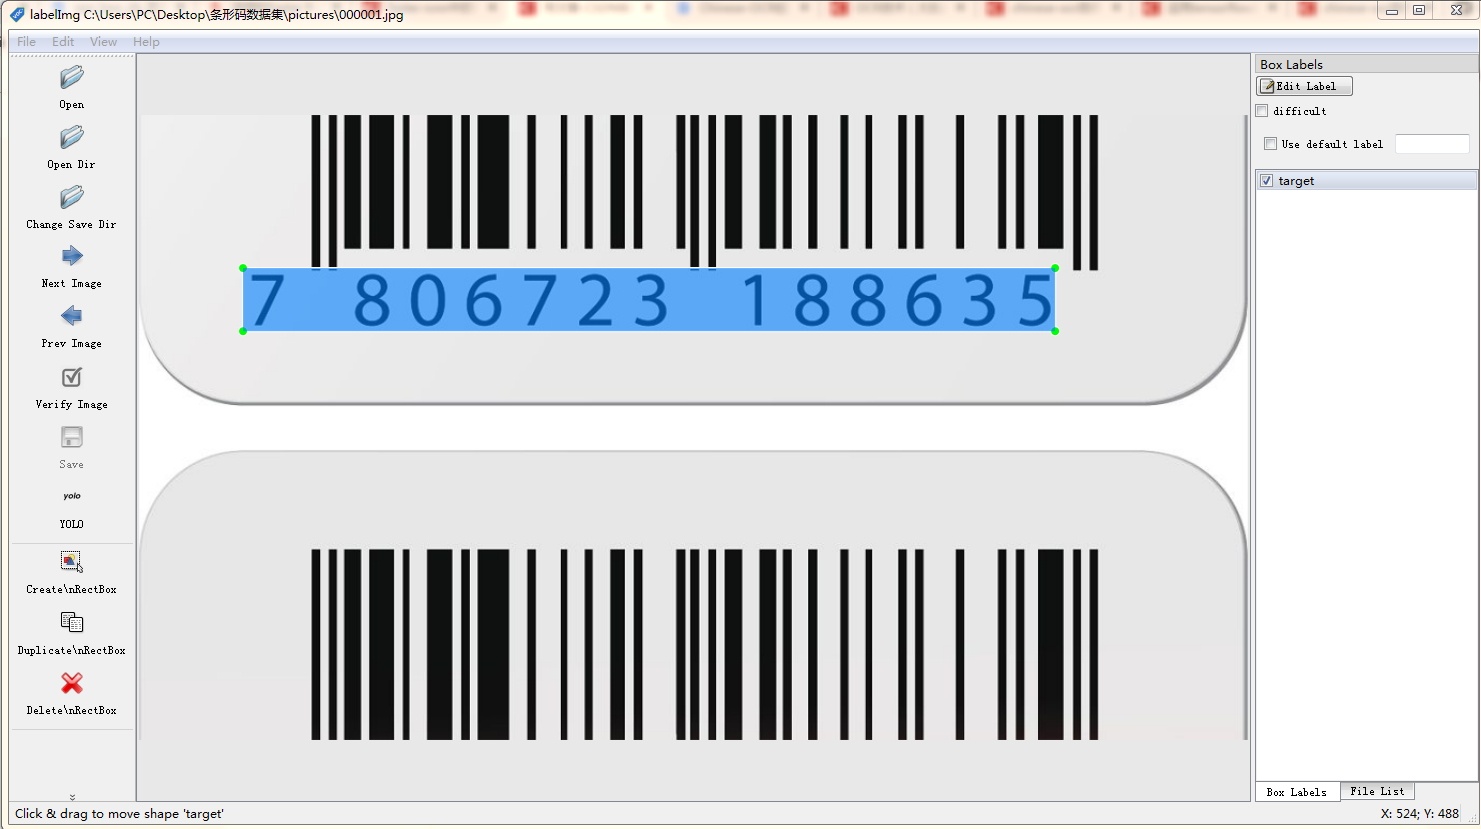
At this point, open the image that needs to be labeled and mark the image.
After the image annotation is completed, it is saved as a json format file, but there is no way to directly use the json format file, so the json file needs to be processed later:
1. Find the location of the json file and set the location of the processed file
Labelme_json_to_dataset storage location / file name .json -o processed file location / file nameAfter processing, 5 files will appear in the folder, and then 5 files will be processed.
The five files are: original file .png, info.yaml, label.png, label_names.txt, label_viz.png
Where label.png is the label image of the image
2. Coloring label.png
Batch processing using the python program, the program is as follows:
import PIL.Image
import numpy as np
from skimage import io,data,color
import matplotlib.pyplot as plt

for i in range(1,7):
         Img=PIL.Image.open("file path/label.png"%i)
    img=np.array(img)
         Dst=color.label2rgb(img,bg_label=0,bg_color=(0,0,0))#The background label is 0 and the color is black.
         Io.imsave("file path.png"%i,dst)
The result is as follows:
The original image is too large to be uploaded, and the original image is an aerial image of the aerial image.

3. Using Matlab to convert 24-bit map to 8-bit map
Dirs=dir('file path/*.JPG');
for n=1:numel(dirs)
         Strname=strcat('file path/',dirs(n).name);
    img=imread(strname);
    [x,map]=rgb2ind(img,256);
         Newname=strcat('result storage path/',dirs(n).name);
    imwrite(x,map,newname,'JPG');
end
The converted image is subjected to training such as rotation division, and the like.
Intelligent Recommendation
Make your own tfrecords dataset
Record the process of using the mobilenet to train live recognition to produce tfrecords last year: 1. Create a data list file and generate a txt file in the following format: code show as below: 2. M...
Make your own ctpn dataset
Make your own ctpn dataset 1. Use label-image to label your own data set and save it as a .txt file. The results are as follows: The first column of the above figure 0: the decimal behind is the posit...
Make your own COCO dataset
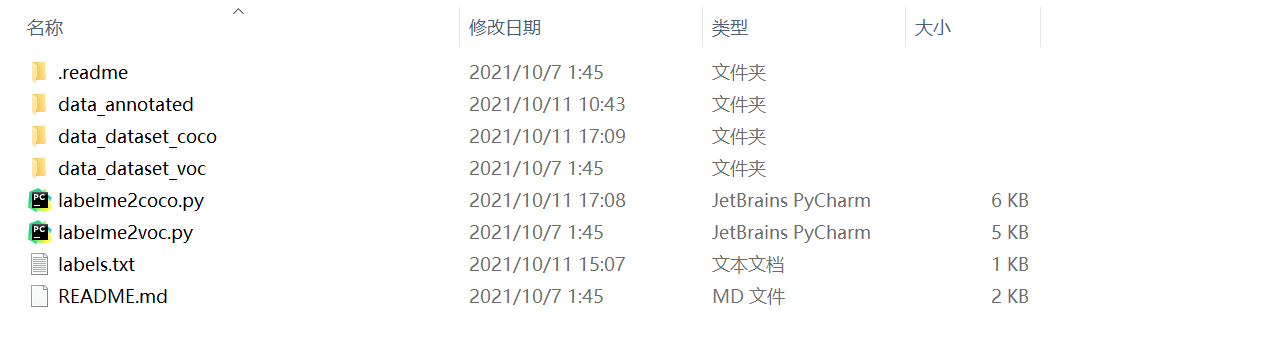
1. The form of the overall folder data_annotated: Copy the original map and the json file generated by the original picture into the folder. Data_dataset_coco: Run the folder generated after labelme2c...

labelme Make Semantic Segmentation data, specify different colors for different labels
ubuntu16.04 Anaconda environment labelme installation and use Different labels specify different colors 1. Tagging 2. Modify json_to_dataset.py This file will be used when parsing .json files My path ...
Labelme json file conversion and make semantic segmentation data set
Project scene: [Semantic segmentation] Use PyTorch Deeplabv3+ to train your data Reference blog post PyTorch semantic segmentation Deeplabv3+ training its own data set from data preparation to model t...
More Recommendation
Install a Labelme and annotate your own dataset using anaconda under Windows
First, the installation environment: windows10, anaconda3, python3.6 Second, the installation process: 1. Open the anaconda prompt as an administrator. 2, enter the command: conda create --name=labelm...
Labelme how to use how to create your own dataset
1 New Labelme's Conda environment 2 activation environment Activate Labelme 3pip install labelme 4 Enter Labelme in the environment for labeling to get the json file 5 Copy new_json_to_dataset.py, dra...
Train a semantic segmentation model with your own data
Article Directory training test If you don’t know how to make the training set, please see the previous blog post Model code used in this article:https://github.com/yassouali/pytorch_segmentatio...

FCN semantic segmentation-train your own data
Preface Some time ago, I studied the semantic segmentation of FCN and successfully applied it to my own data set. Now the results of the segmentation are not very satisfactory, and I look forward to l...
Semantic segmentation makes your own data set
1. Modify D: \ Anaconda3 \ lib \ site-packages \ labelme \ CLI JSON_TO_DATASET.PY. 2. Place all JSON files in a folder E: \ Oralcell \ Test327 \ JSON Enter the Environment D: \ Anaconda3 \ Scripts Thi...