SecureCRT uses configuration detailed graphic tutorial (transfer)
The original text was transferred from:
Secure CRT is a terminal emulation program that supports SSH2, SSH1, Telnet, Telnet/SSH, Relogin, Serial, TAPI, RAW, etc. What attracts me most is that SecureCRT supports tagged SSH conversations, which makes it easy to manage multiple SSH connection, the settings are also extremely rich. Simply put, it is the software for logging in to UNIX and Linux server hosts under Windows. SecureCRT supports SSH and supports both Telnet and rlogin protocols.
SecureCRT is an ideal tool for connecting and running Windows, UNIX, and VMS. The transmission of encrypted files can be performed by using the included VCP command line program. All the features of the popular CRT Telnet client include: automatic registration, different features for different hosts, print functions, color settings, variable screen size, user-defined key bitmaps and excellent VT100, VT102, VT220, ANSI Competing, running from the command line or running from a browser, other features include text manuscripts, easy-to-use toolbars, user's key bitmap editor, customizable ANSI colors, etc. SecureCRT's SSH protocol supports DES, 3DES And RC4 password and password are authenticated with RSA.
1, SecureCRT download
Detailed introduction of SecureCRT:Please click here
SecureCRT download address:Please click here
2, SecureCRT configuration color
Modify the global options directly so that you don't have to reset them every time you add a server:

Global Settings:

Keyboard solution selection: terminal - "simulation
Select "Linux" for the terminal, check "ANSI Color" and "Use Color Scheme". For the terminal color configuration, please see the following...

Font Configuration: Terminal - "Appearance
Note the color scheme select "white / black", set the font size: font (F)

If Chinese garbled appears, modify the above "character code (H)", generally "UTF-8“
Note that the following character set must be selected "Chinese GB2312": (Chinese selection, English does not have to)

After configuration, the default color of the login terminal is as follows:

The directory color is very similar to the background color (black) and is not easy to see.
Terminal global color setting: <
Options ——》 Global Options ——》 Terminal ——》 Appearance ——》 ANSI Color
Set the "Bold Colors" blue color to your favorite clear color, as shown below:

With the effect:

Note: The color in the shell script will also change from dark blue to light blue above, as shown below:

After the SecureCRT is connected, if it is not used for a long time, it will be dropped, which will often result in the loss of working status. The following settings can always maintain a SecureCRT connection:

As shown below:

If the SecureCRT display does not fill the entire screen on a large display, it can be adjusted via Global Options/Terminal/Appearance/Maximum columns:

3, SecureCRT upload and download
File transfer protocols under SecureCR are: ASCII, Xmodem, Ymodem, Zmodem

File transfer is the main form of data exchange. In order to make the file can be correctly identified and transmitted during file transfer, we need to establish a unified transfer protocol between the two computers. This protocol includes the identification of the file and the start and end of the transfer. Time, wrong judgment and correction. Common transmission protocols are as follows:
1) ASCII: This is the fastest transfer protocol, but only text files can be transferred.
2) Xmodem: This ancient transmission protocol is slower, but due to the CRC error detection method, the transmission accuracy can be as high as 99.6%.
3) Ymodem: This is a modified version of Xmodem that uses a 1024-bit segment transfer faster than Xmodem.
4) Zmodem: Zmodem adopts streaming transmission mode, which has fast transmission speed, and also has automatic change of segment size and breakpoint retransmission, fast error detection, etc. Features. This is currently the most popular file transfer protocol.
In addition to the above, there are protocols such as Imodem, Jmodem, Bimodem, Kermit, Lynx, etc. Since there is no support from most vendors, it will be omitted here.
SecureCRT can use the zmodem protocol under Linux to transfer files quickly. Just set the default directory for uploading and downloading.
Options->session options ->Terminal->Xmodem/Zmodem, set the directory for uploading and downloading in the right column Directories:

upload files
Use Zmodem to upload files from the client to the linux server
1) First use SecureCRT to log in to the Linux terminal directory, which is the directory where you store the uploaded files.
2) Under Linux, select the path where you want to place the uploaded file, and then enter the rz command in this directory. SecureCRT will pop up the file selection dialog box and find the file you want to upload in the search range. The file, press the Add button; then OK, you can upload the file to linux.
3) Or in the Transfer->Zmodem Upoad list pop-up file selection dialog box, press the Add button after selecting the file; then OK, the window will automatically close; finally select the directory where the file is stored under linux, enter the rz command; Liunx will put that file Uploaded to this directory.
download file
Use Zmodem to download files to the client:
sz filename
zmodem receiving can be started by itself, and the downloaded file is stored in the default download directory you set (above, Directories settings directory for uploading and downloading directories)
Rz, sz is a command line tool for Linux/Unix and Windows ZModem file transfer.
As long as the Windows side supports ZModem's telnet/ssh client, SecureCRT can use SecureCRT to log in to Unix/Linux host (telnet or ssh)
1) Upload: Run the command rz, which is to receive the file. SecureCRT will pop up the file selection dialog box. After selecting the file, close the dialog box and the file will be uploaded to the current directory.
2) Download: Run the command sz file1 file2 is to send files to windows (the saved directory is configurable) More convenient than the ftp command, and the server does not need to open the FTP service again.
Note: If the rz and sz commands are invalid, please install rzsz-0.12.20-853.2.i586.rpm first.
Intelligent Recommendation
mysql super detailed graphic installation and configuration tutorial
I mainly take Mysql installation-free version as an example to help you solve the steps of installing and configuring mysql 1. Download the installation package First of all: first enter the mysql off...
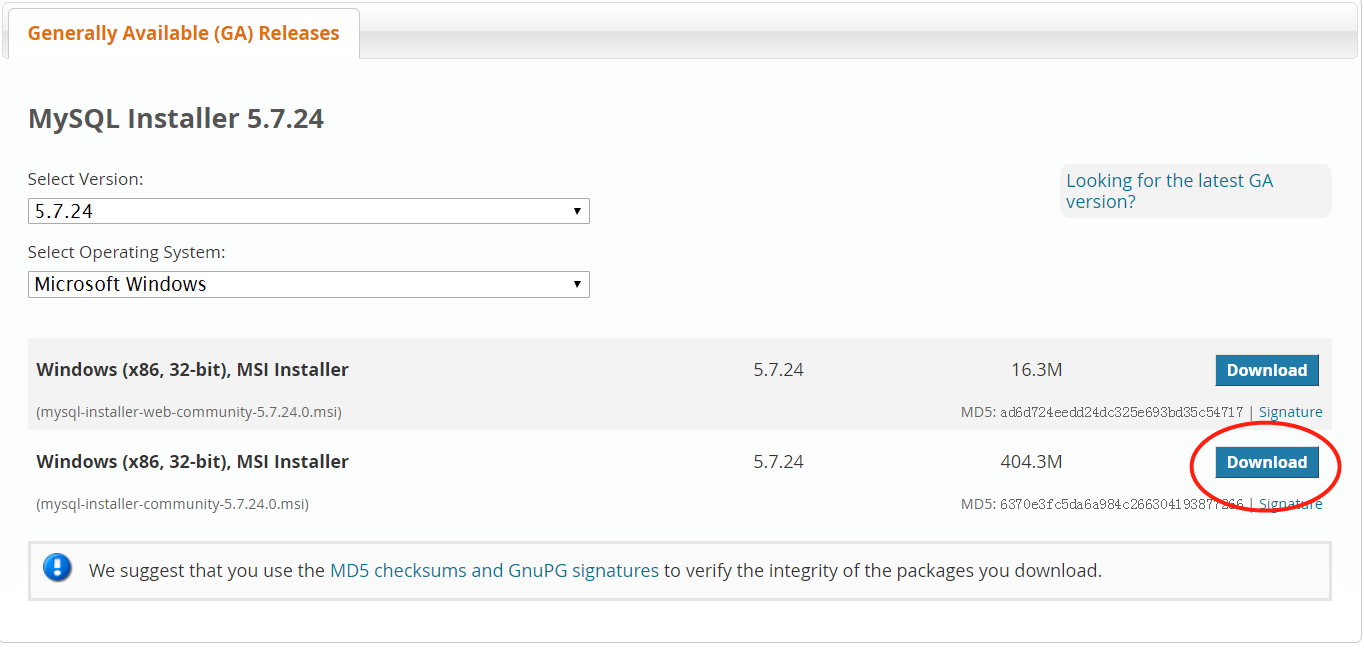
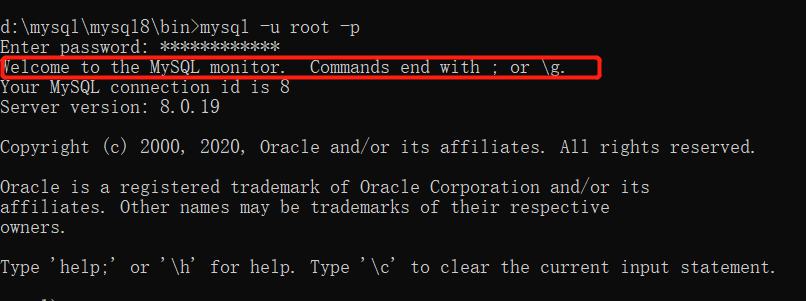
MySQL5.7.24 installation and configuration (graphic super detailed tutorial)
mysql installation details, to solve the problems encountered in the installation First download MySQL. I used 5.6, because I failed to install 5.7 at the beginning, so I changed to 5.6 and it succeed...

Maven download installation configuration tutorial (detailed graphic)
Maven download installation configuration tutorial (detailed graphic) First, Maven download https://maven.apache.org/download.cgiDownload zip file Second, MAVEN installation Note: Maven installation n...
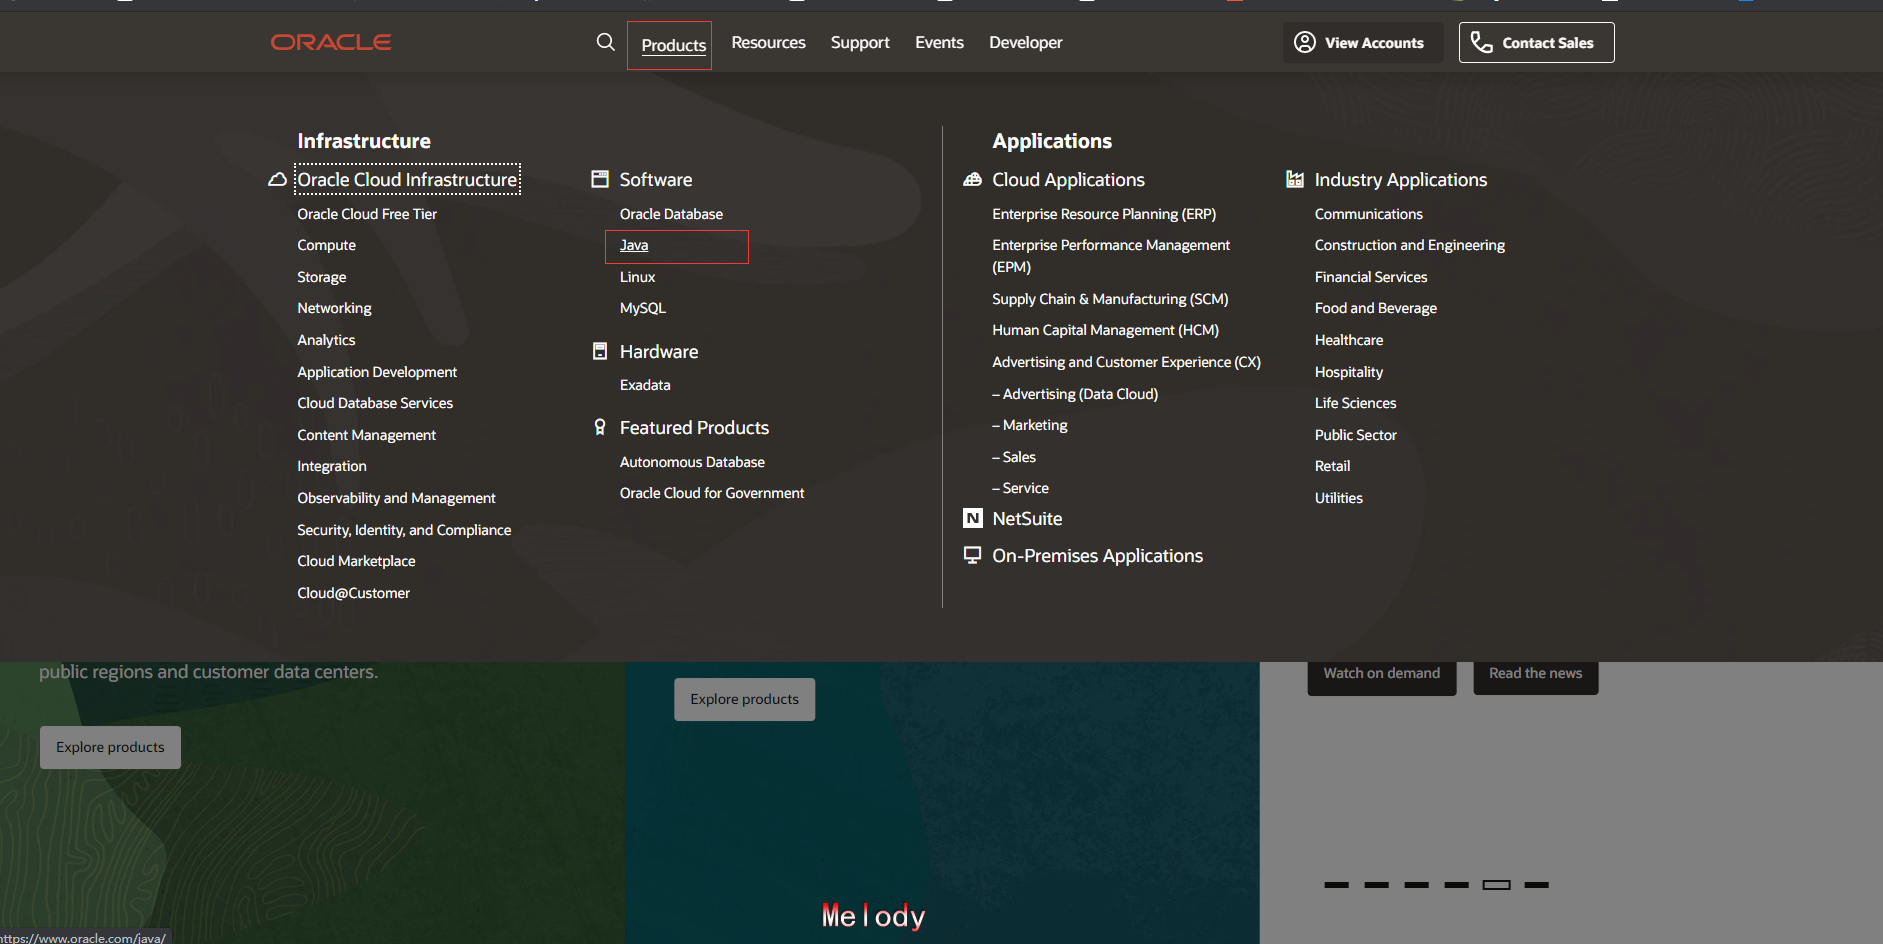
JDK installation and configuration detailed graphic tutorial (Win10)
JDK download Enter the official website, select Java under the Software under Products Official website Drop, find the Java SE page and select Oracle JDK Select JDK Download after entering Then enter ...
MYSQL-5.7.17 installation configuration (graphic detailed tutorial)
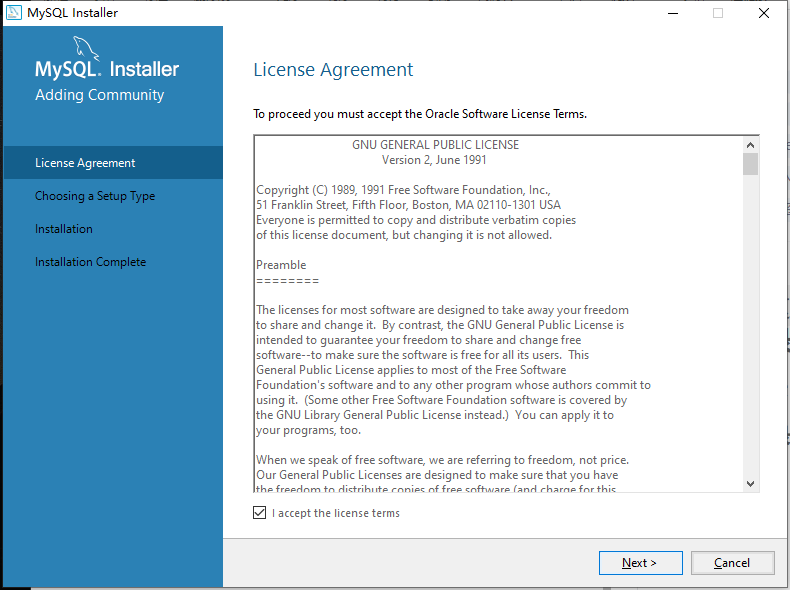
MYSQL-5.7.17 installation configuration (graphic detailed tutorial) 1 download mysql installation package 2 open the installation package 3 Check I Accept the license terms and click Next 4 Check Cust...
More Recommendation
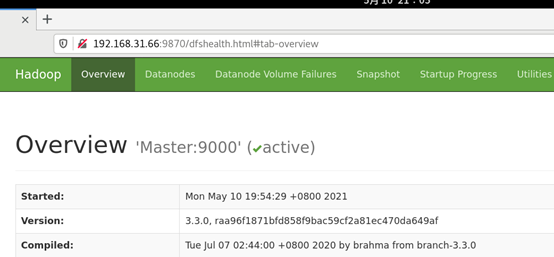
Hadoop cluster installation and configuration graphic detailed tutorial
Configuring Hadoop in Linux Environment Refer to Hadoop official documentation. First, prerequisites The software required for Linux and Windows includes: JavaTM must be installed, check the matching ...

JDK installation and configuration detailed graphic tutorial
1. Download download link:Oracle Java Technologies | Oracle The version is updated at any time, so the interface will change at any time, so don't panic. Java Archive Downloads - Java SE 15 (oracle.co...

Maven's download and installation configuration tutorial (detailed graphic)
Table of contents 1. Take a brief understand what Maven is Maven 2. Maven download 3. Maven installation 4. Maven's environment variable configuration 5. Setting file configuration 6. Development tool...
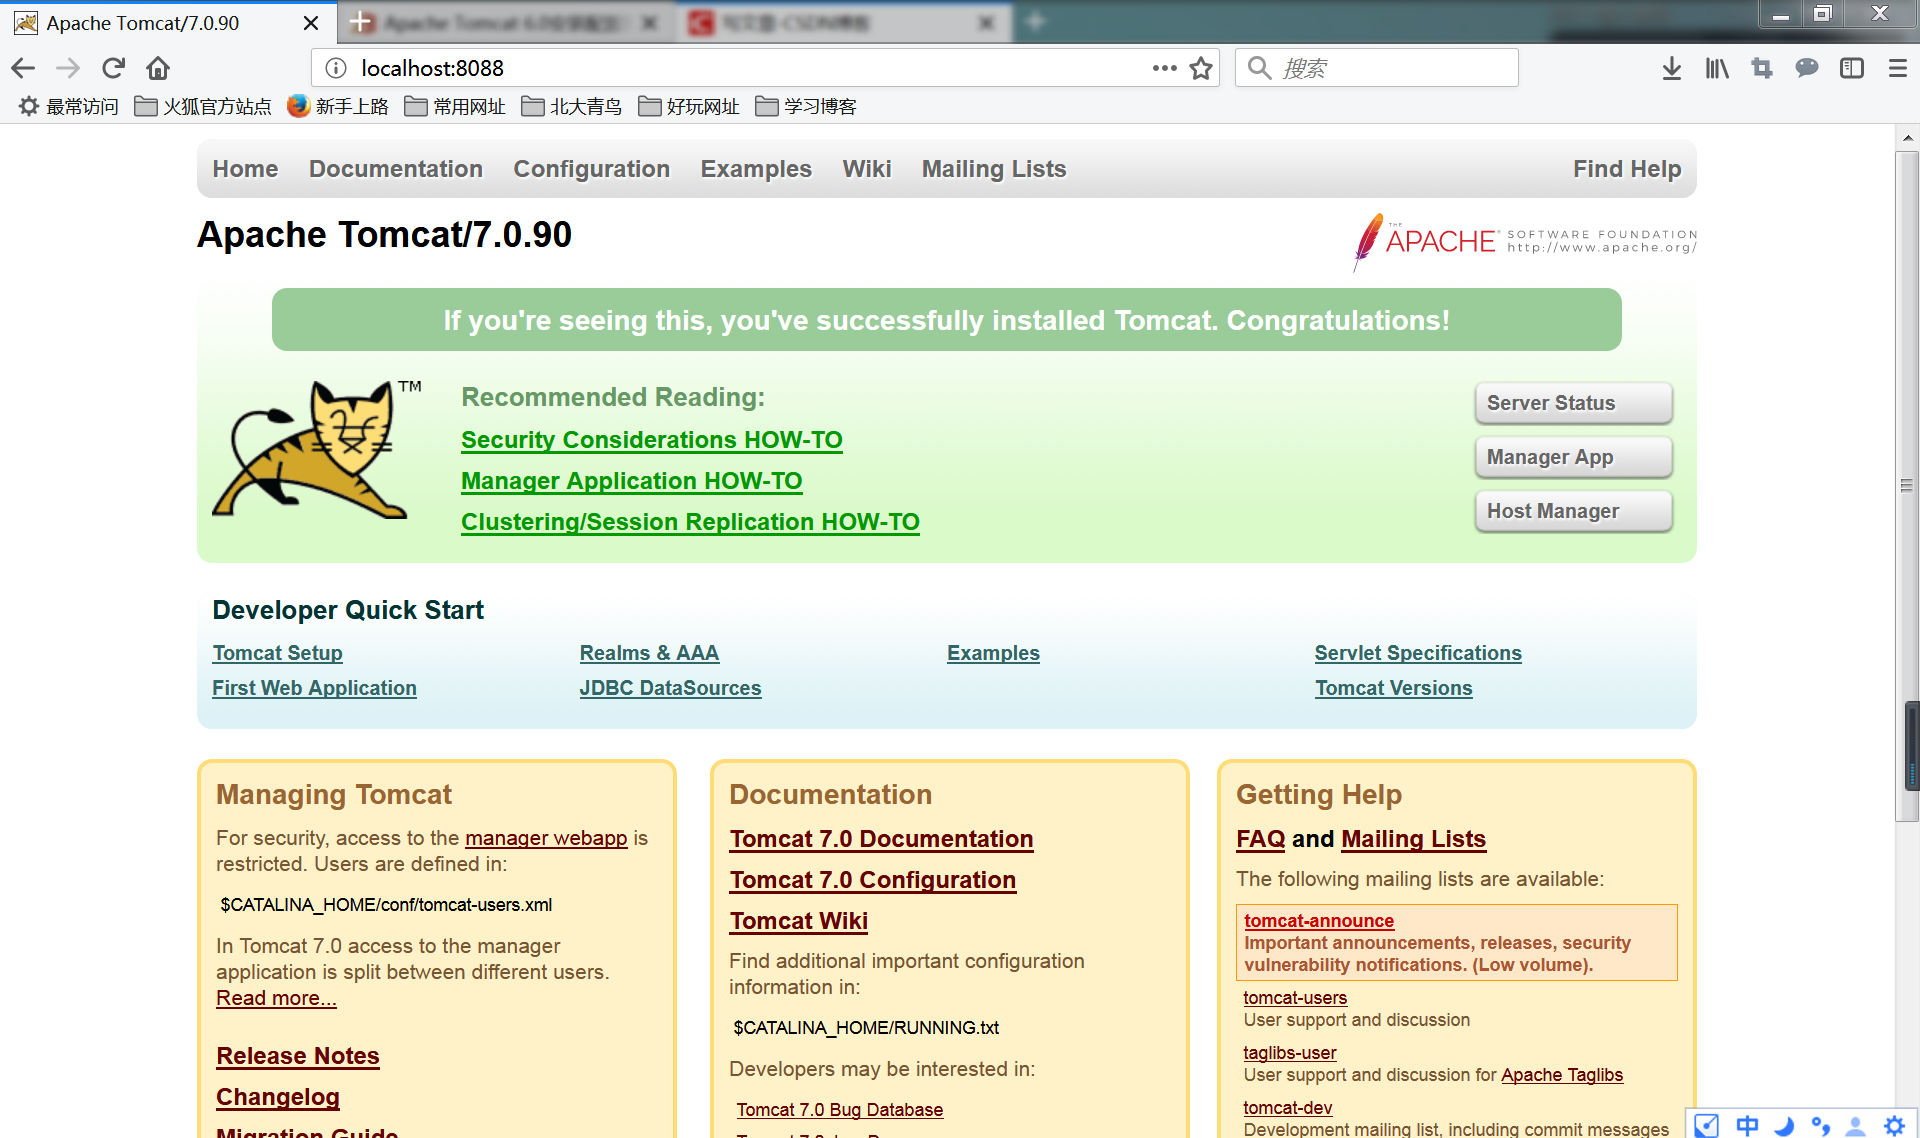
Apache Tomcat installation configuration graphic detailed tutorial
1. The steps of installing JDK and configuring JDK environment variables are omitted. 2. Install Tomcat (please install JDK in advance) 1. After downloading the compressed package, unzip it directly t...

MySQL installation and configuration (super detailed graphic tutorial)
One, fromMysql official websitedownload 2. Installation Tutorial After the download is complete, double-click to install directly. The opened page is as follows: Select custom custom, then the next st...