Vue+Cesium
Vue + Cesium
VUE
First, install the node environment
- [Official website download][https://nodejs.org/zh-cn/] It is recommended to download a long-term stable version
- Check if the installation is successful
- Open the cmd command line
- Enter node -v
- View the version number (the version number indicates success)
two,Building a vue project
1, global installation vue-cli
Open the cmd input anywhere:npm install --global vue-cl
2, create a project
Open the cmd input below the folder you created:vue init webpack test
3, configure the vue environment to be installed
After the second step command appears, a series of options will appear:
	1) Project name (test) project name, confirm the direct return key, otherwise enter your desired project name
	 2) Project description Project description, press Enter (enter is YES)
	 3) Author Doesn't matter, press Enter.
	 4) Too much, too lazy to play, always confirm...
	 5) set up unit test unit test, I generally use n
	 6) set e2e test with Nightwatch e2e automation, will not use n

	 After confirming the confirmation, the rest will be completed!
4, start the project
Enter the command below the vue project: npm run dev
Click on localhost:8080 and your project will run.
Cesium
First, install Cesium
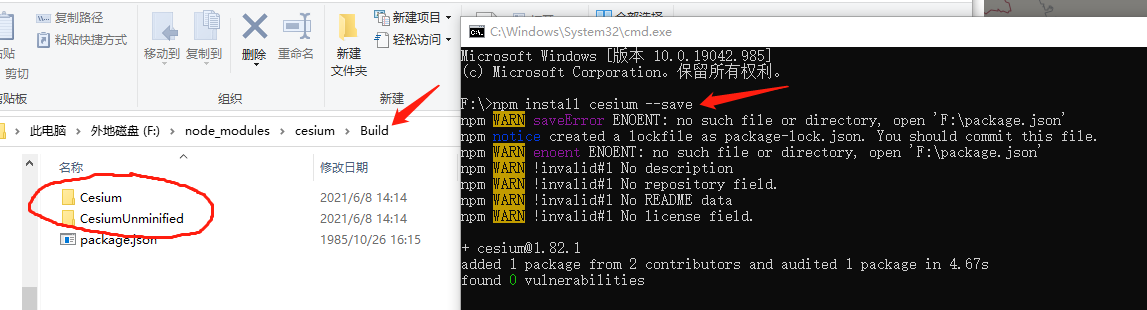
Enter the command: npm install cesium
Second, transfer compiled cesium static files
Willnode_modules\cesium\Build BelowCesiumFile, copy tostaticIn the file, remember to delete Cesium.js
WillCesiumThe entire folder is copied over. There are 4 folders below:
Assets--------------->Store imported static resources
ThirdParty--------------->Store third-party resources
Widgets--------------->small parts
workers--------------->This has not been clarified, and will be updated later.
Third, modify the Webpack configuration items
Modify it in the webpack.base.conf.js file:
1. Add sourcePrefix: ’ ’
output: {
    path: config.build.assetsRoot,
    filename: '[name].js',
    publicPath: process.env.NODE_ENV === 'production'
      ? config.build.assetsPublicPath
      : config.dev.assetsPublicPath,
    sourcePrefix: ' ' 	/ / Correctly indent multi-line string
 }
2, add unknownContextCritical: false and unknownContextRegExp: /^./.*$/
module: {
    rules: [
     .....
    ],
    unknownContextRegExp: /^.\/.*$/, //Print warning when loading a specific library
    unknownContextCritical: false	/ / Resolve Error: Cannot find module "."
  }
Fourth, create components
<div id="cesiumContainer"></div>
import Cesium from 'cesium/Source/Cesium.js'
import buildModuleUrl from 'cesium/Source/Core/buildModuleUrl'
import 'cesium/Source/Widgets/widgets.css'

export default {
	data () {
    	return {
    		viewer :'',
    		tileset '',
    	}
    },
	mounted (){
 	  / / Set the static resource directory
      buildModuleUrl.setBaseUrl('../../static/Cesium/')
      // // Create a viewer instance
      this.viewer = new Cesium.Viewer('cesiumContainer', {
      // A collection of data sources that need to be visualized
        animation: false, // Whether to display the animation control
        shouldAnimate: true,
        homeButton: false, // Whether to display the Home button
        fullscreenButton: false, // Whether to display the full screen button
        baseLayerPicker: true, // Whether to display the layer selection control
        geocoder: false, // Whether to display the place name lookup control
        timeline: false, // Whether to display the timeline control
        sceneModePicker: true, // Whether to display the projection mode control
        navigationHelpButton: false, // Whether to display the help information control
        infoBox: false, // Whether to display the information displayed after clicking the feature
        requestRenderMode: true, // Enable request rendering mode
        scene3DOnly: false, // Each geometry instance will only be rendered in 3D to save GPU memory
        sceneMode: 3, // Initial scene mode 1 2D mode 2 2D loop mode 3 3D mode Cesium.SceneMode
        fullscreenElement: document.body // HTML elements rendered in full screen are not found useful for the time being.
      })
      // Remove copyright information
      this.viewer._cesiumWidget._creditContainer.style.display = 'none'
      // Cesium3DTileset is used to implement a wide range of model scene data loading applications.
      // 3D tilt model, manual modeling, BIM model, etc. can be converted to 3DTiles
      this.tileset = this.viewer.scene.primitives.add(new Cesium.Cesium3DTileset({
        url: '../static/Cesium/Assets/Model/Model.json', // data path
        dynamicScreenSpaceError: true,
        cullWithChildrenBounds: false,
        // When skipLevelOfDetail is true, is a constant that defines the minimum number of levels to skip when loading a slice.
        skipLevels: 0,
        maximumScreenSpaceError: 0 // maximum screen space error
        // maximumNumberOfLoadedTiles: 1000, //Maximum number of tiles loaded
      }))
      this.viewer.zoomTo(this.tileset)
    }
   }
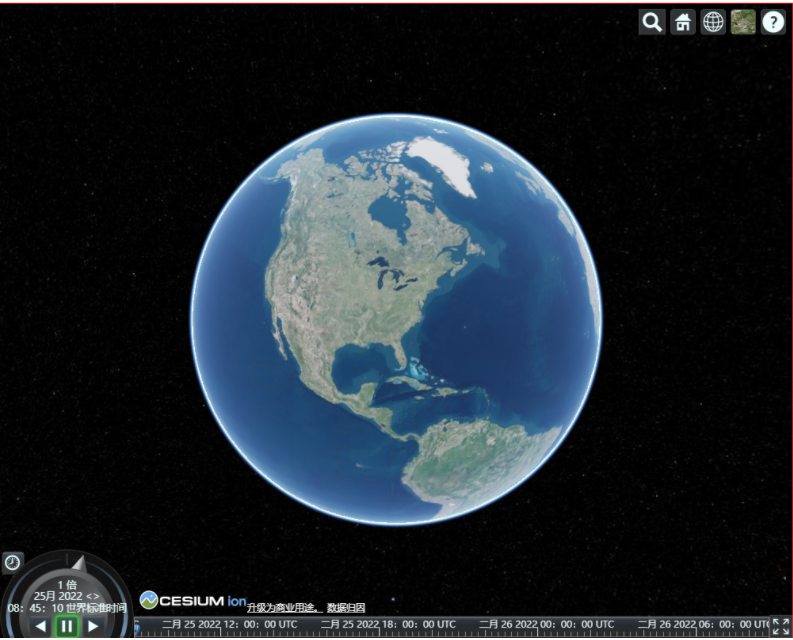
Fifth, start the vue project
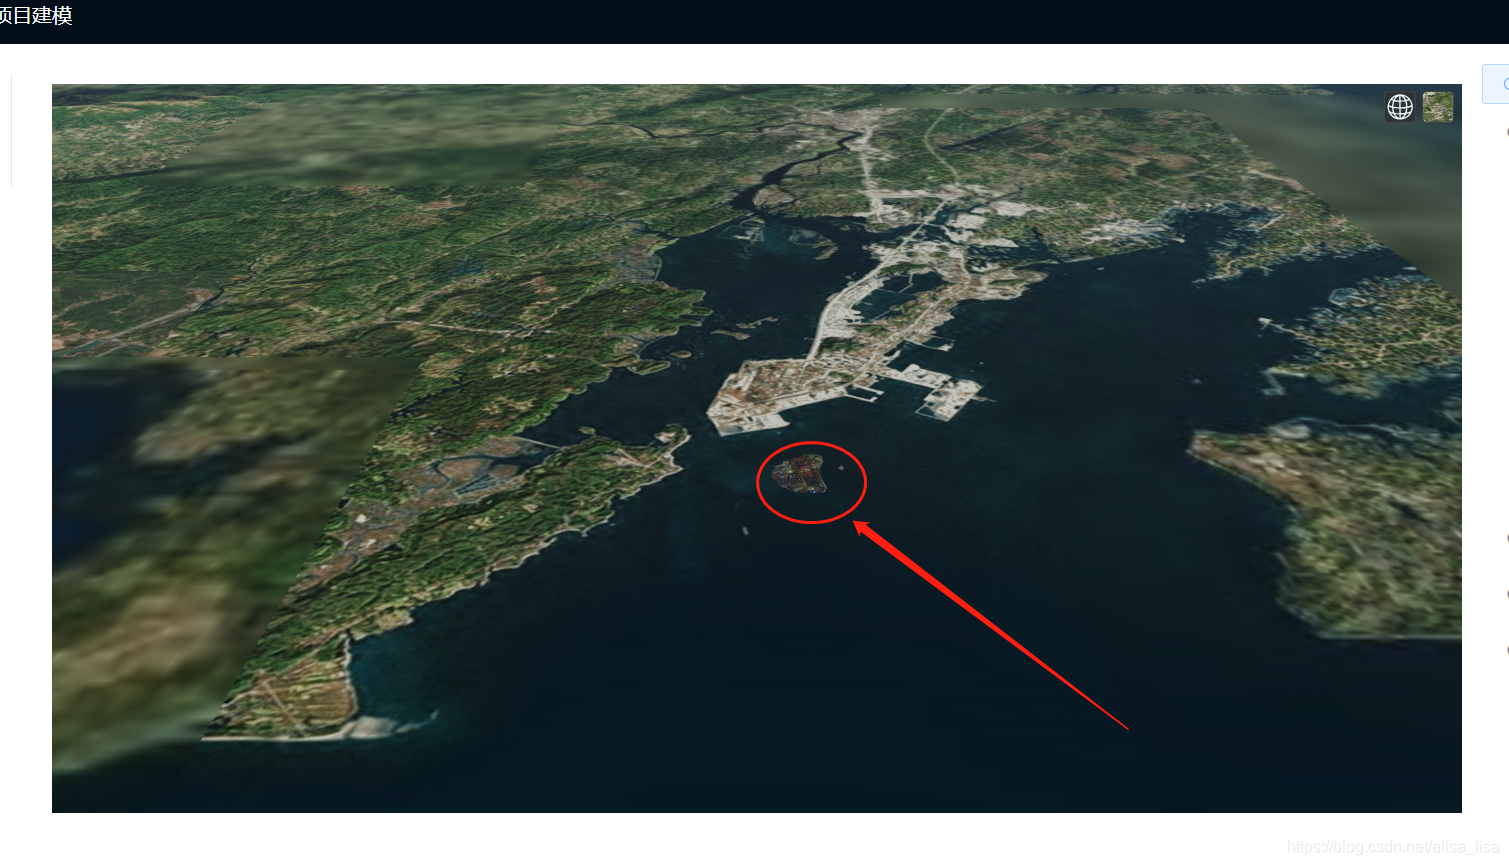
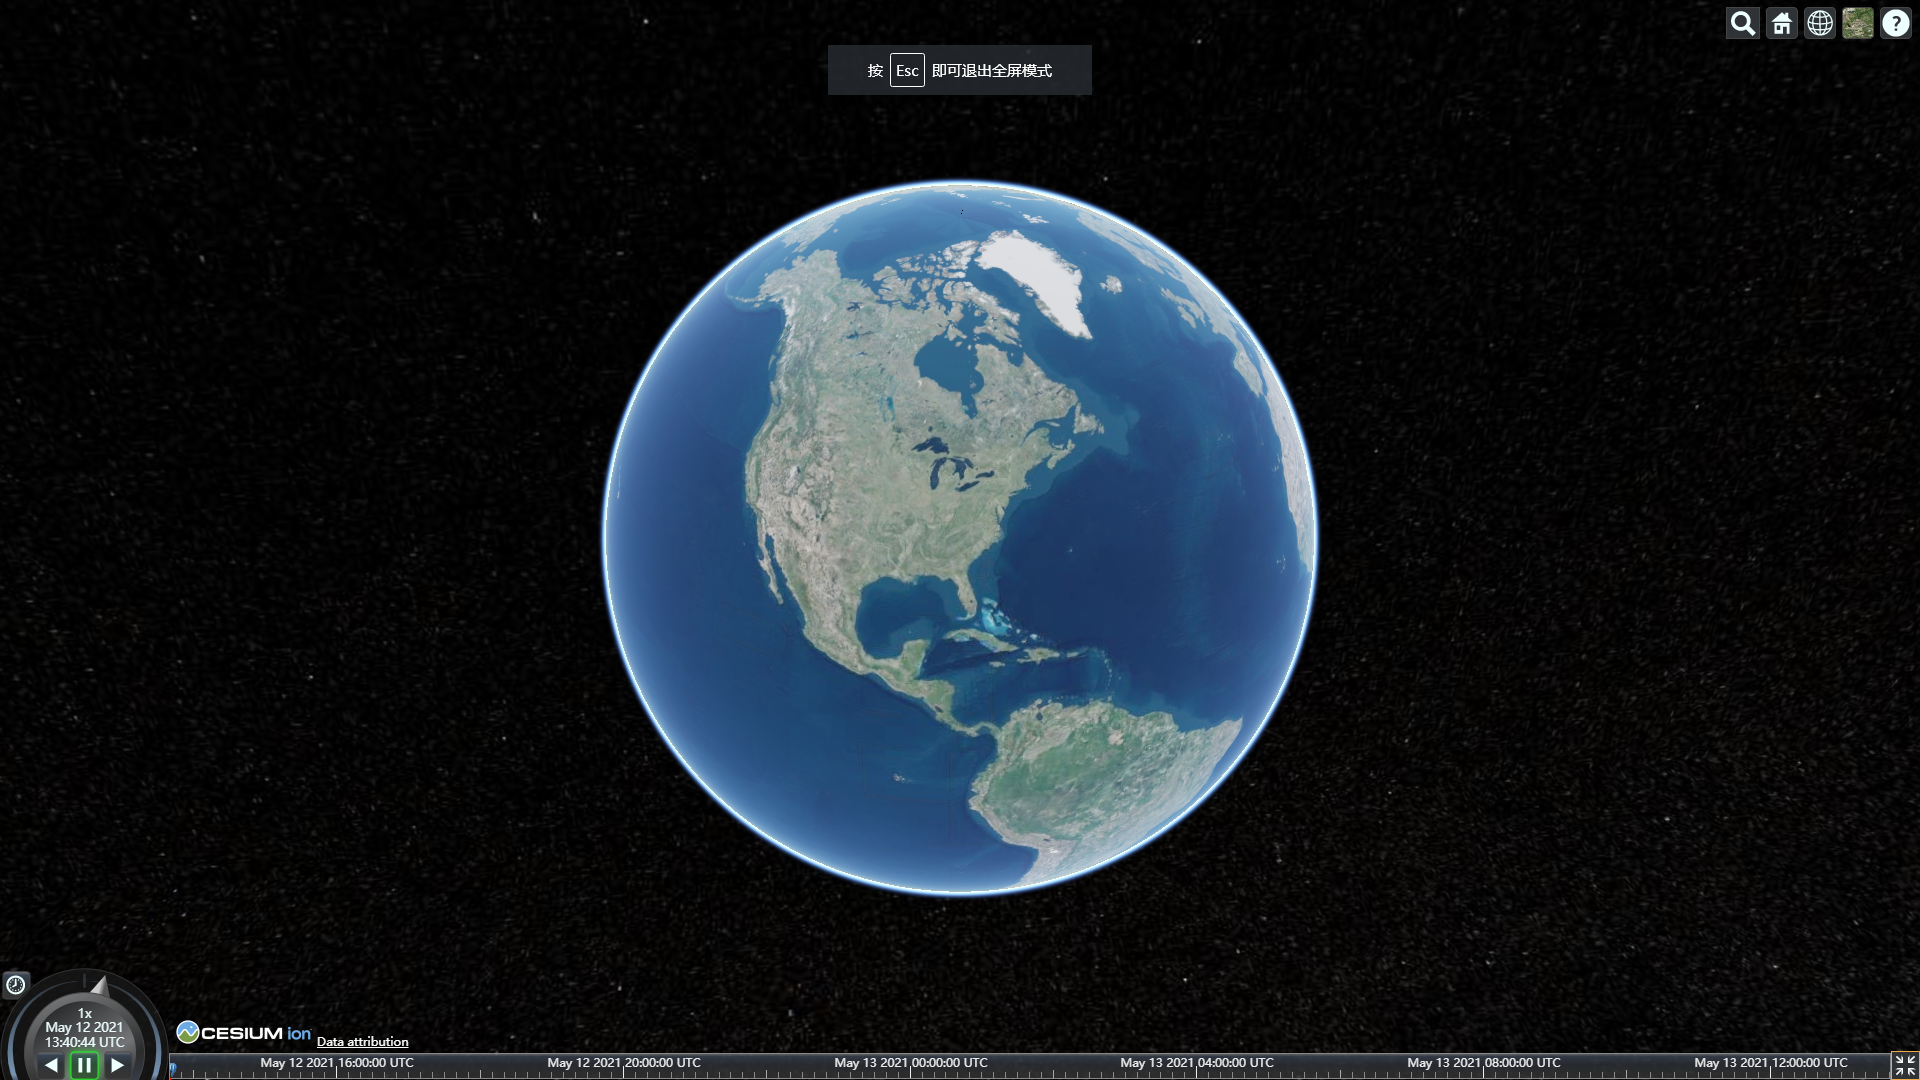
ps: Red is my 3D model. Now it's just a simple requirement. I will learn slowly and slowly modify it later.
Sixth, the problem
1, the model import path problem
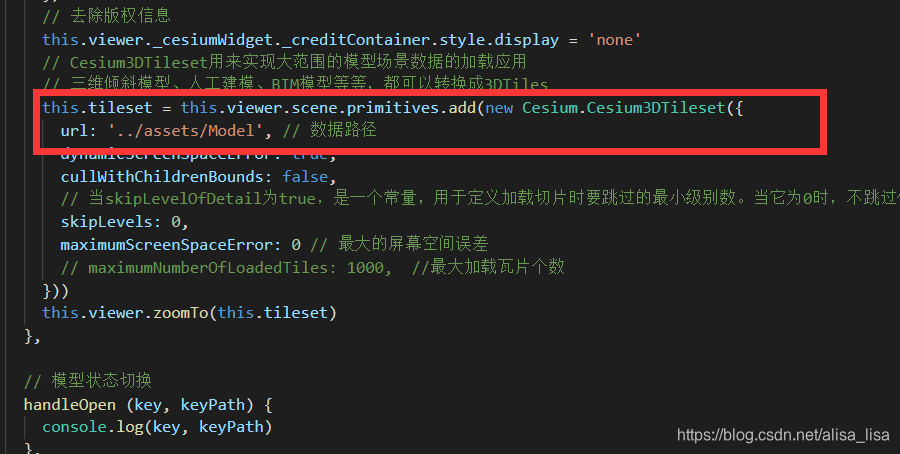
Refer to the code in the creation component, I don't want to copy it again~~
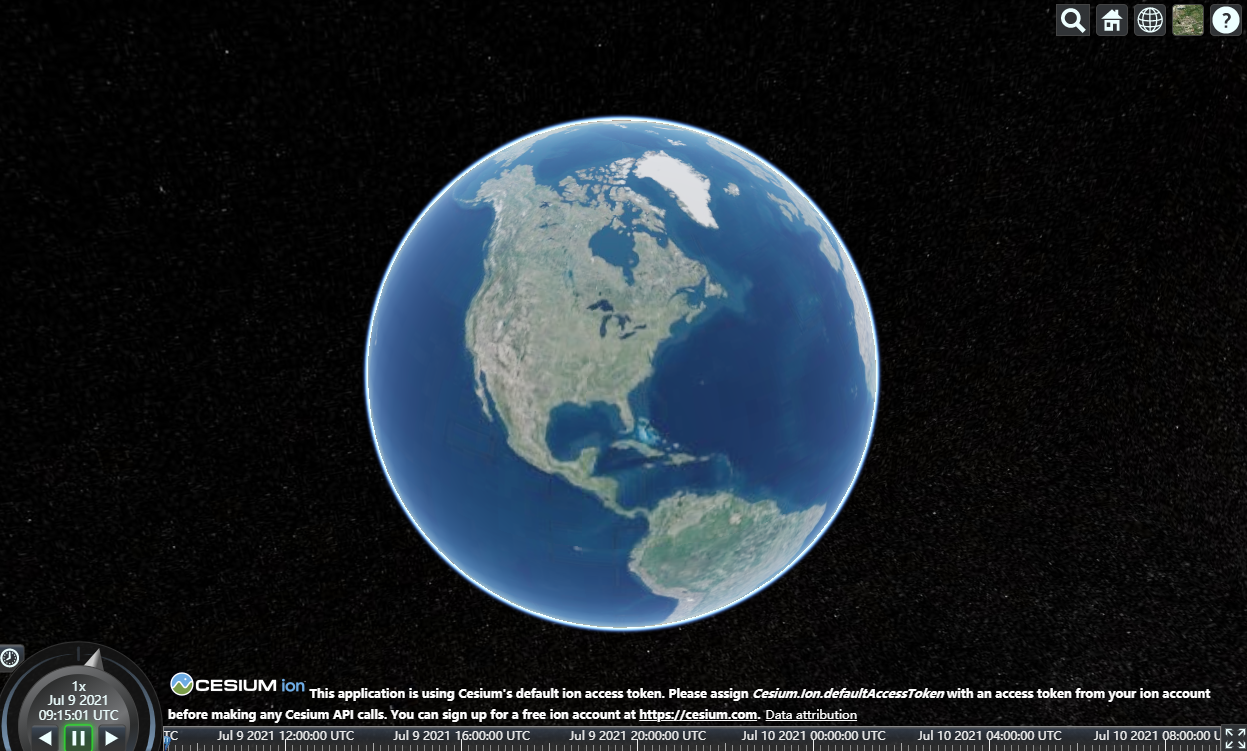
2. An editorial warning appears after startup, but the Earth page can come out
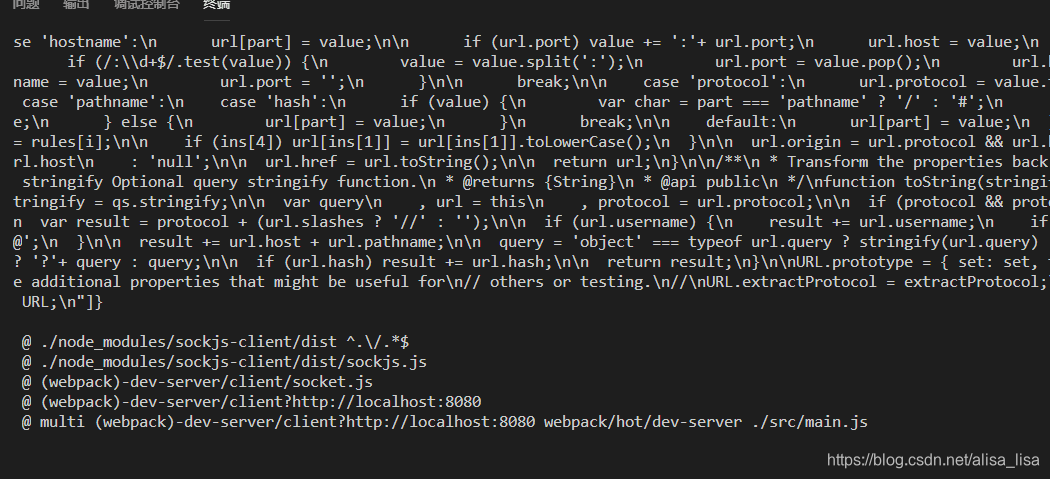
Add a configuration item:
/ / Add in the webpack.base.conf.js file below
 module: {
    rules: [
      ...(config.dev.useEslint ? [createLintingRule()] : []),
      {
        test: /\.js\.map$/,
        use: {
          loader: 'file-loader'
        }
       }
      .....
    ]
 }
Just started to learn cesium, there are many places to ask questions.
Intelligent Recommendation

Cesium Vue Material Settings
QQ Communication Group: 607330463 GIS Development Technology The strongest exchange group is not allowed to prohibit reprinting can be referred to 1. As shown 2. Code Reference ...
Vue-based Cesium environment
Vue-based Cesium environment 1. Create an Vue project with scaffolding 2, install the Vue-CLI-PLUGIN-CESIUM plugin 3, after the installation is complete, use Vue Invoke to initialize this plugin 4, th...
Feedback of Vue + Cesium
Introduction: Considering that there is a large model to import, the simple label used by the Cesium is introduced into the project, avoiding browser crash. 1, you need to download Cesium, install nod...
Vue + Cesium environment
Vue + Cesium environment I have encountered some problems when I built it. First install the scaffold first 2. I am usingVue Create project name The project created, but the selection is 2.0 3. Instal...
Vue + Cesium configuration
Version, I use CLI4.5 and Cesium1.74 1. Create a VUE project 2. Install Cesium Enter the project directory, enter the following code 3. Create a vue.config.js file Create a vue.config.js file in the p...
More Recommendation

Vue-CLI + CESIUM environment
Vue-CLI + CESIUM environment 1VUE-CLI installation Open the command line, type Example: 2 Create a project After the creation is successful, choose to open with VS Project configuration Some operation...
Vue Cesium Tuning
problem Vue's data bidirectional binding results in Cesium-related objects have been listened. Vue's DATA object DATA converts all the properties in the data to get, SET, so the consequences of this a...
Cesium + Vue actual combat
Cesium - Create a map instance 1. Register to get token in the official website of the Cesium. 2. Map related configuration items 2. DIV-based ID Create Viewer, Viewer Try not to mount in the Vue's DA...
Vue integrated Cesium
Article catalog Vue integrated Cesium Use environment Integrated Cesium display effect Code warehouse Vue integrated Cesium vue-cli 4.5.15 + cesium 1.90.0 Use environment node v16.13.1 npm 8.5.0 @vue/...
WEBGIS Cesium (Vue) (1)
Using Cesium in the Vue2 project, just install Cesium and introduce Cesium and style, but also do some other configuration, here you will introduce the installation and configuration of Cesium. (1) In...